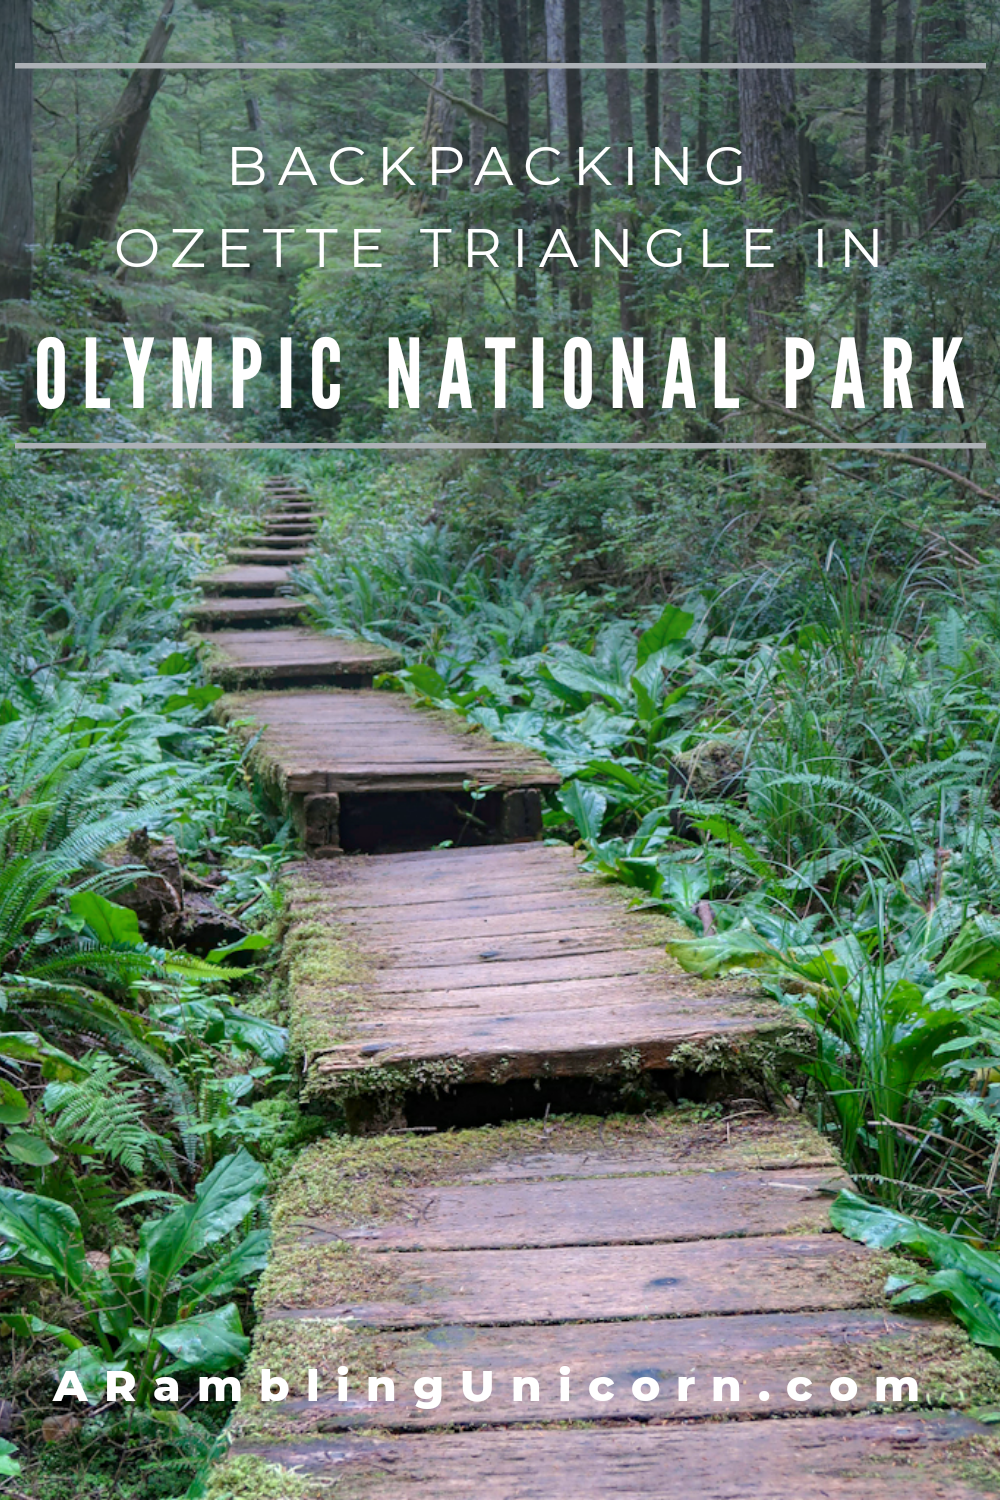
Backpacking the Ozette Triangle Loop in Olympic National Park is a great introduction to multi-day hiking for beginners. Located in wild and beautiful Olympic National Park, the Ozette Triangle Loop winds through lush rainforests and along the rugged Washington coastline to the Westernmost point in the contiguous United States – Cape Alava. The loop also features ancient petroglyphs, shaded boardwalks, and great camp spots right on the beach.
At 9.4 miles in length and with a flat elevation profile, the Ozette Triangle Trail is typically walked in a single day by most hikers. However, camping spots strategically located along the coastline also make this a terrific multi-day hike for beginners who can break up the hike into smaller sections. The trail is accessible all year round, unlike many of the other trails in Washington State which are covered under snow in winter (although it may be a little rainy and wet in the winter months).
My Experience Backpacking Ozette Triangle Loop
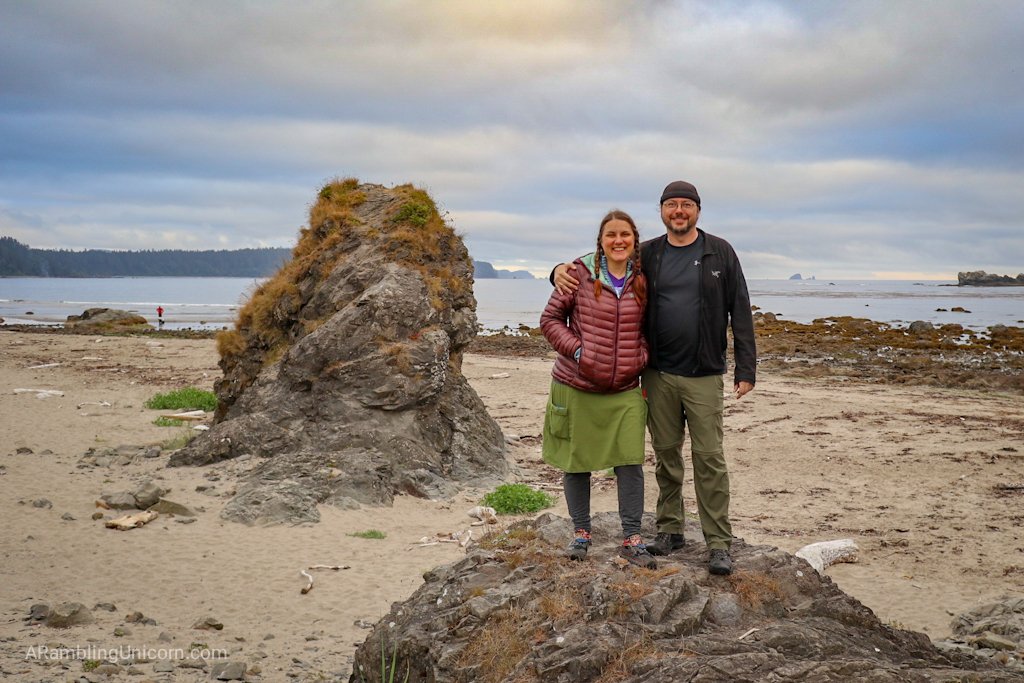
Photo taken at Sand Point on the Ozette Triangle Loop
My husband Daniel and I backpacked Ozette Triangle Loop together in August 2018. It was one of the first times that we backpacked together and a great introduction to multi-day hiking. We split the trail up into 3 sections so we didn’t have long to hike each day and could spend more time relaxing and exploring our surroundings. The camp spots along the coast provide a lovely view of the sunset over the Pacific Ocean – it was very romantic.
I had initially hoped to hike from Lake Ozette to Sand Point on the first day, and from there to Cape Alava on our second day – with the goal being to average roughly three miles a day. Unfortunately, we could not secure a permit for Cape Alava on the second night so we camped at Wedding Rocks instead. Wedding Rocks is also a lovely destination and we quite enjoyed our time there.
You can read my blog posts about each day on the trail below:
Ozette Triangle Day 1
Ozette Triangle Day 1: Lake Ozette to Sand Point
The Ozette Triangle has been on my bucket list for a long time. We reserved a wilderness permit several months ago as permits are required for overnight camping. And so Friday morning found us heading west toward the Olympic Peninsula via the Bainbridge Island Ferry. After a quick stop in Port Angeles for lunch and to retrieve our permit from the ranger’s station, we arrived at the trailhead around 4:00 pm and began hiking.
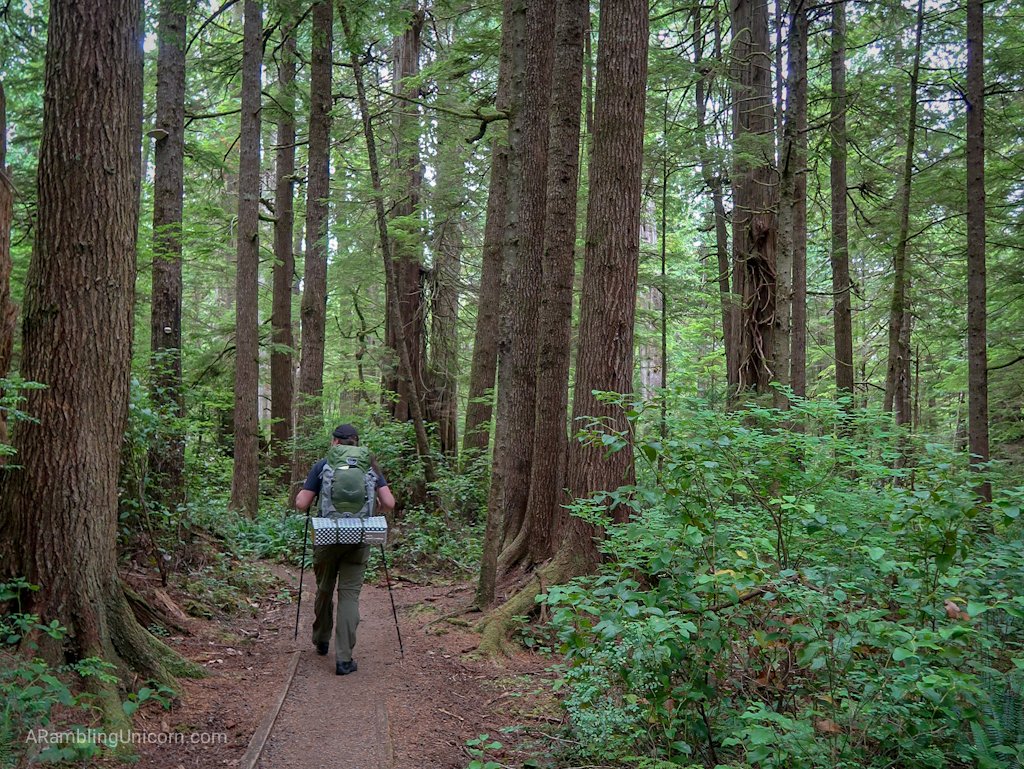
Walking through the forest along the Ozette Triangle Trail
Ozette Triangle Day 2
Ozette Triangle Day 2: Hunting for Petroglyphs at Wedding Rocks
We awoke on Saturday morning in a cloud of fog. Droplets of mist hung in the air and soaked the tent. I was glad Daniel talked me into affixing the rainfly last night or we would have gotten soaked. I walked south to filter water and find the privy. During my PCT hike last year, my fellow hikers and I made a game of rating the trail toilets. This was not the worst toilet I had ever seen…
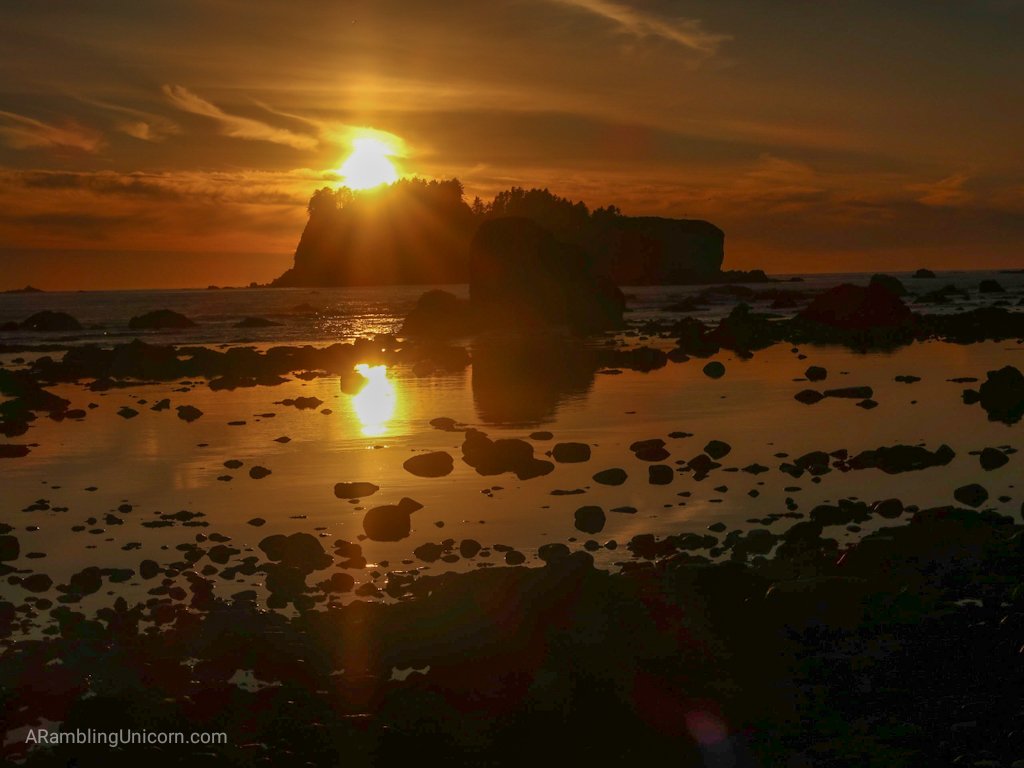
Sunset as viewed from Wedding Rocks on the Ozette Triangle Loop Trail
Ozette Triangle Day 3
Ozette Triangle Day 3: Exploring the Rugged Beauty of Cape Alava
We awoke in a fog again on Sunday morning. Thankfully, it didn’t drench our tent this time as we hadn’t affixed the rainfly. We packed up reluctantly, knowing it was the last day of our hike. But it was also the longest day that we had planned for our trip so we didn’t linger too long.

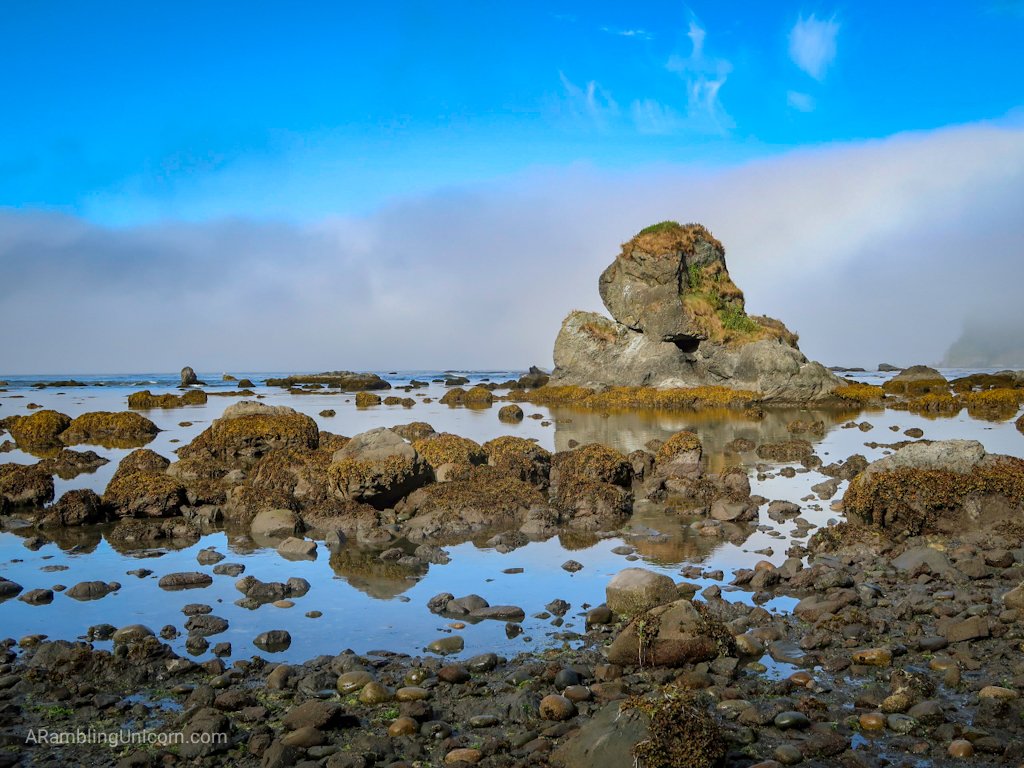
Cape Alava
Backpacking Ozette Triangle Tips
Before packing your shiny new backpack and heading to the Olympic Peninsula, keep in mind the following:
- A National Park’s Pass is required for entry into Olympic National Park. You will want to leave this displayed on the dash of your car. I recommend buying the America the Beautiful Annual Pass as it also covers entry to other federal recreation sites such as national forests and national wildlife refuges. This eliminates the need to purchase a separate Northwest Forest Service Pass if you plan to do any other hiking in the area.
- Wilderness Camping Permits are required to camp in Olympic National Park. The permit entitles you to camp at a specified location on a particular date. These tend to go fast, so it’s best to apply for a permit as far in advance as possible. You’re more likely to get a permit if you are willing to camp during the workweek or if you’re flexible with your camping spots. You can apply for the permit online and then pick it up in person the day of your hike.
- You are also required to bring a bearcan to store your food and any scented toiletries or items in your bag. This is mostly to keep raccoons and other critters away from your food, however do be aware that there are occasionally bears in the area.
- Be sure to check the tide charts before hiking or camping along the beach. It is possible to get stranded on the beach at high tide. The rangers will be happy to help you with this when you pick up your permit at the ranger’s station.
- Bring a water filter to treat the creek water available at Sand Point and Cape Alava.
Backpacking Gear
Not sure what to bring on your backpacking trip? Here are some of my favorite items to take backpacking.
- Hiking Shoes – Sturdy hiking or walking shoes are a must. Personally, I’m a big fan of Altra Lone Peak Trail Running Shoes.
- Socks – Good thick socks are also important. For long hikes, I prefer Injinji Midweight socks to prevent toe blisters.
- Backpack – A comfortable and well-fitting backpack is essential. I love Ospreys because I tend to get a sweaty back and the design promotes good airflow. My go-to bag is the Osprey Exos 58 because it’s super lightweight.
- Tent – I’m a big fan of the Big Agnes Copper Spur Tent. I used the 1-person version when I hiked the PCT in 2017 and now my husband and I use the 2-person version when we hike together.
- Sleeping System – I use an ultra-lightweight 10 degree Enlightened Equipment Enigma custom quilt which I absolutely adore. For a sleeping pad, I prefer the Exped Synmat Winterlite air mattress because I find the vertical baffles more comfortable than pads with horizontal baffles.
- Hiking Poles – Hiking poles reduce pressure on your joints and help maintain your balance if you trip. My current favorites are the LEKI Micro Vario Carbon Trekking Poles because they are super lightweight and fold down to easily fit into my suitcase.
- Bear Cannister – Don’t forget to bring a bear can when camping overnight at Olympic National Park! These are required and protect both you and the bears. I prefer the BearVault BV500.
- Camera – I love taking photos and always bring a camera along on my hiking trips. I use the Canon PowerShot G7X Mark II because it is lightweight yet has many advanced features.
- Electronics – if you are using your phone for navigation, bring a portable battery such as the Anker portable battery charger. For longer hikes or backpacking trips, consider bringing a Garmin InReach Explorer. This is a Personal Locator Device (PLB) that enables you to trigger a SOS call to search and rescue and 2-way texting over satellite.
More Information on Ozette Triangle Loop Trail
- Ozette Loop – Olympic National Park web site
- Wilderness Camping Permits – Olympic National Park web site
- Cape Alava Loop (Ozette Triangle) – Washington Trails Association
The coastline along the Ozette Triangle Trail
Like this article? Pin it!
Click on the image below to save it to your board on Pinterest.
Note: This post contains affiliate links, which means I may receive a commission if you click a link and purchase something. While clicking these links won’t cost you anything, they will help me to keep this site up and running!