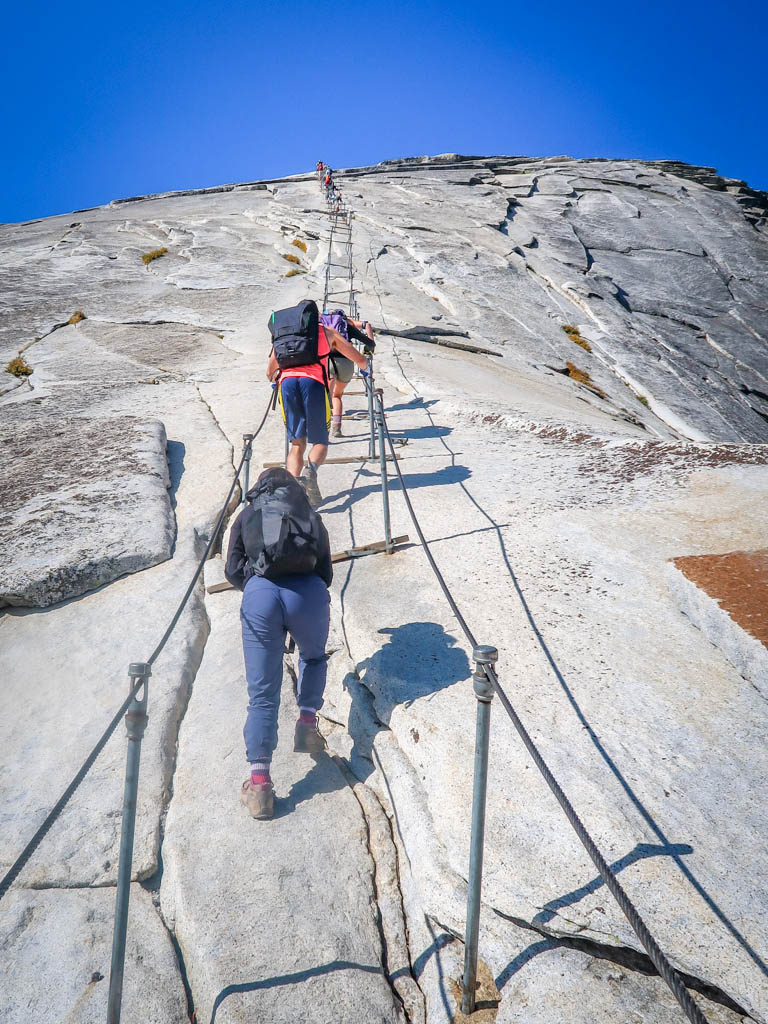
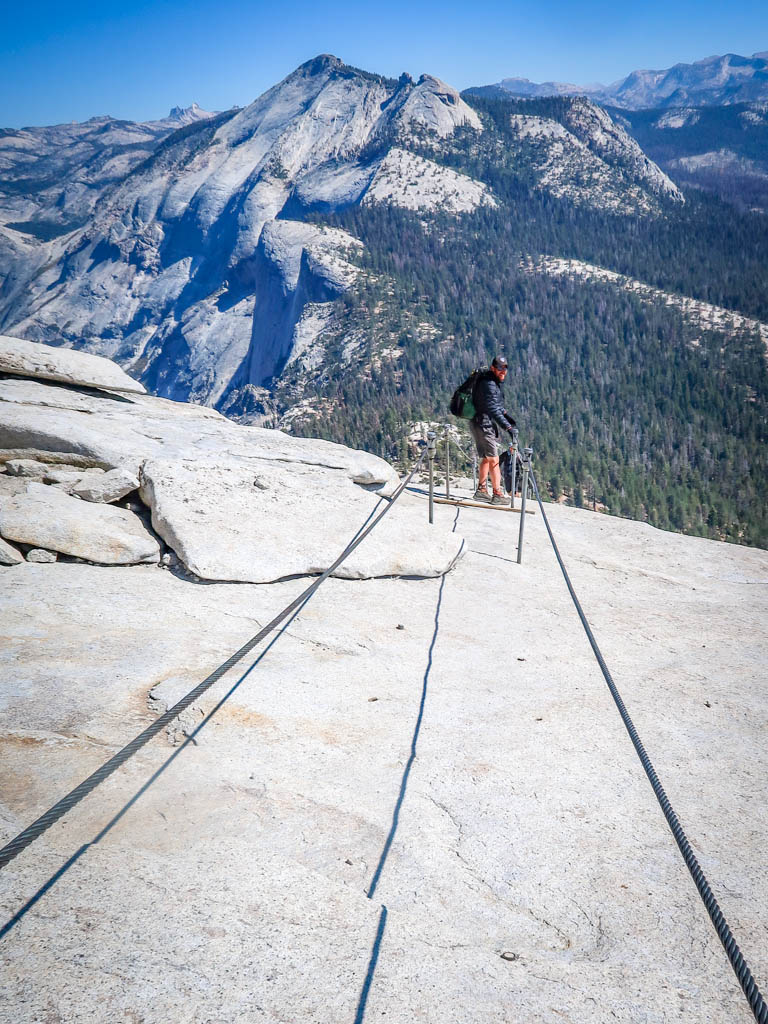
If you’re looking for an epic hike in Yosemite National Park, it’s hard to beat Half Dome trail. This strenuous hike to the top of Yosemite’s famous landmark is one of the most challenging hikes in the park. Tackling this beast requires ascending nearly-vertical steel cables up the side of the Half Dome for 400 feet.
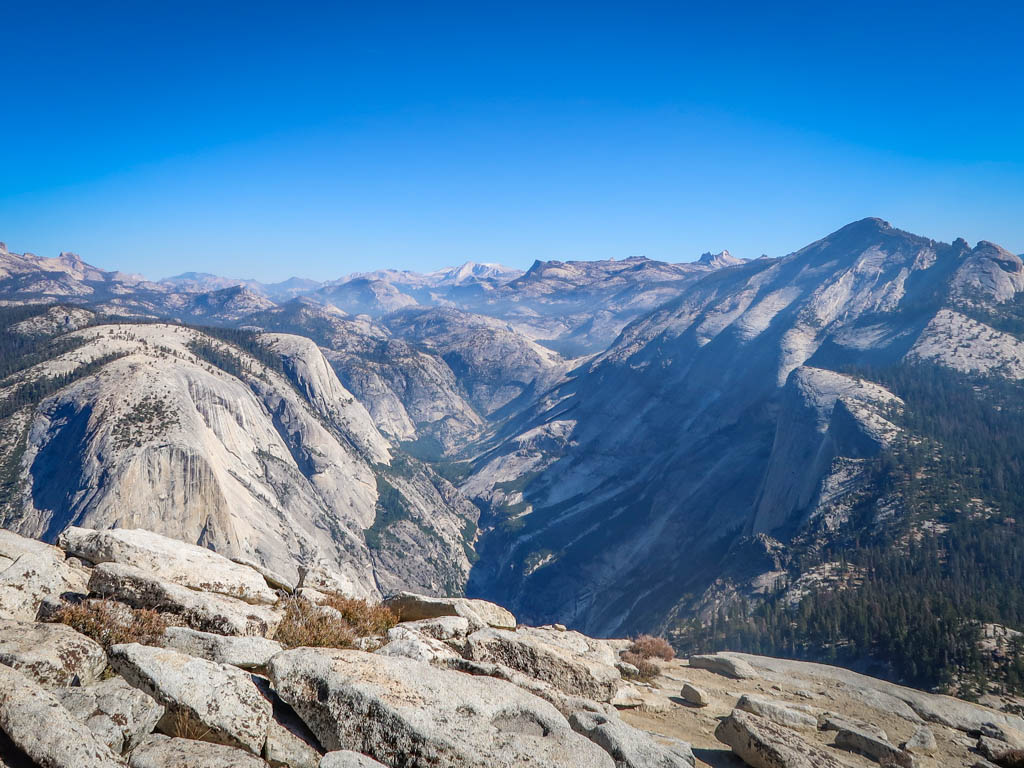
The effort is worth it, however. The views from the top of the dome across Yosemite Valley are absolutely incredible – not to mention the bragging rights you’ll have afterwards for making it to the top.
Be warned that the hike up Half Dome is extremely challenging. If hiked in a single day, the trek is approximately 15 miles round-trip with 5,000 feet of elevation gain. Only hikers with considerable experience and fitness should consider hiking to the top.
I climbed the Half Dome cables after finishing a thru-hike of the Pacific Crest Trail. After hiking 1800+ miles over an entire summer, I was in the best shape of my life (you can read more about that adventure on my PCT Blog). Even with that level of fitness I still found the hike to be challenging.
This article will share details and photos from my experience climbing the Half Dome trail along with tips for you to plan the perfect hike!
Table of Contents
Preparing to Climb the Half Dome Cables
When planning to hike up Half Dome, your approach will depend on whether you plan to do it in a single day or as part of an overnight trip.
You need to be in excellent physical shape before attempting this trail. I recommend creating a training plan. Start with smaller hikes and gradually add elevation and distance until you can hike 15 miles in one day with 5193 feet of elevation gain.
If going overnight, you’ll need to be able to hike 6.8 miles with an elevation gain of 2719 feet in a single day from the Little Yosemite Valley Campground.
Most hikers take between 10 and 12 hours to summit Half Dome as a day hike (sometimes longer). Some never make it to the top because it takes longer than anticipated – and that’s ok. Before hitting the trail, pick a non-negotiable turn-around time and stick to it so you’re not stumbling back in the dark.
When you are ready to start hiking, be sure to pack a lunch along with snacks and plenty of water. To save on weight, you can bring a water filtration device and filter water from Little Yosemite Valley along the way.
No cell reception is available throughout most of the park, so download hiking routes to your phone in advance and pick up a paper map from the Visitor Center. Be sure to leave no trace of your visit behind and learn how to pee outside in case the urge strikes when you’re away from a bathroom.
Half Dome Permit
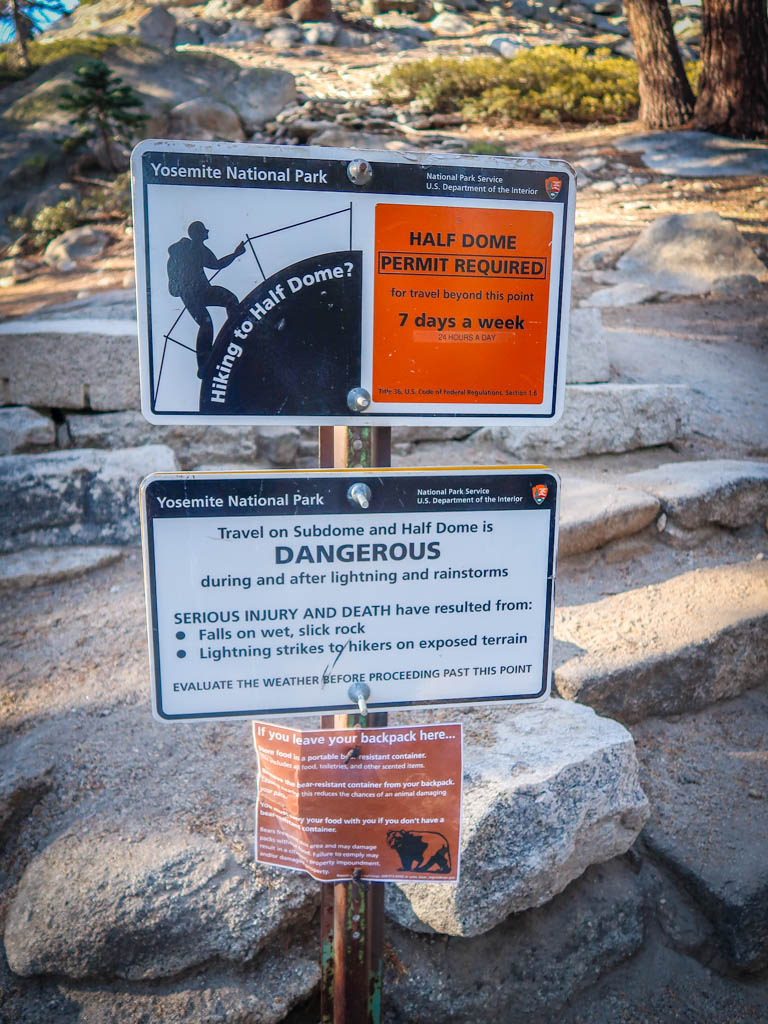
Be aware that a permit is required to ascend Half Dome. A maximum of 300 hikers per day are allowed past the base of the subdome. Getting a permit takes some advanced planning as they are extremely popular and are often snatched up long in advance.
Half Dome permits for day hikers are distributed via a pre-season lottery in March every year. Additional permits are available via a daily lottery to fill spots left by any cancellations. The daily lottery takes place 2 days prior to the day in which you plan to hike. The fee for a day hiking permit is $10 to apply (non-refundable) and then another $10 when you pick up the permit.
Half Dome permits for backpackers are available for anyone camping in the Yosemite backcountry. The permit can be obtained as an add-on to a wilderness permit reservation and costs $10. Most backpackers stay at Little Yosemite Valley the night before summiting Half Dome. Please note that these permits are not available for day hikers and that you cannot camp on or near Half Dome.
Be aware that the permit required for summiting Half Dome is in addition to any Yosemite entrance fees and parking reservations. See the Yosemite Fee and Entrance information section below for full details.
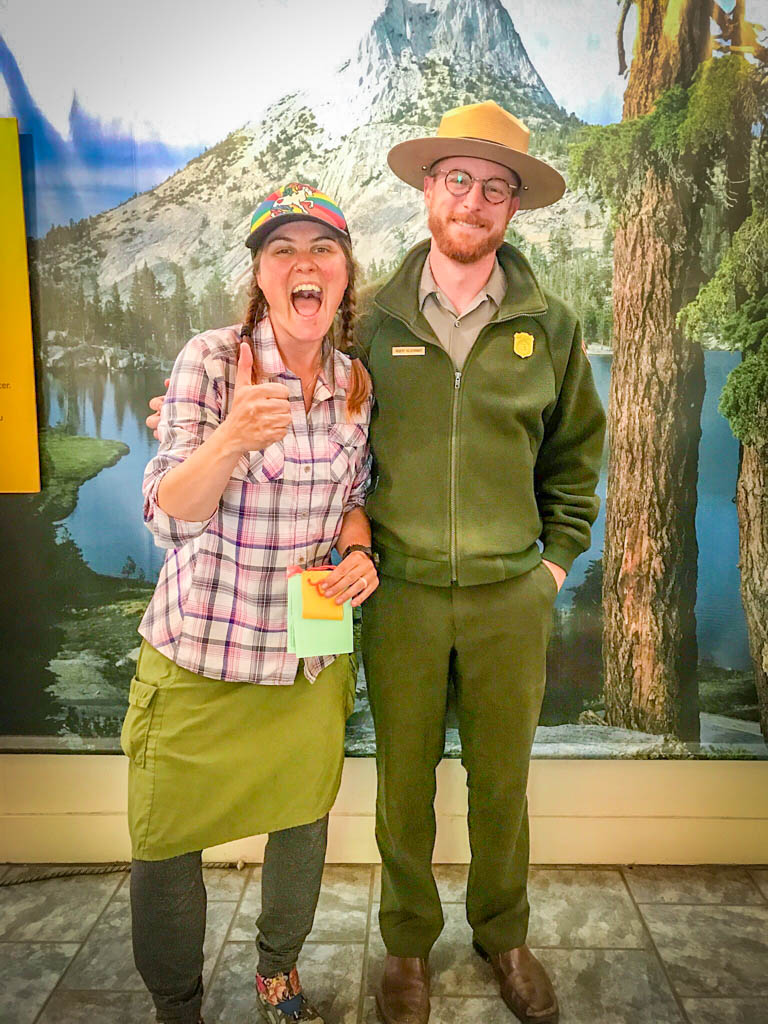
This ranger at Yosemite was super when I applied for a backcountry permit with Half Dome add-on in 2017.
When to Go & Weather Considerations
The best time to hike Half Dome is in the summer or fall.
The cables are taken down each winter and are typically up from Memorial Day (the last Monday in May) to Columbus Day (the second Monday in October). However these dates vary each year so be sure to check with the park in advance.
Before heading to the park, check the weather forecast and make sure you’re prepared for Yosemite weather conditions. No matter when you visit, temperatures can vary wildly so it’s best to bring an assortment of layers.
Warning: do NOT climb the Half Dome during bad weather or a thunderstorm. Hikers have died on Half Dome due to slipping on wet rock or getting struck by lightning. For a chilling account of what can happen on Half Dome during a thunderstorm, check out the book Shattered Air by Bob Madgic.
Day Hiking Gear
This list includes some recommended gear for attempting to summit Half Dome as a day hike. If you are planning to camp overnight you’ll need to adjust your gear accordingly.
- Gloves – You’ll need a pair of gloves for the Half Dome cables. Any utility gloves will do, such as the MadGrip Pro Palm Plus.
- Headlamp – Many hikers underestimate this trail and hike home in the dark. Bring along a headlamp such as the Black Diamond SpotLite 200.
- Hiking Shoes – Sturdy hiking shoes with excellent traction are a must. Personally, I’m a big fan of Altra Lone Peak Trail Running Shoes. I pair them with Dirty Girl Gaiters to keep debris from getting into my shoes.
- Socks – Good thick socks are also important. I usually wear a pair of double-walled Wrightsock Coomesh II socks with my Altras.
- Backpack – A backpack is essential so you can carry water, layers, and snacks. I love Ospreys and use the Osprey Manta pack which is technically a men’s pack (because I have a long torso). The women’s equivalent is the Osprey Mira pack.
- Hiking Poles – Hiking poles reduce pressure on your joints and help maintain your balance if you trip. My current favorites are the LEKI Micro Vario Carbon Trekking Poles.
- Puffy Jacket – Bring along layers in case the temperature drops. The Ghost Whisperer is a great lightweight option.
- Camera – I love taking photos and always bring a camera along on my hiking trips. I use the Canon PowerShot G7X Mark III.
- Electronics – if you are using your phone for navigation, bring a portable battery such as the Anker portable battery charger. For longer hikes or backpacking trips, consider bringing a Garmin InReach Explorer. This is a Personal Locator Device (PLB) that enables you to trigger a SOS call to search and rescue and 2-way texting over satellite.
Half Dome Hiking Map and Trail Information
Half Dome Day Hike Via the John Muir & Mist Trails
- Distance: 15 miles there-and-back
- Elevation Gain: 5193 feet
- Highest Elevation Point: 8839 feet
- Difficulty: Very strenuous
- Trailhead:Â Mist Trail Trailhead
Half Dome via Little Yosemite Valley Backpacker Camp
- Distance:Â 6.8 miles there-and-back
- Elevation Gain:Â 2719 feet
- Highest Elevation Point: 8839Â feet
- Difficulty: Strenuous
- Trailhead: Little Yosemite Valley Backpacker Camp
My Experience on the Half Dome Hike
When I climbed Half Dome, it was a last-minute decision. I hiked into Yosemite on the Pacific Crest Trail and hoped to spend several days exploring the park. I was there with another PCT hiker named “Box” who I met just that morning at Yosemite National Park. My trail name is “Unicorn”.
Unfortunately, I underestimated how popular the park is. I didn’t have advance reservations and there was no place for me to stay in the main part of the park.
So I went to the ranger’s station and got a permit for backcountry camping. While I was at it, I also lucked into a permit for climbing the Half Dome cables.
As it turns out, this was the best possible scenario for hiking up Half Dome. The backcountry permit allowed me to camp at Little Yosemite Valley the night before ascending the dome. This enabled me to break up the hike over several days rather than trying to do it all at once.
Trailhead for Mist Trail
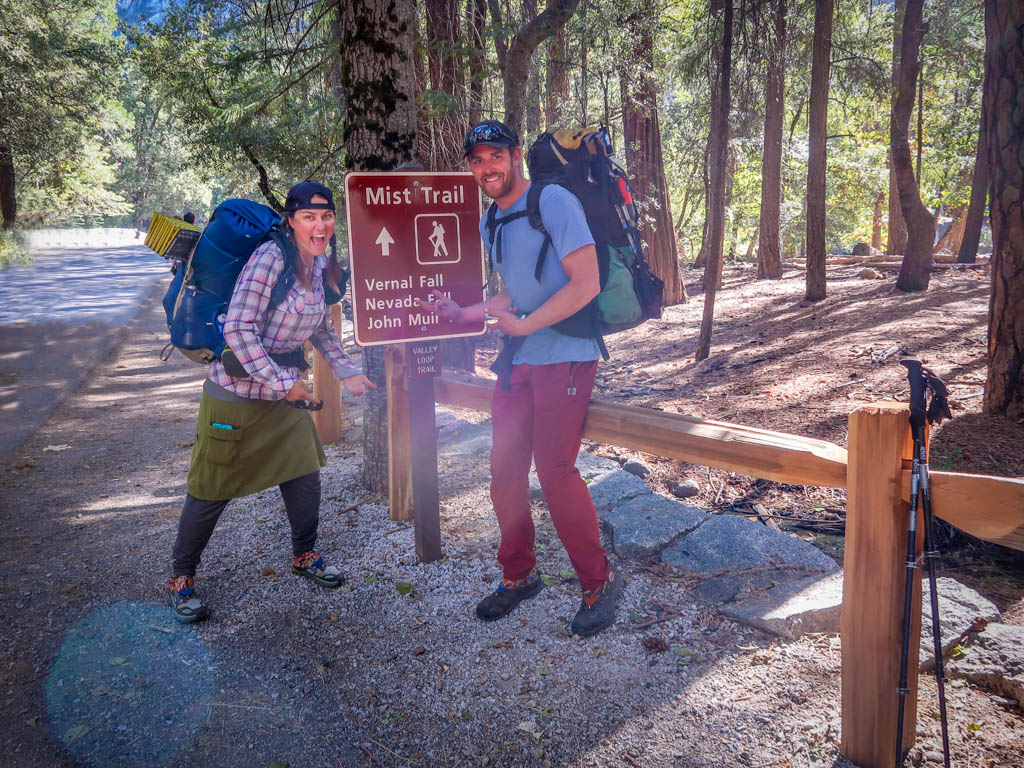
The Half Dome hike begins at the trailhead for the Mist Trail. From here, you can either take the Mist Trail or the John Muir Trail up to Little Yosemite Valley Campground. This section of the trail is approximately 4 miles.
Box and I decided to take the Mist Trail on the way up and the John Muir Trail on the way back down to keep things interesting. I’d always wanted to hike the Mist Trail past Vernal and Nevada Falls so I was really looking forward to it.
So we took the Yosemite Valley shuttle to the trailhead for Mist Trail. And soon we were off!
Vernal Falls & Nevada Falls
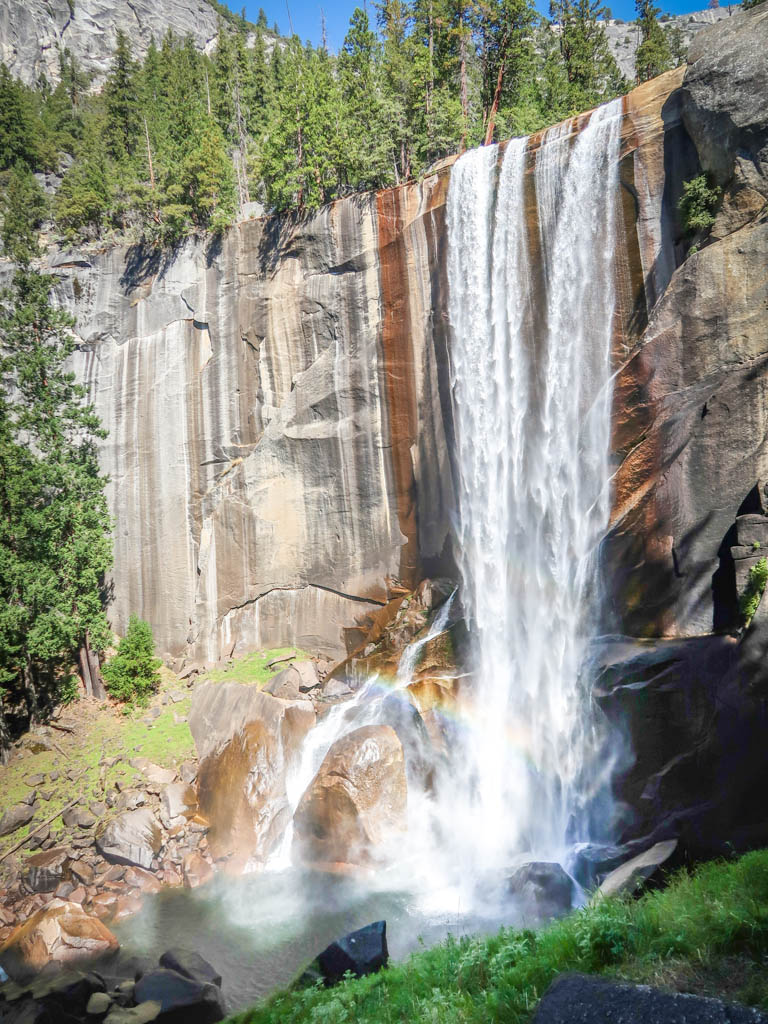
The first two miles of the trail climbs steeply uphill towards Vernal Falls. This is one of the most popular hikes in Yosemite National Park and it was really crowded. It is easy to see why though – the 317-foot waterfall is absolutely spectacular.
The crows tapered off a bit the further we hiked however.
At the top of the falls we paused for a snack and to people watch. Posted signs warned visitors from swimming in the pools at the top of the falls, as folks have been swept over the falls to their deaths, but people were doing it anyway.
Most hikers turned around at this point so the crowds thinned out as we continued hiking towards Nevada Falls.
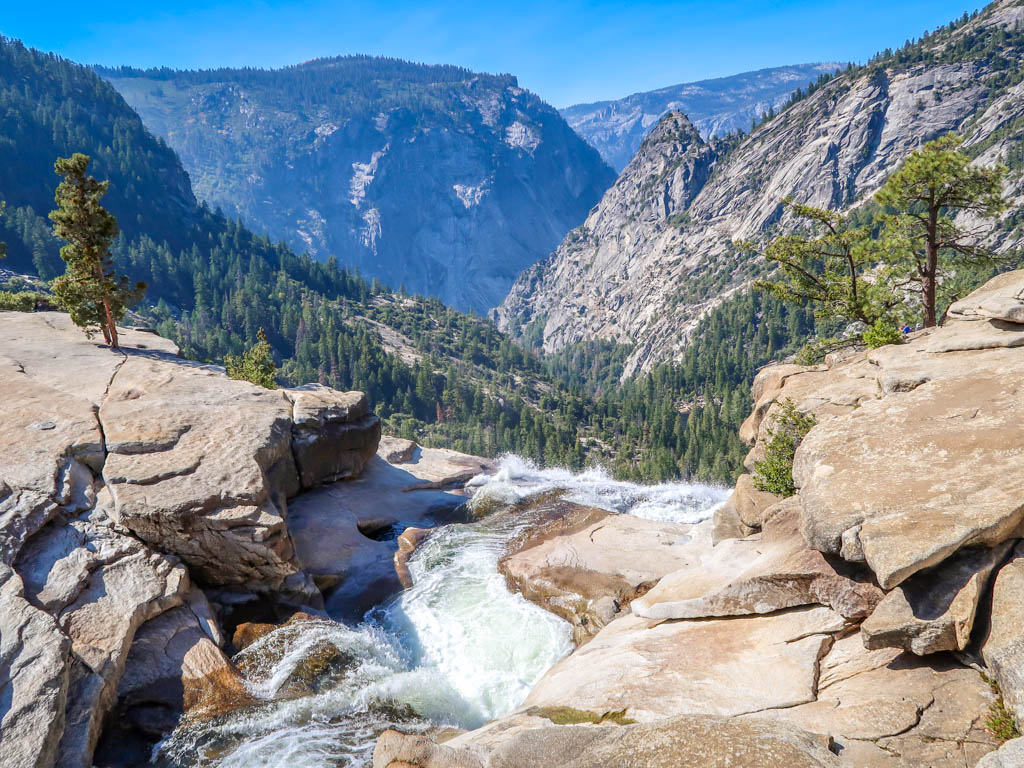
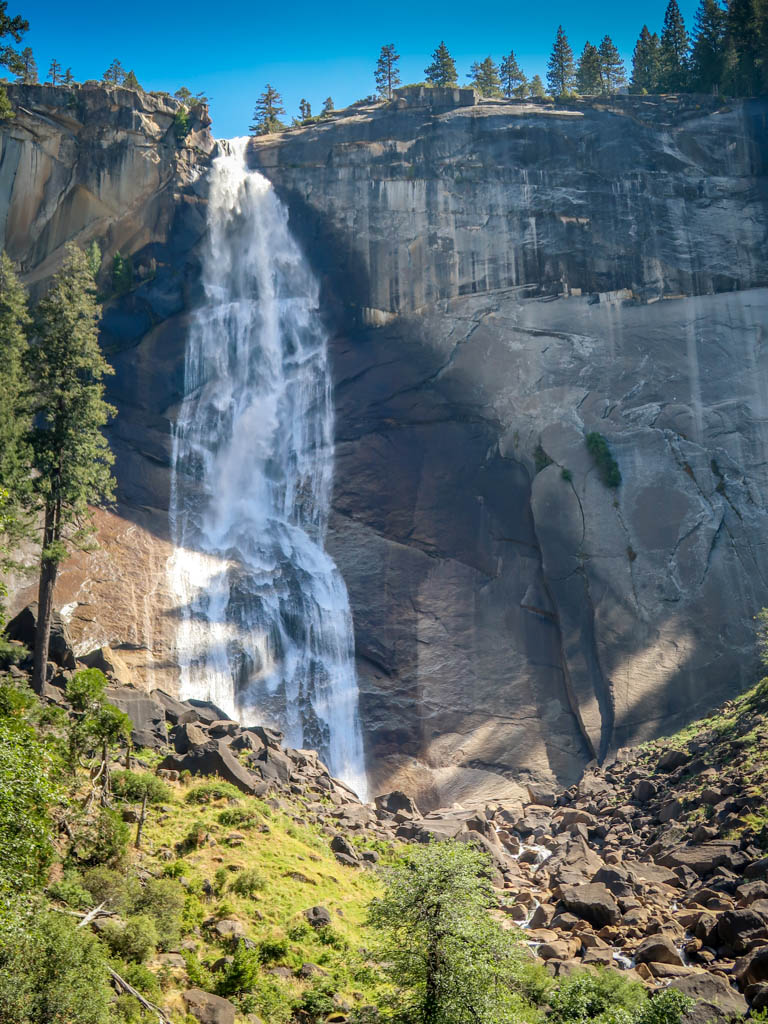
At 594 Feet, Nevada Falls was even more impressive than Vernal Falls – which I didn’t think was even possible. I could feel the mist from the falls from quite a distance away (I guess this is why it’s called the “Mist Trail”). It was breath-taking.
Little Yosemite Valley Campground
After pausing for a bit at the top of the Nevada Falls, we continued onwards towards Half Dome. The trail finally flattened it out at this point and it was an easy walk towards the Little Yosemite Valley Campground.
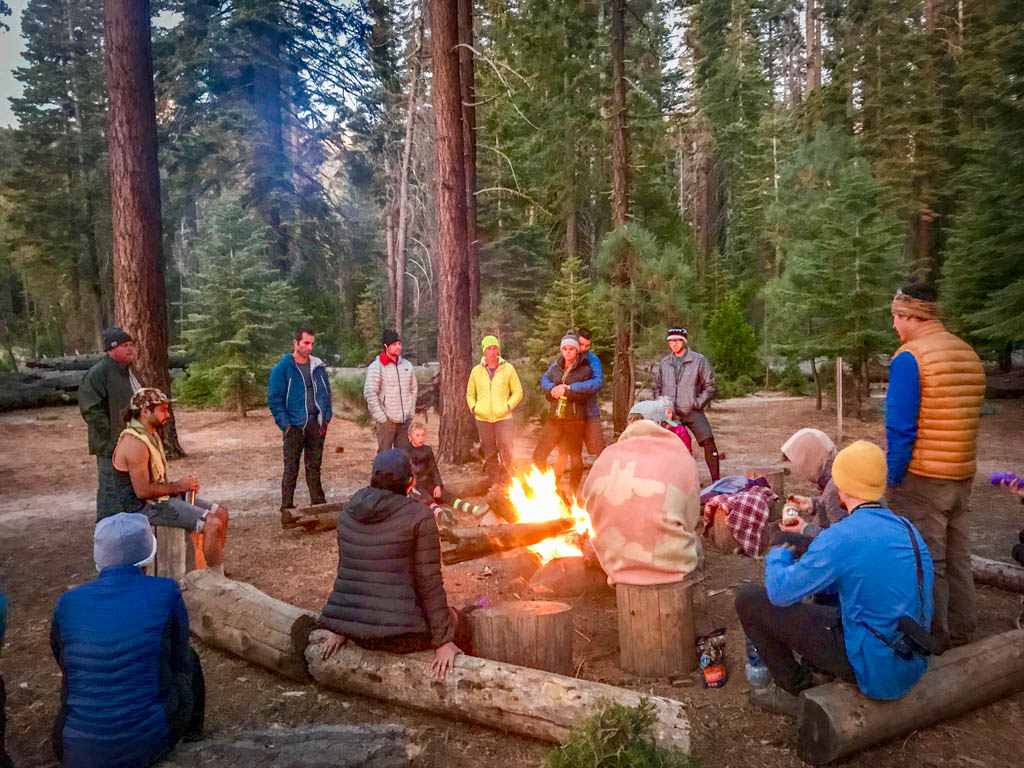
We set up camp and spent a pleasant evening hanging out with other campers around a communal campfire. It was another cold night as we had climbed to an elevation of 6100 feet. I was starting to wish I had packed some additional layers.
Climbing the Subdome
By 8:00 am the next morning, we were on the trail towards Half Dome. I left my tent set up back at the campground, along with most of my backpacking gear. This way my pack was as light as possible for summiting the dome.
Pro tip: you can also bring along a small daypack for summiting Half Dome if you choose to do it as an overnight adventure. Just be sure to secure any food or scented items that you leave behind in a food locker or bear canister.
When we hiked up Half Dome it was a beautiful sunny day. I was starting to get a bit nervous the closer we got to the dome – I’ve never climbed anything like this before and the through was a bit nerve-wracking.
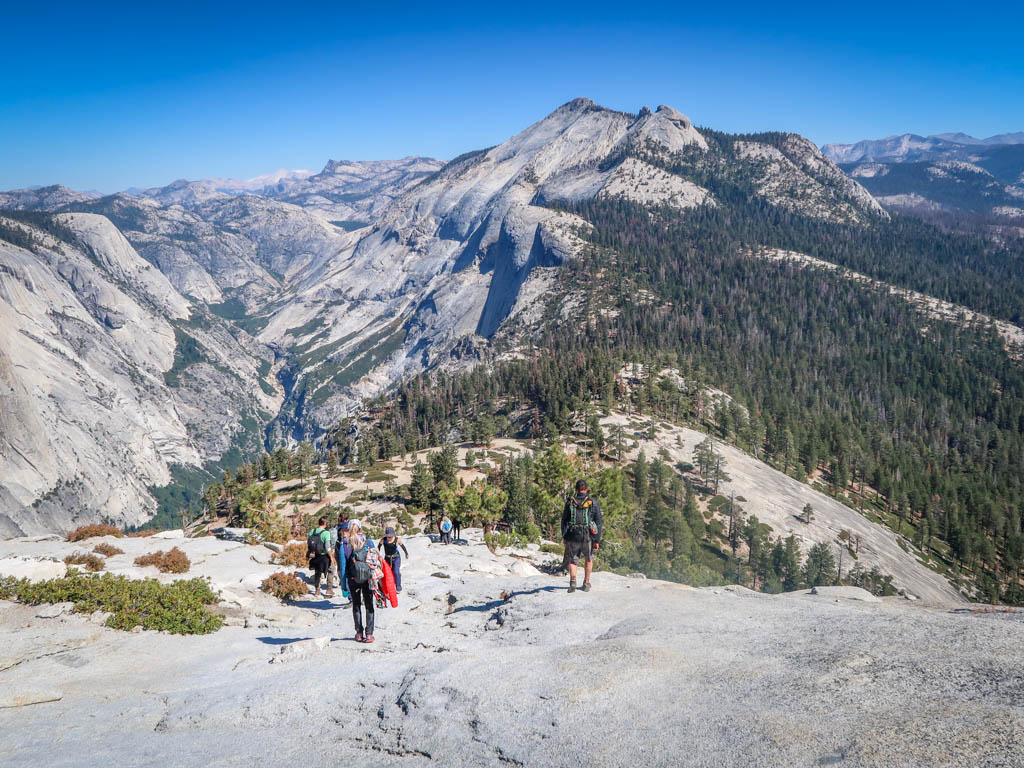
When we reached the subdome, the climbing really began. The subdome is located at the base of Half Dome and you have to climb it before you can go up the cables.
The path began up the subdome following a series of steps cut into the rock, but soon the steps disappeared and I had to just scrabble up to the top.
Climbing the Half Dome Cables
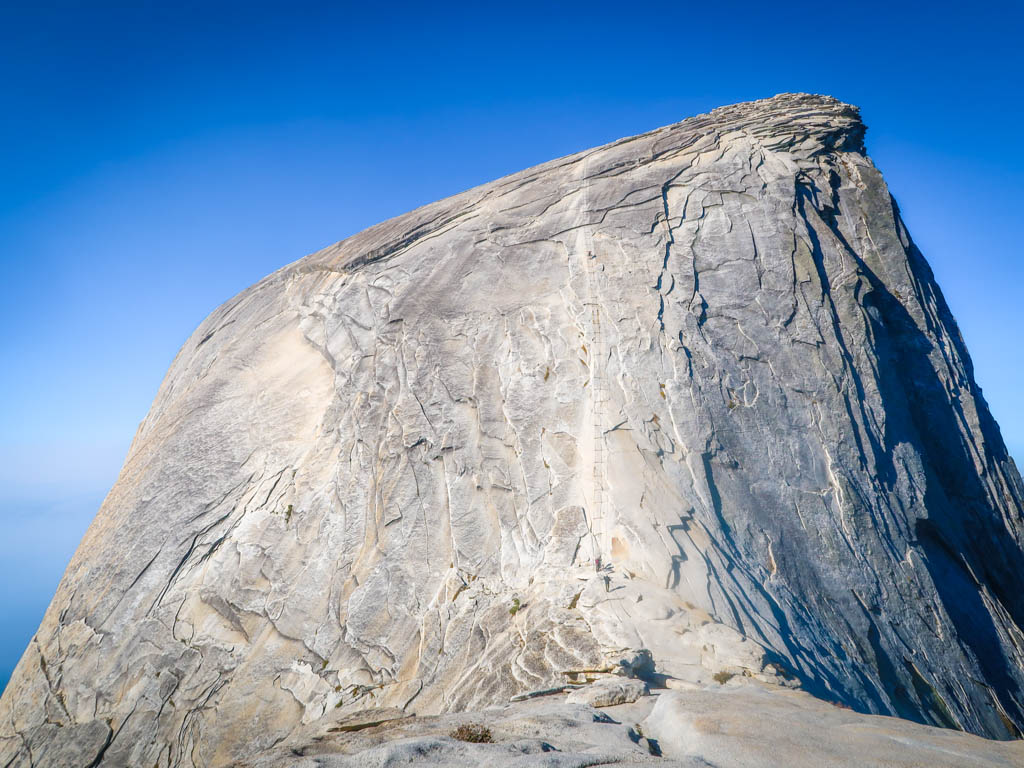
When we finished climbing subdome, my jaw dropped. Now I could see the cables scaling the rock towards the top of Half Dome. I had heard about the cables before of course, but seeing them in person was entirely another story. There’s absolutely no way I would have gone up those cables if I was by myself.
Thankfully my hiking buddy Box was with me and with his encouragement (and because I didn’t want to look like a total wimp) we headed towards the cables.
Gloves are required to climb the cables so be sure to bring a good pair with you – and don’t leave them behind when you leave.
Climbing the cables up Half Dome is easily the single scariest thing I have done in my life. Without the aid of cables, climbing the remaining 400 vertical feet to the summit would have been impossible without some serious rock-climbing expertise.
We climbed slowly and took lots of breaks, as the climb was tiring both physically and mentally. I resolved not to look down and kept my eyes on my feet and on the climbers above me the entire time.
The View from the Top
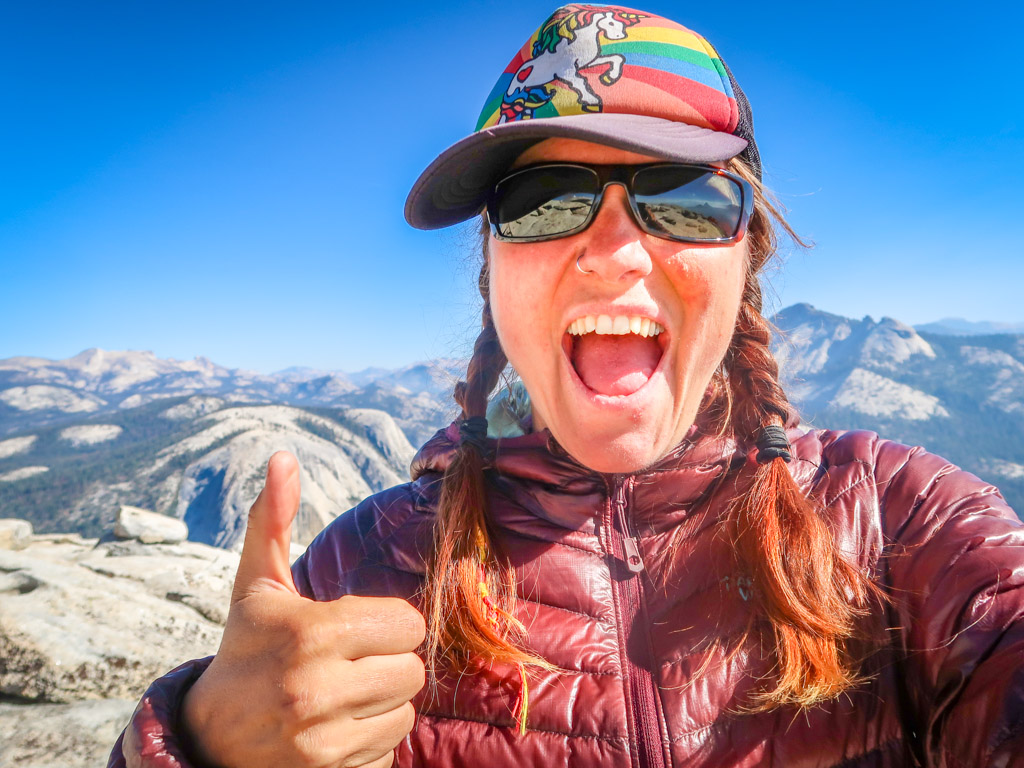
When we reached the top I was utterly exhausted. My adrenaline had been racing the entire time and I was feeling ravenous and shaky.
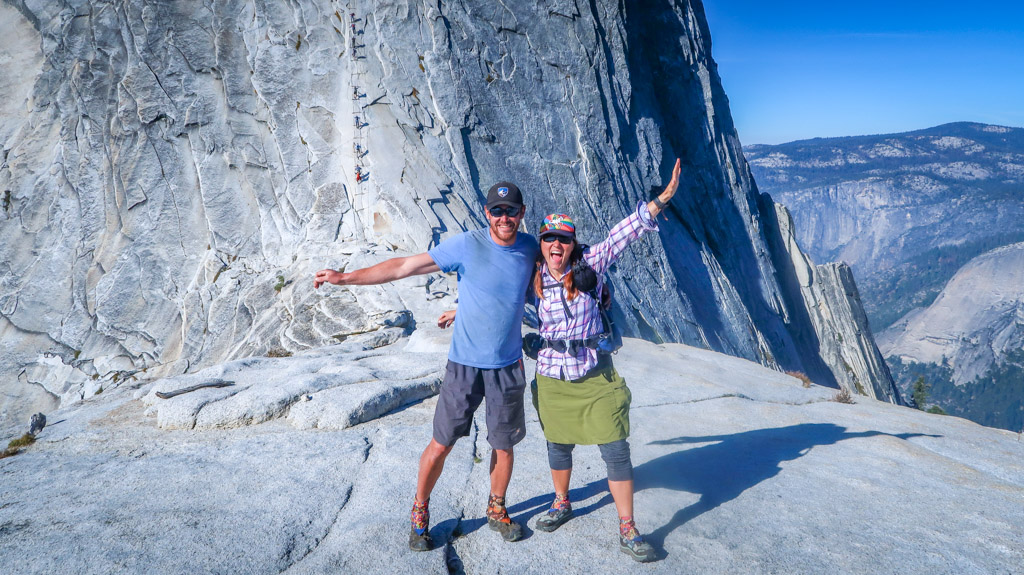
Box eagerly raced over to the edge of the summit but I couldn’t do it. I made a beeline towards the center, as far away from any edges or drop offs as possible, and wolfed down a granola bar and packet of spam.
When my pulse finally slowed about 20 minutes later, I walked carefully towards the edge and we took some pictures.
Descending the Half Dome Cables
By the time we were ready to head back down, it was much more crowded on the summit. A solid stream of at least 30 or 40 people were on the cables making their way up as we went down.
We had to awkwardly but carefully pass each person, usually with an armpit in the face or an elbow in the butt, as we climbed down. I was less scared on the way back down – I figured if I made it up I could make it back down again.
Although Box kept telling stories about how most climbing accidents happen on the way down and that didn’t really help the situation…
Once we made it off the cables, climbing down subdome and hiking back down to Little Yosemite Valley was fairly easy. So I headed back to my campsite and spent another night in the backcountry before returning to civilization the following day.
John Muir Trail
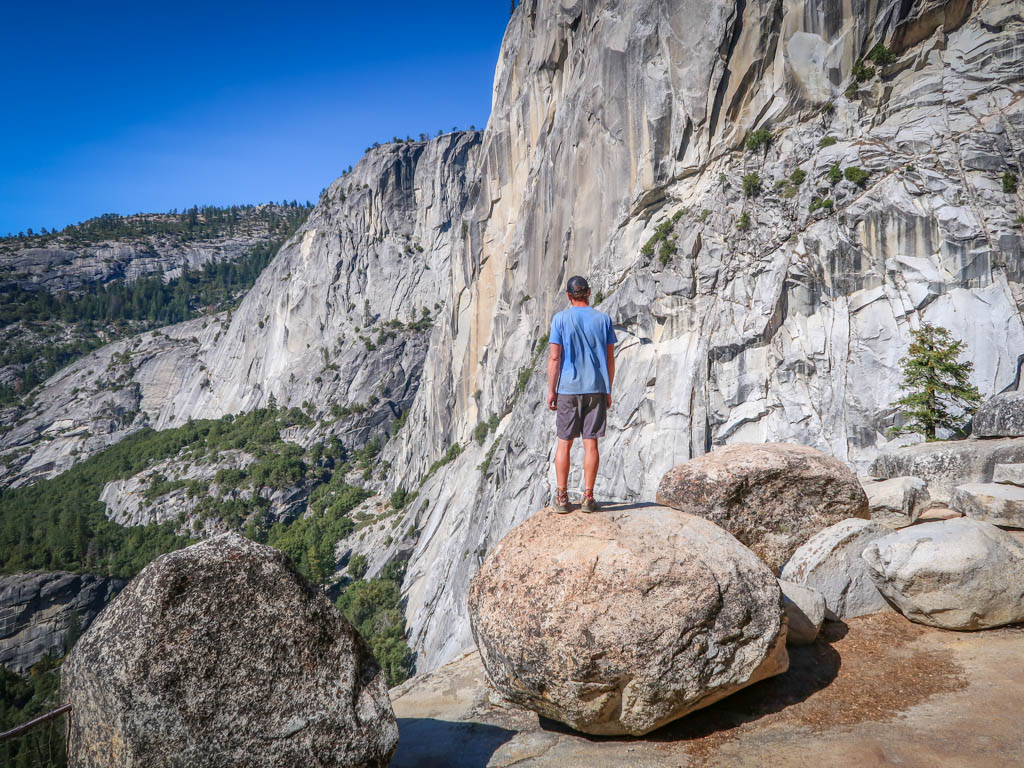
The next day, I packed up camp and headed back to Yosemite Valley. This time, I took the John Muir Trail on the way back. It’s much less popular than the Mist Trail and less steep too. Plus I enjoyed seeing Nevada Falls from a new perspective.
I feel fortunate that I was able to secure a permit for the Half Dome cables and that I broke up the hike over 3 days. It made for a very relaxing and enjoyable experience on Yosemite’s iconic rock formation.
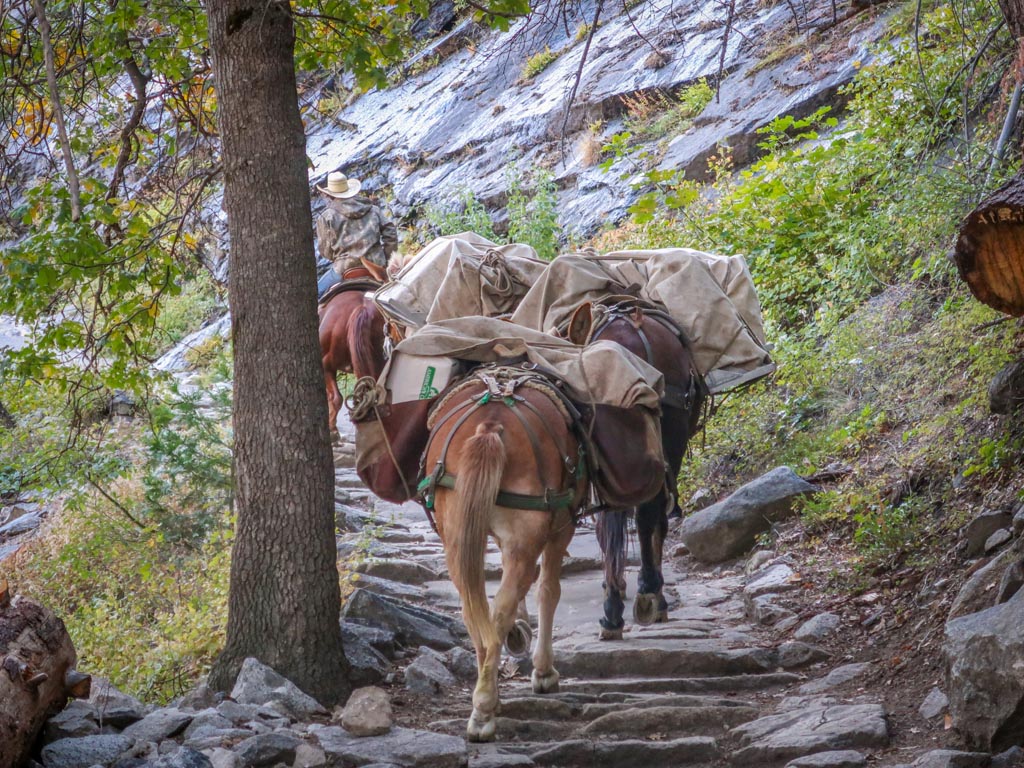
Stock are permitted on most trails in Yosemite. If you’re lucky you may see some, such as these horses on the John Muir Trail.
Yosemite Fee and Entrance Information
The fee to enter Yosemite National Park is $35 per vehicle which is good for seven days. I recommend buying the America the Beautiful Interagency Pass, however, which costs $80. This allows entry to all National Parks for an entire year, as well as most federal lands (including National Forests, Bureau of Land Management and more).
Be sure to check the Yosemite National Park web site for current conditions before heading to the park.
Yosemite Day Use Entrance Reservations
Yosemite National Park has implemented a reservation system for all vehicles entering the park during peak season. The reservation system was put into place during the pandemic because the park was overwhelmed with traffic.
Day use entrance reservations are required for vehicles entering Yosemite from May 30 to September 30, 2022 during the peak hours of 6:00 am to 4:00 pm. This is on top the park entrance fee.
Please note: the entrance reservation is NOT required for visitors with a Half Dome permit or with a campground reservation.
Check the Yosemite permits and reservations page for more information.
Like this hiking guide? Pin it!
Note: This post contains affiliate links, which means I may receive a commission if you click a link and purchase something. While clicking these links won’t cost you anything, they will help me to keep this site up and running!

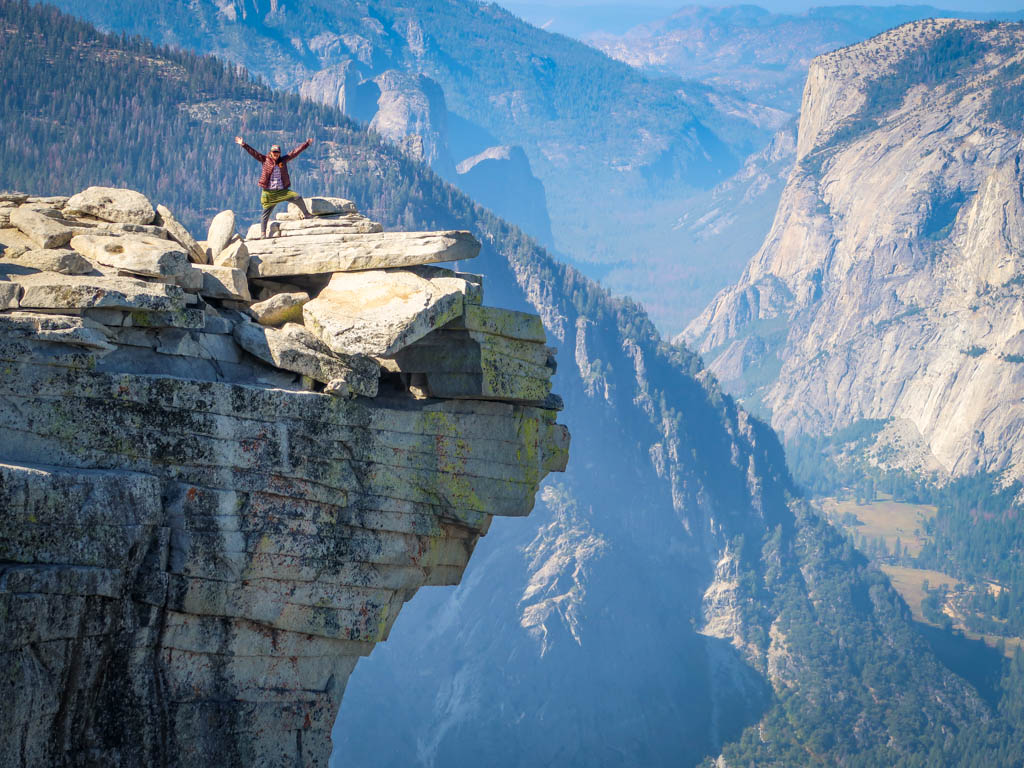
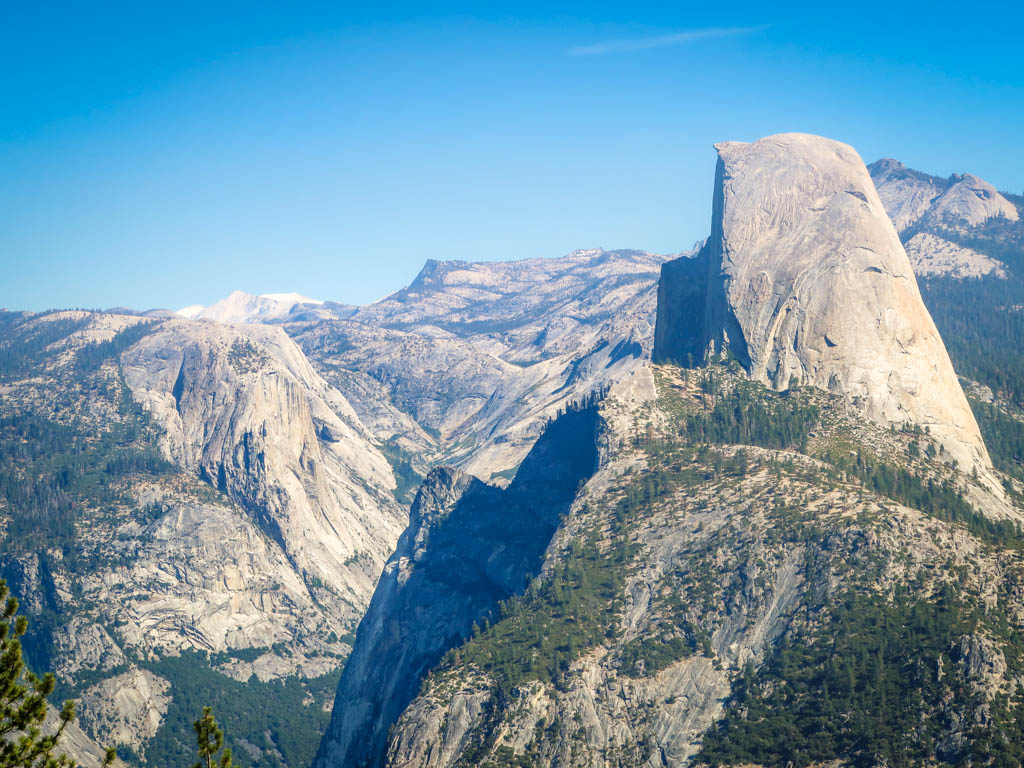



AWESOME!!
Thanks Oscar! 😊
Awesome pics. But my stomach was doing my somersaults.
SO WAS MINE!! 😂