I first visited the Mojave Desert in 2017 when I hiked the Pacific Crest Trail. The PCT travels through a corner of the desert near the town of Mojave, California that is full of Joshua Trees and other unique desert plants. I’d never seen Joshua Trees before and marveled at these spiky twisted trees and the spectacular desert sunsets.
Since my first visit to the Mojave, I’ve returned several times. I can’t seem to get enough of the stark beauty of North America’s driest desert. After spending months hiking the best hikes in Joshua Tree earlier this year, my husband Daniel and I decided it was time to explore a new area of the Mojave Desert.
So after leaving Joshua Tree National Park, we headed northeast to the Mojave National Preserve. We were keen to see the Kelso Dunes, a massive mound of sand dunes covering 45 square miles. The Kelso Dunes Trail goes right to the top of the sand dunes so we decided to check it out.
Table of Contents
About the Kelso Dunes Trail
Located in the Mojave National Preserve, the spectacular Kelso Dunes can be seen from miles away. These tall mounds of sand rise to over 600 feet tall and comprise the biggest pile of windblown sand in the Mojave Desert. The dunes are famous for producing a singing or “booming” sound under certain conditions (although we didn’t hear any booming during our visit).
At 2.7 miles in length and with 423 feet of elevation gain, the Kelso Dunes Trail does not seem like a very difficult trail. The distance and elevation gain are not that challenging compared to other trails – on paper anyway. After reviewing the trail on a map, I figured we’d finish it in an hour or so and be on our way.
I couldn’t have been more wrong.
Hiking in shifting sand is exceptionally difficult and takes an incredible amount of energy. This is not an easy hike. The Kelso Dunes Trail is one of the hardest trails that I’ve attempted recently (and I’ve hiked quite a few).
So pad in some extra time if you plan to hike this trail as it will take longer than you think. I recommend planning 2-3 hours.
Preparing for a Hike in the Mojave Desert
When planning your hike, remember that you are entering a desert environment and pack accordingly. Daytime temperatures can get really hot in the Mojave Desert, especially in the summer months, so be prepared with adequate sun protection and plenty of water. Do not hike during the hottest part of the day in the summertime – hike in the evening or during other months when it is cooler. I hiked this trail in mid-March and the weather was perfect.
Be sure to leave no trace of your visit behind.
Hiking Gear
This list includes some of my favorite gear for day hiking. Refer to my Best Hikes in Joshua Tree: The Ultimate Hiking Guide for a more comprehensive list of hiking gear for the desert environment.
- Hiking Shoes – Sturdy hiking or walking shoes are a must. Personally, I’m a big fan of Altra Lone Peak Trail Running Shoes. I pair them with Dirty Girl Gaiters to keep sand and rocks from getting into my shoes.
- Socks – Good thick socks are also important. I usually wear a pair of double-walled Wrightsock Coomesh II socks with my Altras. For longer hikes, I switch to Injinji Midweight socks to prevent toe blisters.
- Backpack – A backpack is essential so you can carry water, layers, and snacks. I love Ospreys and use the Osprey Manta pack which is technically a men’s pack (because I have a longer torso than most women). The women’s equivalent is the Osprey Mira pack.
- Hiking Poles – Hiking poles are essential when hiking on sand dunes to help keep your balance on the shifting sand. My current favorites are the LEKI Micro Vario Carbon Trekking Poles because they are super lightweight and fold down to easily fit into my suitcase.
- Electronics – if you are using your phone for navigation, bring a portable battery such as the Anker portable battery charger. For longer hikes or backpacking trips, consider bringing a Garmin InReach Explorer. This is a Personal Locator Device (PLB) that enables you to trigger a SOS call to search and rescue and 2-way texting over satellite.
Hiking the Kelso Dunes Trail
The First Half Mile
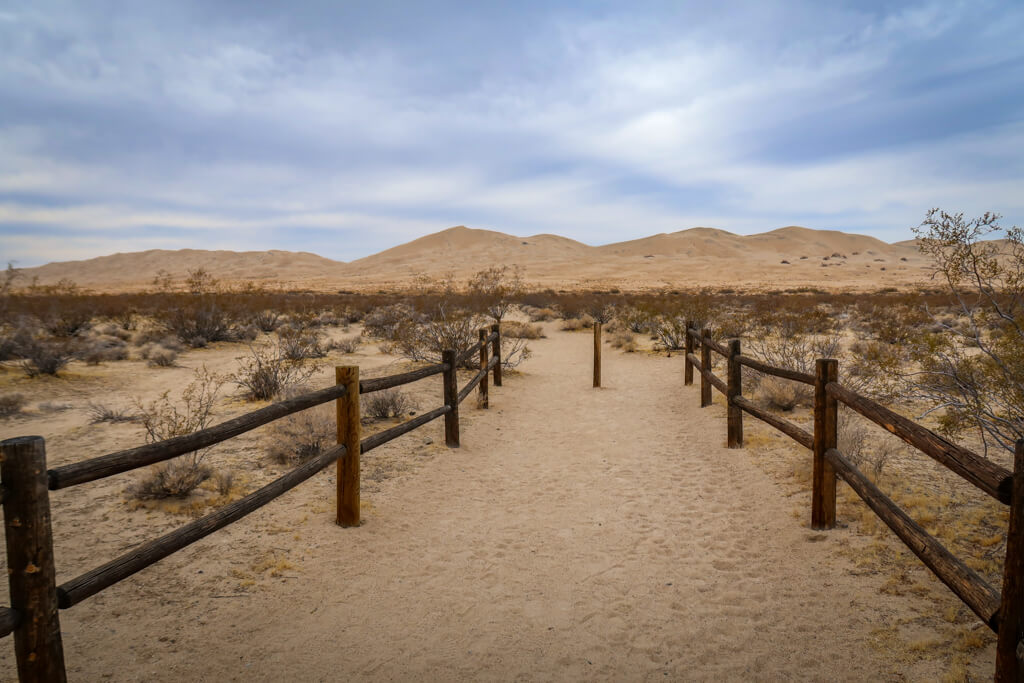
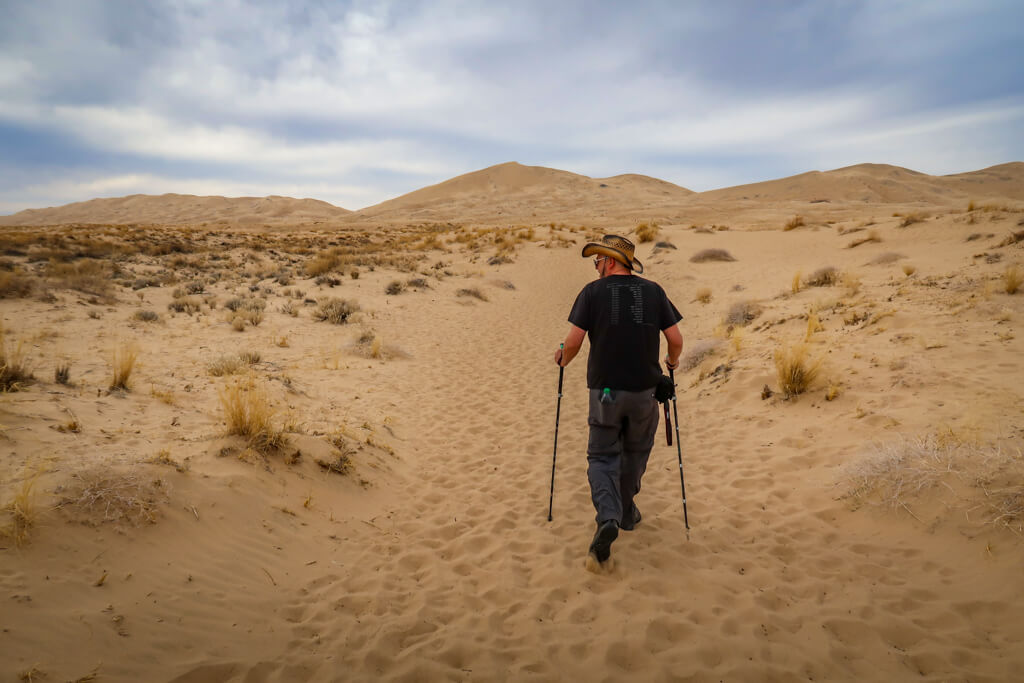
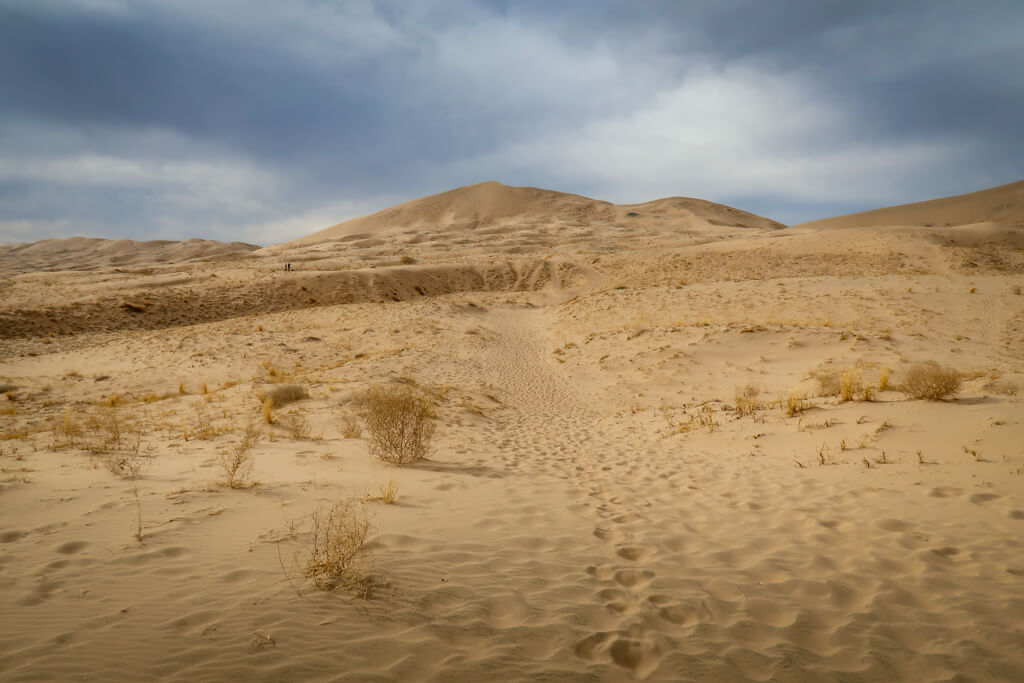
The first half mile of the Kelso Dunes is relatively flat and leads to the base of the tall dunes. In fact, there is a decrease in overall elevation for the first half mile. This does not mean the trail is easy, however. After traveling through a sandy wash lined with creosote bushes for .2 miles, the sand dunes begin. Hikers can expect to climb up and down a series of sandy dunes in this section as they reach the base of the tall dunes.
This is a good place to stop and turn around for those not wanting to take on the full hike. It’s a great spot to take photos of the dunes and also play around in the sand.
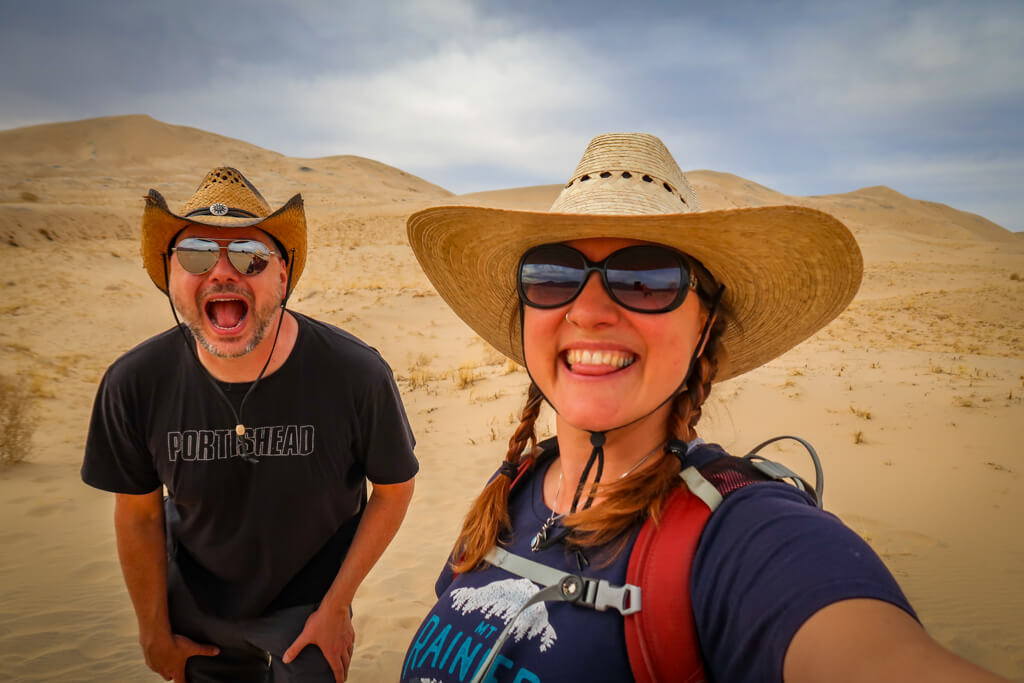
Daniel decided to turn around here due to an old knee injury. So I hugged him goodbye and kept going.
Climbing the Kelso Dunes
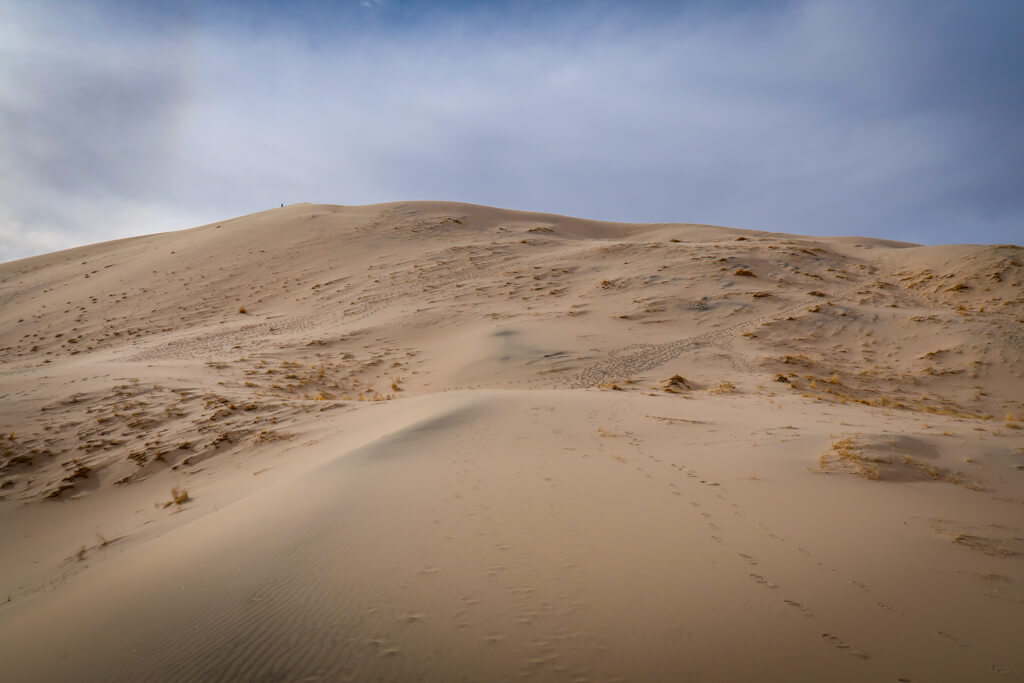
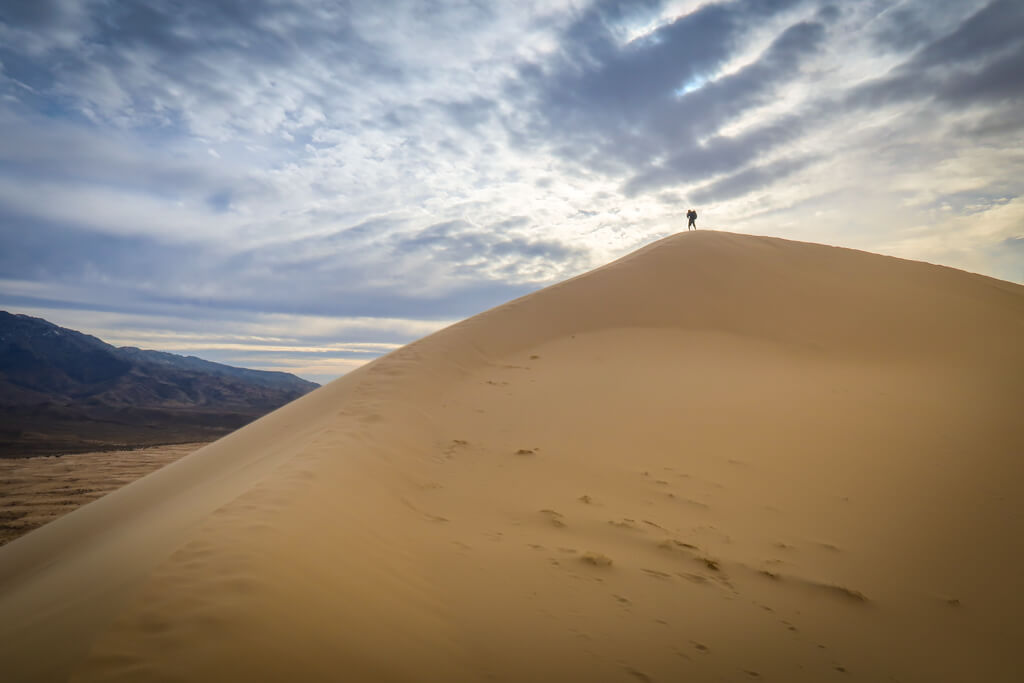
After the first half mile of the Kelso Dunes Trail, the climb begins. The trail heads up a series of sand dunes that get progressively steeper and steeper. This part of the trail was particularly challenging because my foot slipped downhill in the sand with each step that I took. Sometimes it felt like I was practically going backwards. I was glad to have brought along hiking poles to help propel me up the dunes.
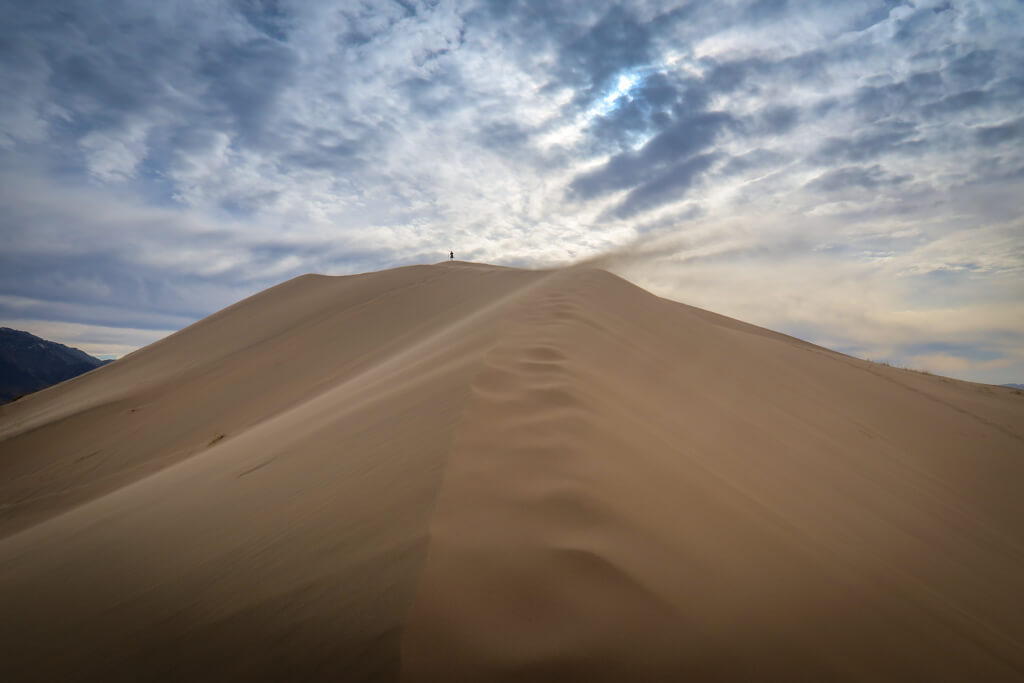
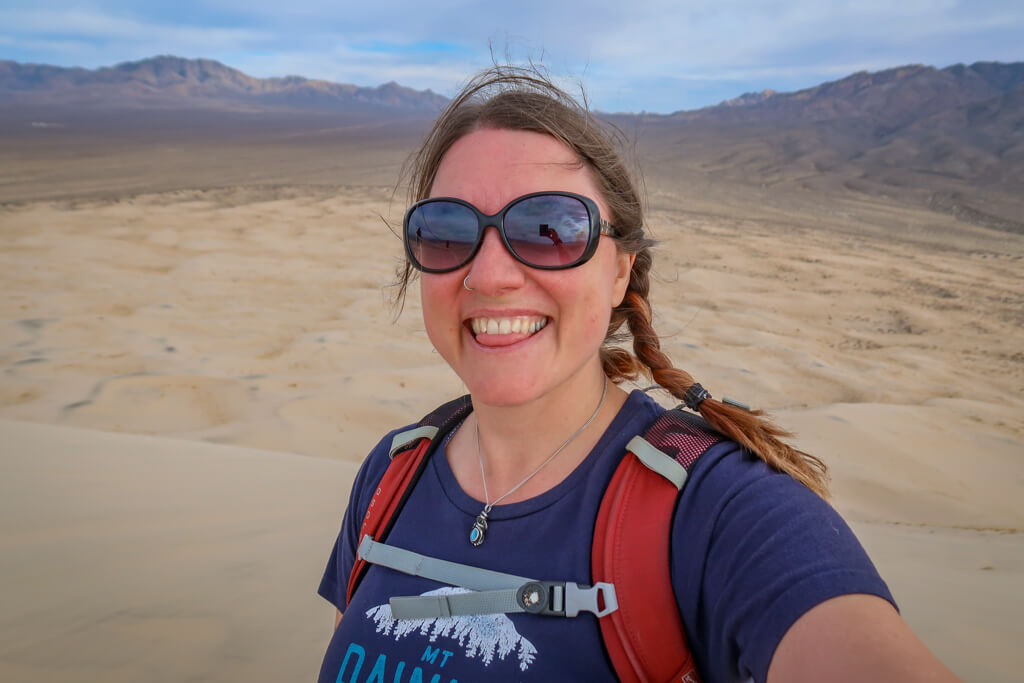
Eventually, I made it to the final sand dune and began my final ascent. When I crested the ridge, the wind was so strong that it blew my hat right off my head – even though I had tied it firmly under my chin. So that was a bummer. I had just purchased that hat at the Sky Village Swap Meet in Yucca Valley the previous week. Boo. (Read more about the Swap Meet here: 10 Fun and Quirky Things to Do Near Joshua Tree).
So you’ve been warned. It can be *really* windy at the top of the sand dunes. Don’t bring a hat that you aren’t willing to part with in a freak sand dune wind gust accident.
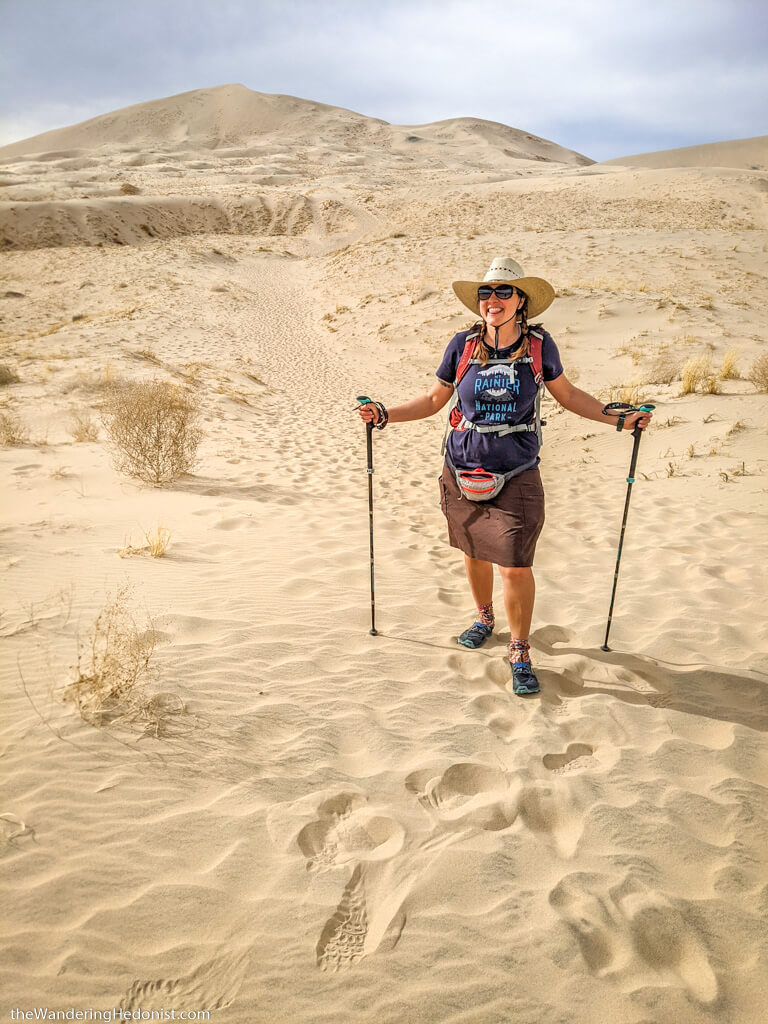
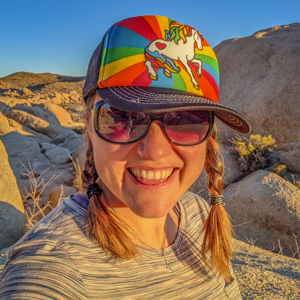
I am ready to climb some dunes! This is the last photo of me with this magnificent sun hat. Photo by Daniel.
View from the Top of Kelso Dunes
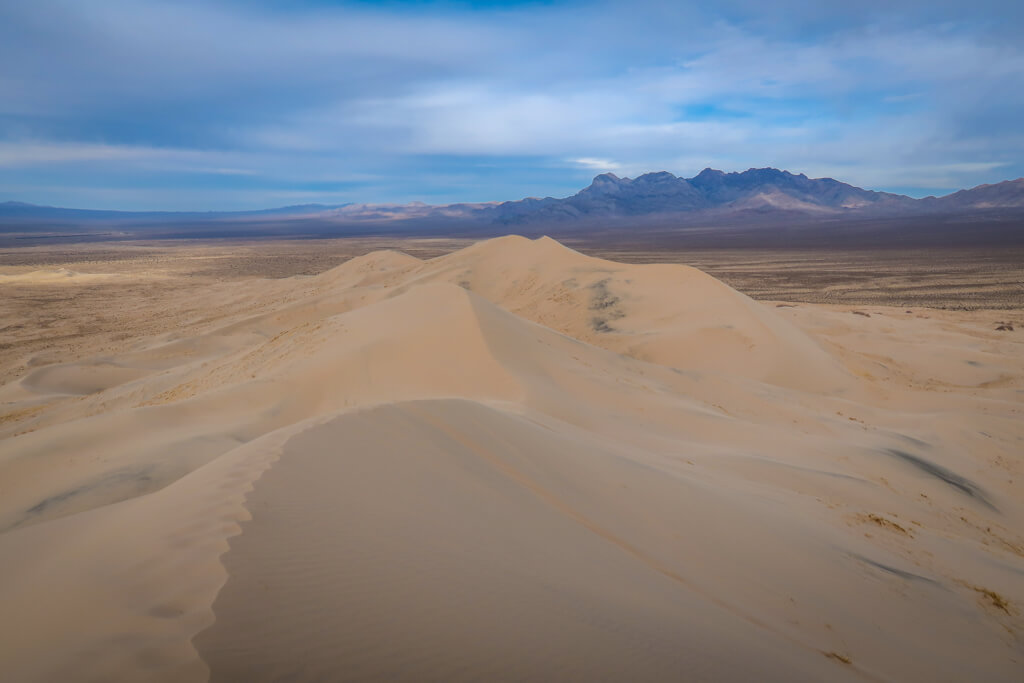
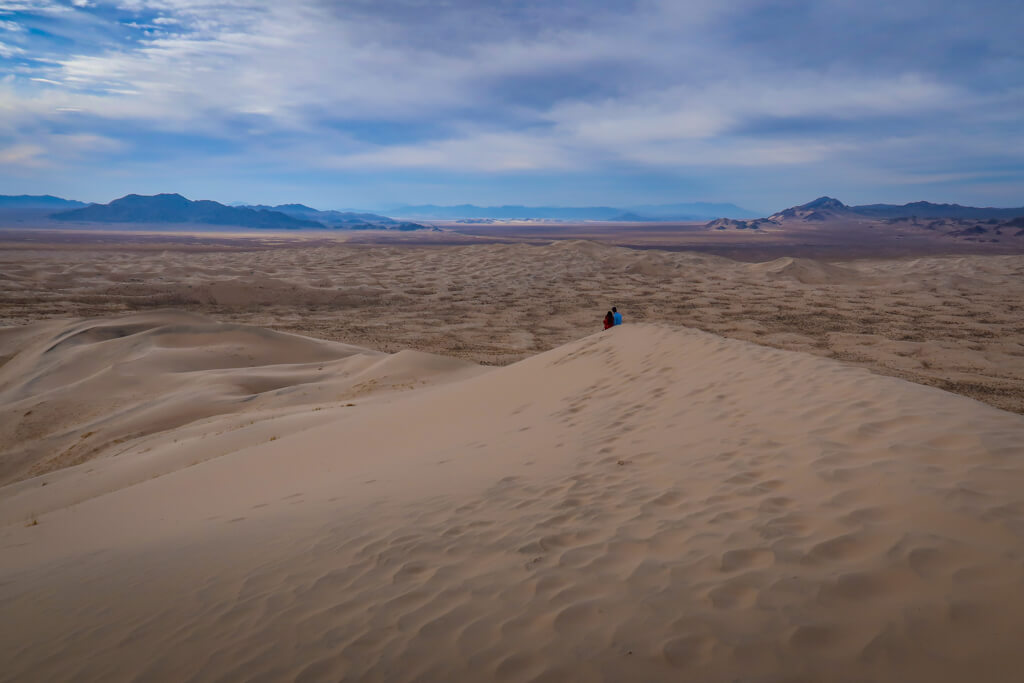
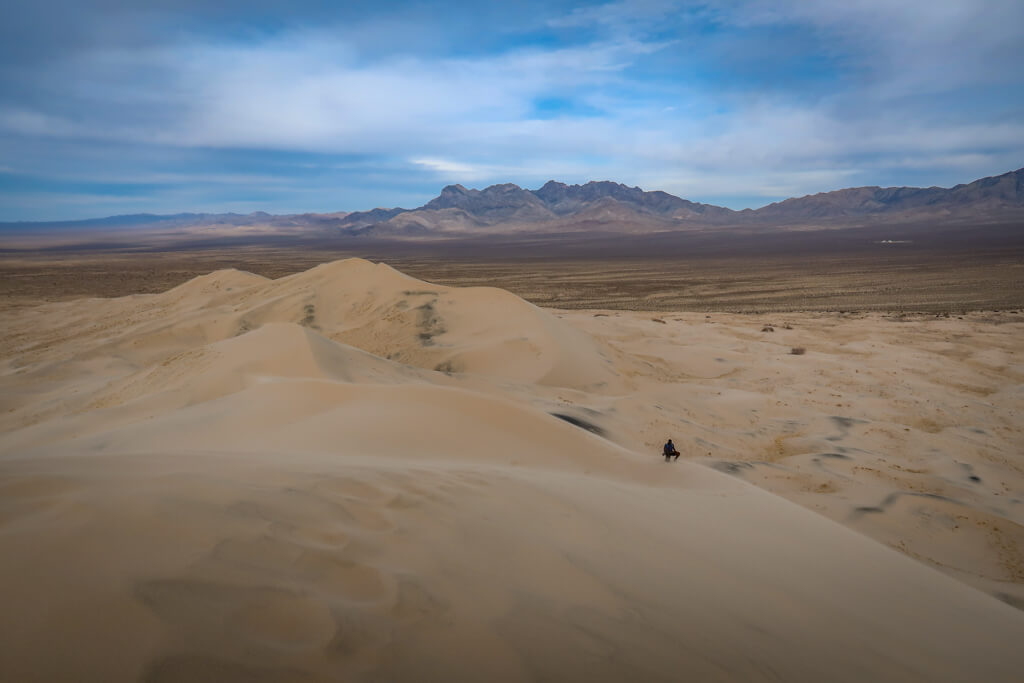
I eventually made it to the top of the Kelso Sand Dunes. From here, I was treated to fabulous views of the Mojave Desert in every direction. It was very windy however so I didn’t stay long.
The climb to the top was difficult but it was worth it, however. The views were really incredible.
Kelso Dunes Trail Information and Map
- Distance – 2.7 miles out & back
- Elevation Gain – 423 feet
- Starting Elevation – 2612 feet
- Highest Elevation Point – 3020 feet
Trailhead and Parking for Kelso Dunes Trail
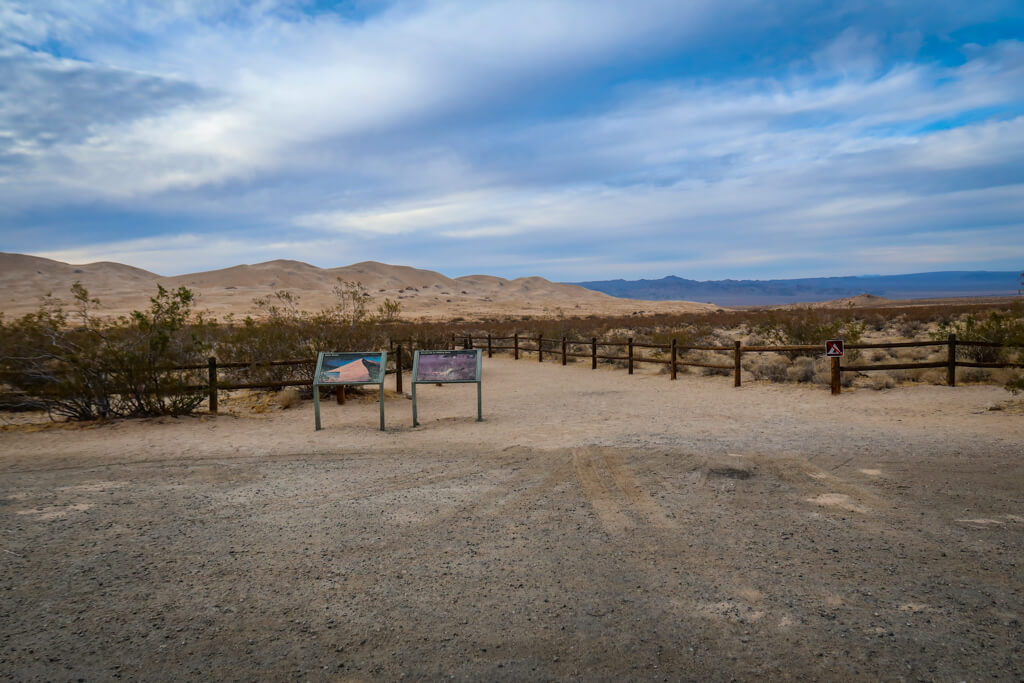
The Kelso Dunes trailhead is located in the Mojave National Preserve at the foot of the Dunes. There is a large parking area at the trailhead road as well as a pit toilet (although the doors were locked during our visit). Be sure to bring plenty of water as no water is available at the trailhead.
There is no fee to enter the Mojave National Preserve. For more information and current conditions, be sure to visit the official Mojave National Preserve web site.
Driving directions: the Kelso Dunes Trail is located between Los Angeles and Las Vegas in Southern California. From Interstate 40, take exit 78 for Kelbaker road and head north for 15 miles into the Mojave National Preserve. Turn left onto the Kelso-Dunes Road. This is a rough road with some potholes, although we managed it ok in our RV by driving slowly. The Kelso Dunes Trailhead is located on the right after driving 3 miles.
Like this article? Pin it!
Note: This post contains affiliate links, which means I may receive a commission if you click a link and purchase something. While clicking these links won’t cost you anything, they will help me to keep this site up and running!

Most people burn through the Mojave on their way to Las Vegas. Thank you for highlighting this awesome area that is not often written about! Hiking in sand is challenging but fantastic exercise. Our high school track team trained by running up our coastal dunes and it made them very hard to beat!
Ha! That sounds like excellent exercise!!