Campgrounds full at Joshua Tree National Park? No problem! It’s still possible to sleep under the stars at one of America’s most iconic National Parks … for free! The answer, my friend, is wilderness camping. Backpacking in Joshua Tree is a great way to leave the crowds behind and truly experience the beauty that this spectacular National Park has to offer, up close and in person.
If you’re new to wilderness camping, don’t fret. This guide will walk you through everything you need to complete a successful wilderness camping trip at Joshua Tree National Park. I’ve also provided some suggestions for gear to bring on your hiking trip.
Only have one day to spend in Joshua Tree? Check out my Joshua Tree day trip itinerary!
Note: This post contains affiliate links, which means I may receive a commission if you click a link and purchase something. While clicking these links won’t cost you anything, they will help me to keep this site up and running!
Table of Contents
Backpacking in Joshua Tree: The Rules
Wilderness camping in Joshua Tree is fairly easy compared to some other National Parks. There are no quotas for permits or early registration required. You can self-register for a backcountry permit at one of 13 backcountry registration boards which are located throughout the park. And it’s completely free! But first, you should familiarize yourself with a few rules:
- You must set up camp at least 1 mile from any road
- You must be at least 500 feet away from any trail
- Do not camp in day use areas
And that’s it!
Ok, there are a few more things to be aware of before setting out on your first trip (such as being prepared to camp in the wilderness and leaving no trace) but the basics really are that simple!
Before going any further, I recommend that you familiarize yourself with the Joshua Tree National Park Wilderness Backpacking Page. This web site has all the latest information and current conditions about wilderness camping in Joshua Tree.
Joshua Tree Wilderness Backpacking Permits
When considering where to go for your backpacking trip, be aware that Joshua Tree only allows overnight parking for wilderness camping at 13 backcountry parking lots. These are: Black Rock Canyon, Cottonwood Spring, Covington, Geology Tour, Indian Cove, Juniper Flats, Keys West, North Entrance, Pine City, Pleasant Valley, Porcupine Wash, Turkey Flats, and Twin Tanks. So you will need to start your trip from one of these areas.
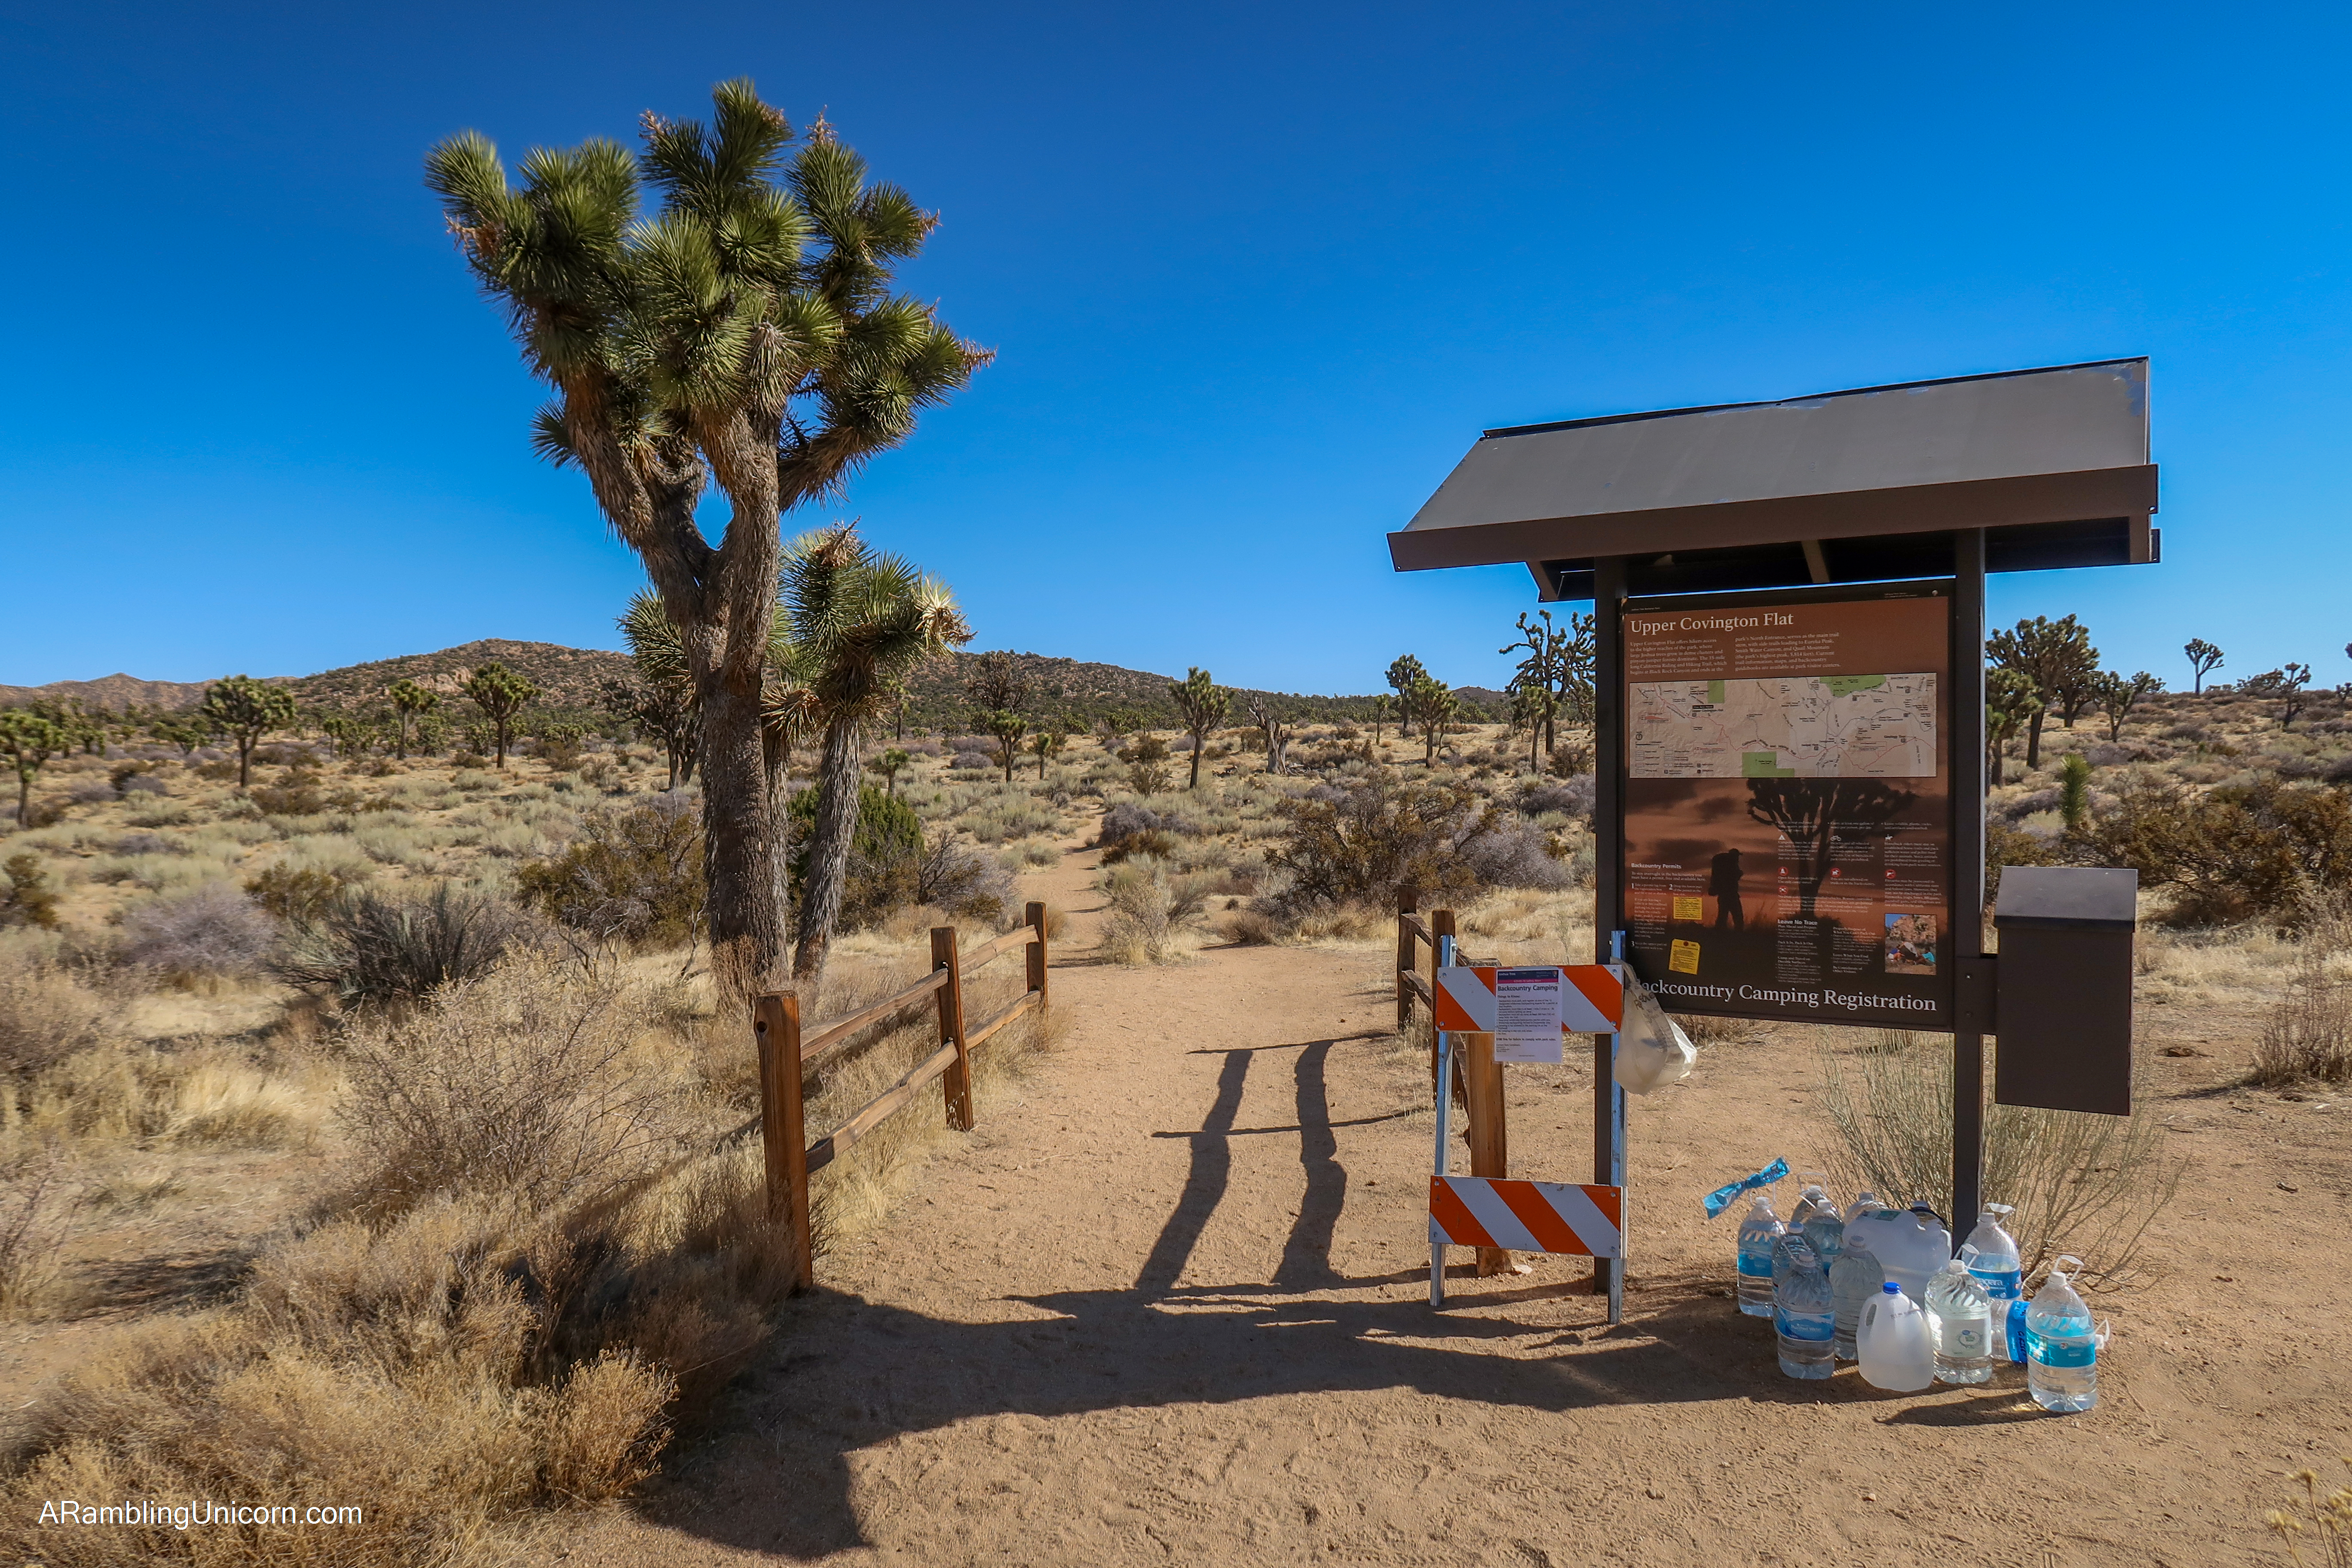
All of these parking lots have backcountry registration boards where you can self-register for a permit on the spot. Please note that you cannot camp at these parking lots or sleep in your car. Simply fill out the permit form, drop it in the box, and then hike at least 1 mile away before setting up camp. Be sure not to skip this step, as unregistered vehicles left overnight are subject to citation or towing.
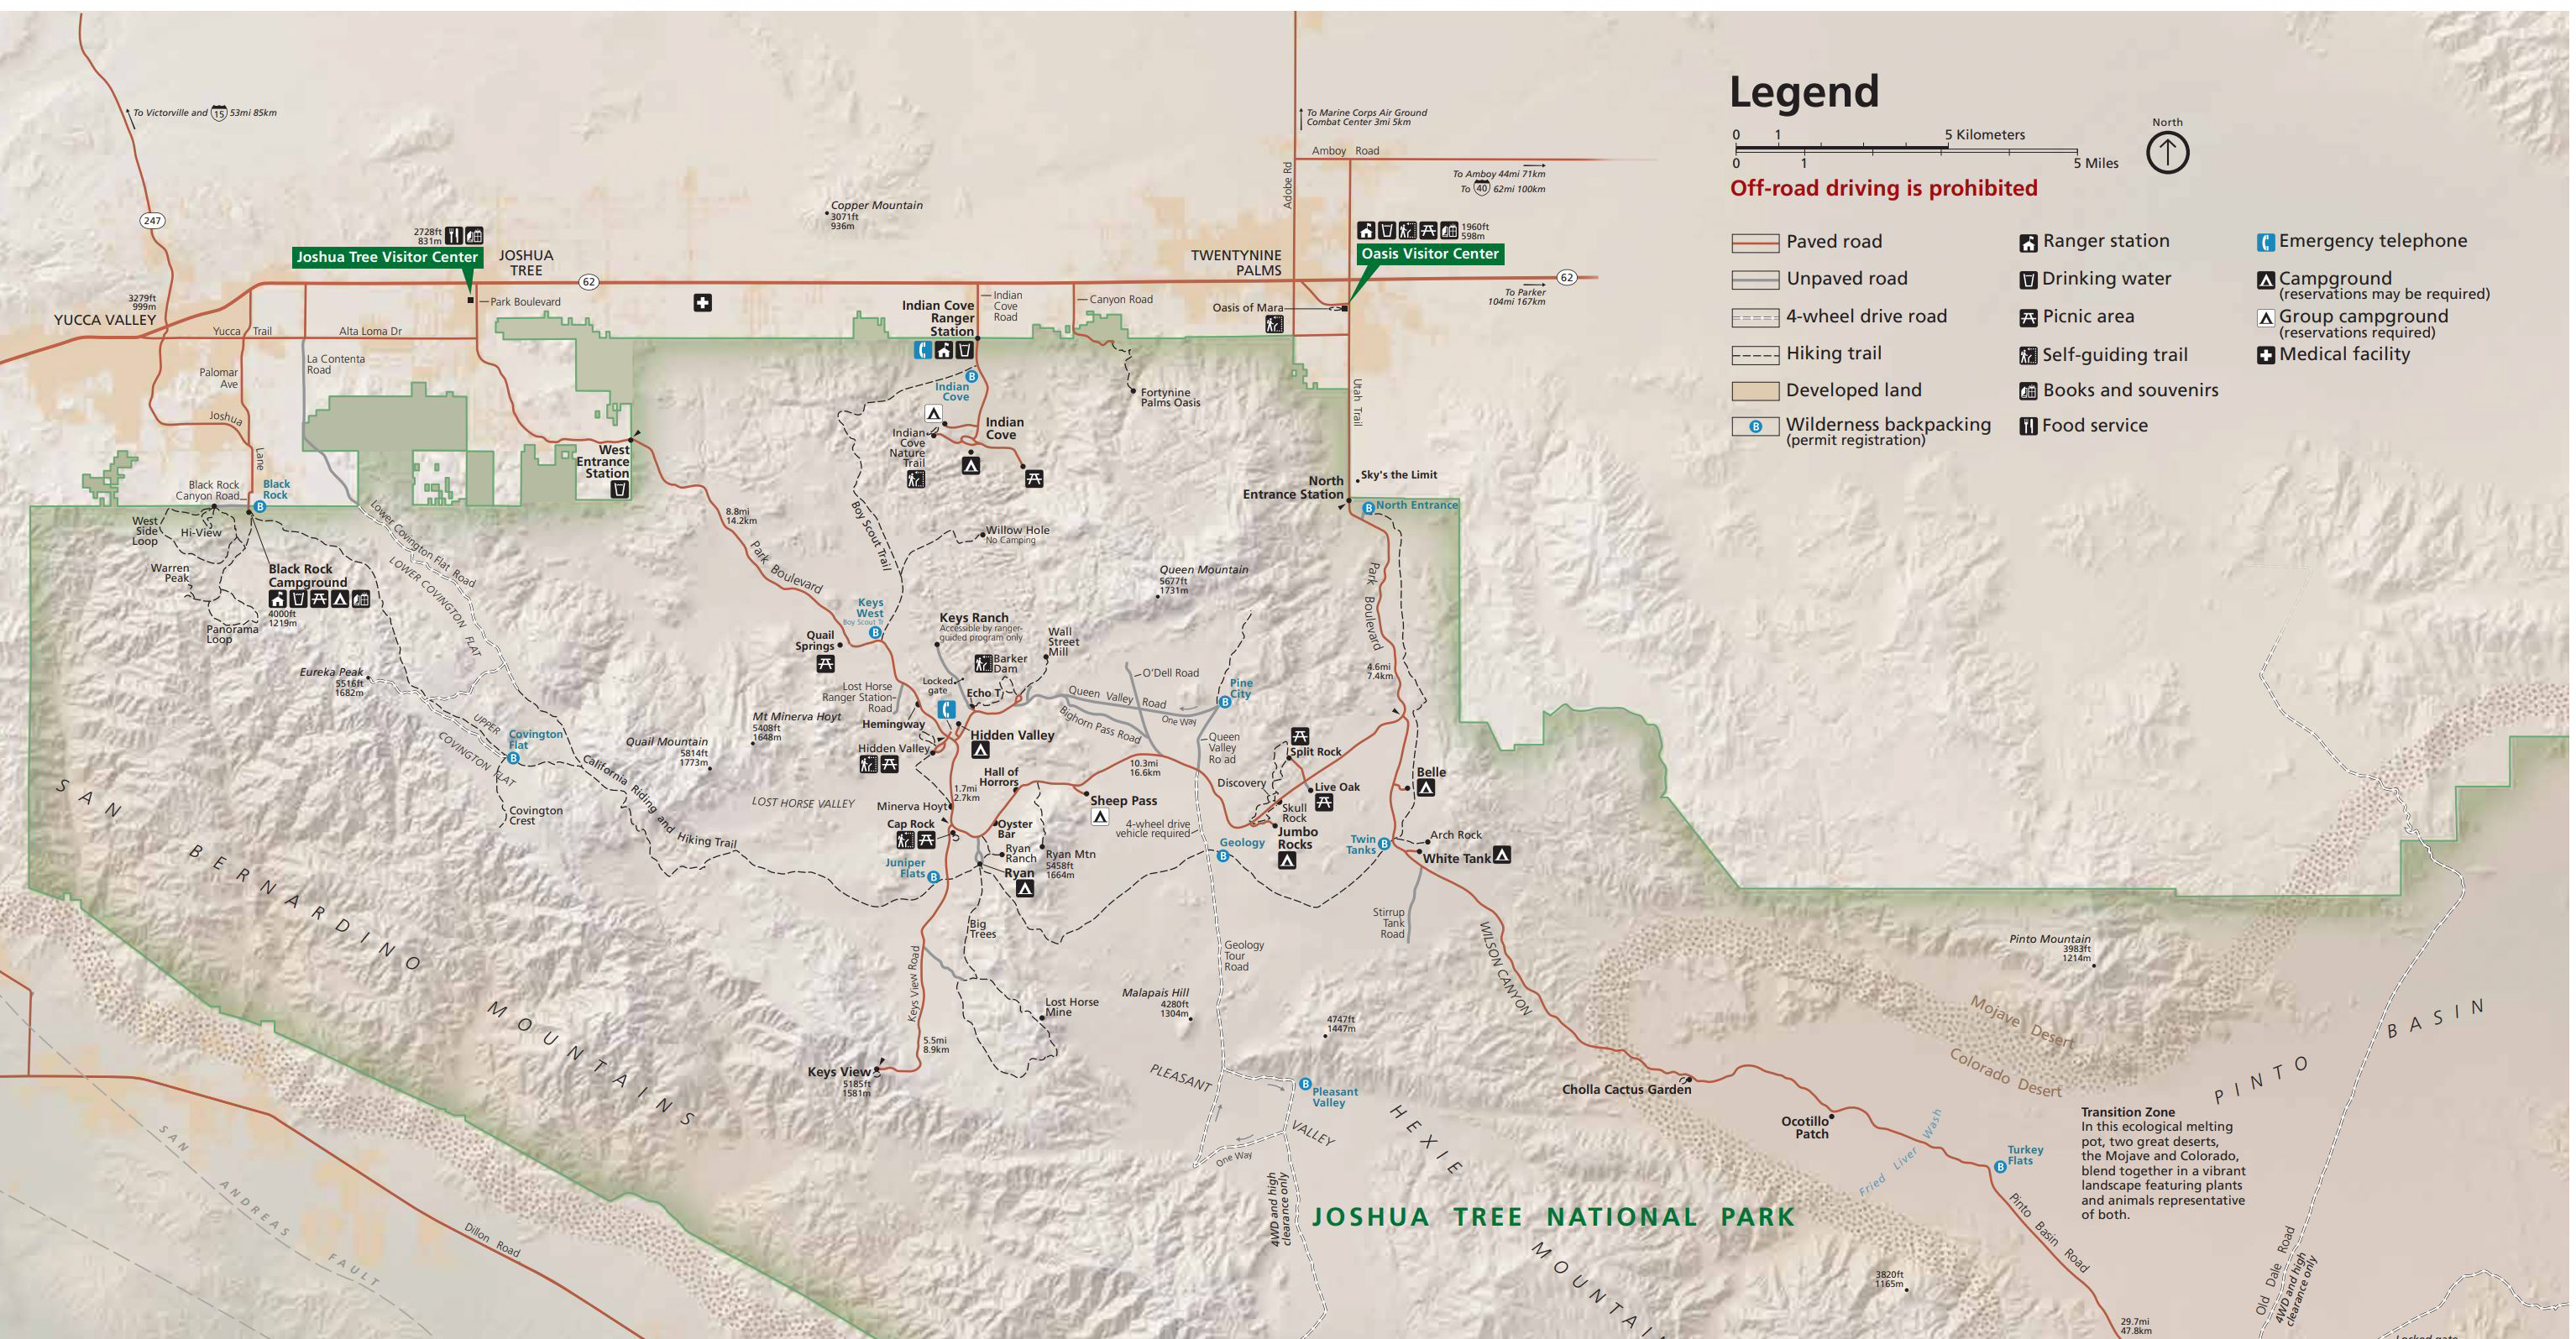
Map showing most of Joshua Tree National Park (except for the Southern Entrance). The Wilderness Backpacking registration boards are marked with blue circles.
You can download a high-resolution version of the entire map from the National Park Service here: Joshua Tree Map.
Note that some of these backcountry lots are accessible only by dirt roads. The National Park Service recommends using 4-wheel drive vehicles on these unimproved roads. These are clearly marked on the map.
If you are looking for a longer backpacking trip, the 8-mile Boy Scout Trail and 37-mile California Riding & Hiking Trail are excellent places to start. If it’s your first time out, however, I recommend keeping it simple and only hiking one mile from the trailhead. That way it’s super easy to return to your car if things go wrong.
Drinking Water and Caching
Be aware that there is no water available for backcountry camping once you enter Joshua Tree National Park so you will need to bring your own. Even if you do happen to find some naturally occurring water (such as at an oasis), visitors are not allowed to access it. This is to ensure that there is enough water available for wildlife in the park.
It is critical to bring enough water for your entire trip while backpacking in Joshua Tree. Park staff recommends a minimum of one gallon of water per person *per day* when hiking in the high desert. Some people may need as much as two gallons per day, especially if they will be hiking during the hottest part of the day.
One gallon of water weighs over 8 pounds which is incredibly heavy. If you are planning a longer backpacking trip, then caching water is recommended. Joshua Tree National Park allows multi-day hikers to cache water for up to 14 days. This involves a little bit of advanced planning, as you will need to drop the water off in advance. It is important to tag your cache with your name and email or telephone number so that park rangers can contact you if they need to remove it. Be sure to take your empty containers with you as there are usually no garbage cans at the back country registration boards.
To minimize the amount of water you need to bring, plan to hike in the mornings or evenings and avoid hiking during the hottest summer months.
Leave No Trace
When camping and hiking in wilderness areas, it is important to leave no leave no trace of your visit behind and minimize impacts to the area. The Center for Outdoor Ethics outlines Seven Principles for Leave No Trace that all hikers should be aware of. These are:
- Plan ahead and prepare
Hikers who plan ahead and prepare for their trip are less likely to end up in situations that may damage the land. Plus poor planning often results in miserable campers. - Travel and camp on durable surfaces
Travel on trails whenever possible, and when going off-trail keep to durable surfaces such as gravel or sand. - Dispose of waste properly
This should be obvious but don’t leave any garbage (or anything else) behind. This includes toilet paper. More details about how to handle the bathroom situation is available in the No Bathroom? No Problem! section below. - Leave what you find
Minimize alterations to camping sites, avoid damaging live trees and plants, and leave everything you find behind. - Minimize campfire impacts
In Joshua Tree National Park, campfires are only allowed in government-provided fire rings at campgrounds. This means that no campfires are allowed in the backcountry. - Respect wildlife
Respect wildlife by keeping a healthy distance from wild animals. Never feed wildlife as this can cause animals to become dependent on human food and become aggressive, which unfortunately usually leads to the animal having to be put down. Pets are prohibited on trails and in the backcountry. - Be considerate of other visitors
Visitors to wilderness areas there to enjoy the beauty and serenity of the great outdoors. They don’t want to see evidence left behind by previous visitors or hear anyone else. Don’t leave a mess behind and keep your noise to a minimum.
Weather and Seasonal Considerations
Summers are really hot in Joshua Tree National Park – with temperatures that can soar to over 100 degrees Fahrenheit. Hikers visiting Joshua Tree in the summer should take precautions to avoid heat exhaustion by drinking plenty of water and planning hikes for the early morning or evening hours.
Because of the hot summer temperatures, most visitors to Joshua Tree arrive in Spring or Autumn when the temperatures are cooler. If you arrive in the Spring or Fall, however, be prepared for the nights to get chilly. You should bring lots of layers as the temperature can fluctuate wildly in a single day – hot one minute and snowing the next (this happened to me on a backpacking trip in March).
Always check the weather forecast before heading out into the backcountry at Joshua Tree or anywhere else. If rain is in the forecast, bring raingear and take care not to camp in dry streambed or wash that could turn into a river during a flash flood.
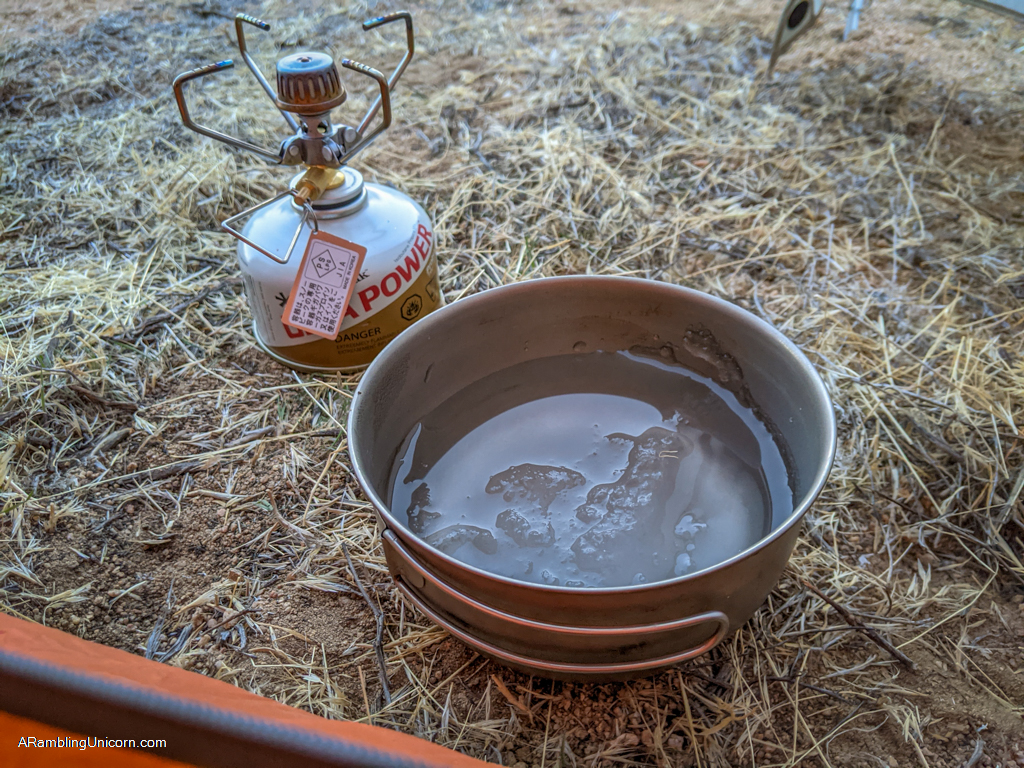
I woke up to slushy water during a recent trip to Joshua Tree in March. Luckily I checked the weather forecast before heading out and was prepared!
What to Bring: Essentials and Hiking Gear
Whenever you go on a hike or a backpacking trip, you should always bring along The Ten Essentials. This list can vary somewhat depending on where and when you go. Here’s what I recommend, along with some additional gear suggestions.
Keep in mind that choosing hiking gear is a very personal decision and there is no one right answer. What works for me may not work for someone else. I hiked the PCT in 2017 so while I have a lot of backpacking experience, my focus is on ultralight gear – which may not be appropriate for all hikers. I suggest checking with other hikers as well to get an idea of the options out there before making a choice
The Ten Essentials
- Navigation: Maps, Compass, GPS Navigation and Personal Locator Beacons (PLBs)
You should never enter the wilderness without a map and a way to navigate. I always download a map ahead of time on my phone using an app such as AllTrails. Since I primarily rely on my phone for navigation, I also bring along a portable battery (I use the Anker portable battery charger). You should always bring a paper map along too in case your electronics fail. Since I usually hike solo and there is no cell reception in the wilderness, I also bring along a Garmin InReach Explorer. This is a Personal Locator Device (PLB) that enables you to trigger a SOS call to search and rescue and 2-way texting over satellite. This device isn’t cheap and also requires a subscription plan – so it isn’t for everyone. - Headlamp Plus Batteries
Don’t rely on your phone’s flashlight app to see in the dark. A headlamp is important especially if you have to hike out at night. I use the Princeton Tec Byte headlamp and have been pleased with it. I also bring a long a tiny NEBO LUMO keychain light and attach it inside the roof of my tent. - Sun Protection: Sunscreen, Sun Hat and Sun Shirt
Sun protection is crucial when hiking in the desert. Apply sunscreen before starting out and bring along some extra for the trail. I like these Banana Boat 1-oz tubes of sunscreen because they are super tiny. Also be sure to bring a wide brim sun hat – this particular hat is great for backpacking because it doesn’t have a back brim to bump against your backpack. You should also bring a long-sleeved sun shirt to protect your neck and shoulders from sunburn. - First Aid: First Aid Kit and Foot Care Supplies
Basic first aid supplies should be included in every hiker’s kit. It doesn’t have to be super fancy, but you’ll want to have some pain medication, basic wound care supplies, and any personal medication or prescriptions that you take on a regular basis. I like to assemble my own kit, but if you’re in a hurry you can pick up a pre-made kit such as the Adventure Medical First Aid Kit. If you’re planning on a long hike, then you should also plan on caring for your feet as they may develop blisters. Moleskin patches are great for preventing blisters if you feel a hot spot and Compeed blister care cushions are helpful for treating blisters once they’ve already formed. - Knife Plus Repair Kit
A knife is always a handy tool to have on hand in the backcountry. I like to travel light so I usually just bring a small Swiss Army Knife. This one is handy because it also includes tiny scissors and tweezers. If I’m going to be camping in a more rugged environment I’ll bring my CRKT folding pocket knife. It’s an awesome knife that I never would have bought on my own, but my husband is sort of obsessed with knives and gave it to me for Christmas one year. - Fire: Matches, Lighter and Tinder, or Stove as Appropriate
Always bring matches and/or a lighter when in the backcountry as you never know when you may need to light a fire in an emergency. That being said, fires are prohibited in Joshua Tree National Park except for within government-provided fire rings. Backpacking stoves, however, are a-ok. I’ve used the Snow Peak GigaPower stove for years and love it. - ShelterÂ
Shelter refers to an emergency bivouak (for day hikers) or a tent. As far as tents go, I’m a big fan of the Big Agnes Copper Spur Tent (more about that below). - Extra Food
You never know when things may go wrong in the backcountry. You could get stuck outdoors longer than planned. This is why it’s always a good idea to bring some extra food just in case. - Extra Water and Water Purification
Normally when I’m on backpacking trip I bring along a Sawyer Squeeze Water Filter. This is a moot point in Joshua Tree, however, because there are no water sources available to filter from. Refer to the Drinking Water and Caching section for more details on how to handle water. - Extra Clothes Sufficient to Survive Overnight
Nights can get super cold in Joshua Tree. Be sure to check the weather forecast and bring enough layers so you’ll be warm at night.
The Big 4: Backpack, Tent, Sleeping Bag and Sleeping Pad
The “Big 4” refer to your backpack, tent, sleeping bag and sleeping pad. These are the heaviest items that you’ll bring on your backpacking trip – and possibly the most expensive. Since I’m a long-distance hiker, I pay very close attention to my pack weight and try to keep it as light as possible – even if it costs more money. If you’re just starting out, however, you probably don’t need to shell out as much money for ultra-lightweight gear.
Backpack
Take some time to find a pack that you feel comfortable in. I recommend going to an outdoors store and trying one on that has weight in it. This way you can see how it feels fully loaded. I’m a big fan of Osprey packs because I tend to get a sweaty back and the design promotes good airflow. My go-to bag is the Osprey Exos 58 because it’s super lightweight. This backpack doesn’t have many pockets or places to store items, however. If you’re just starting out you may want something more rugged.
Tent
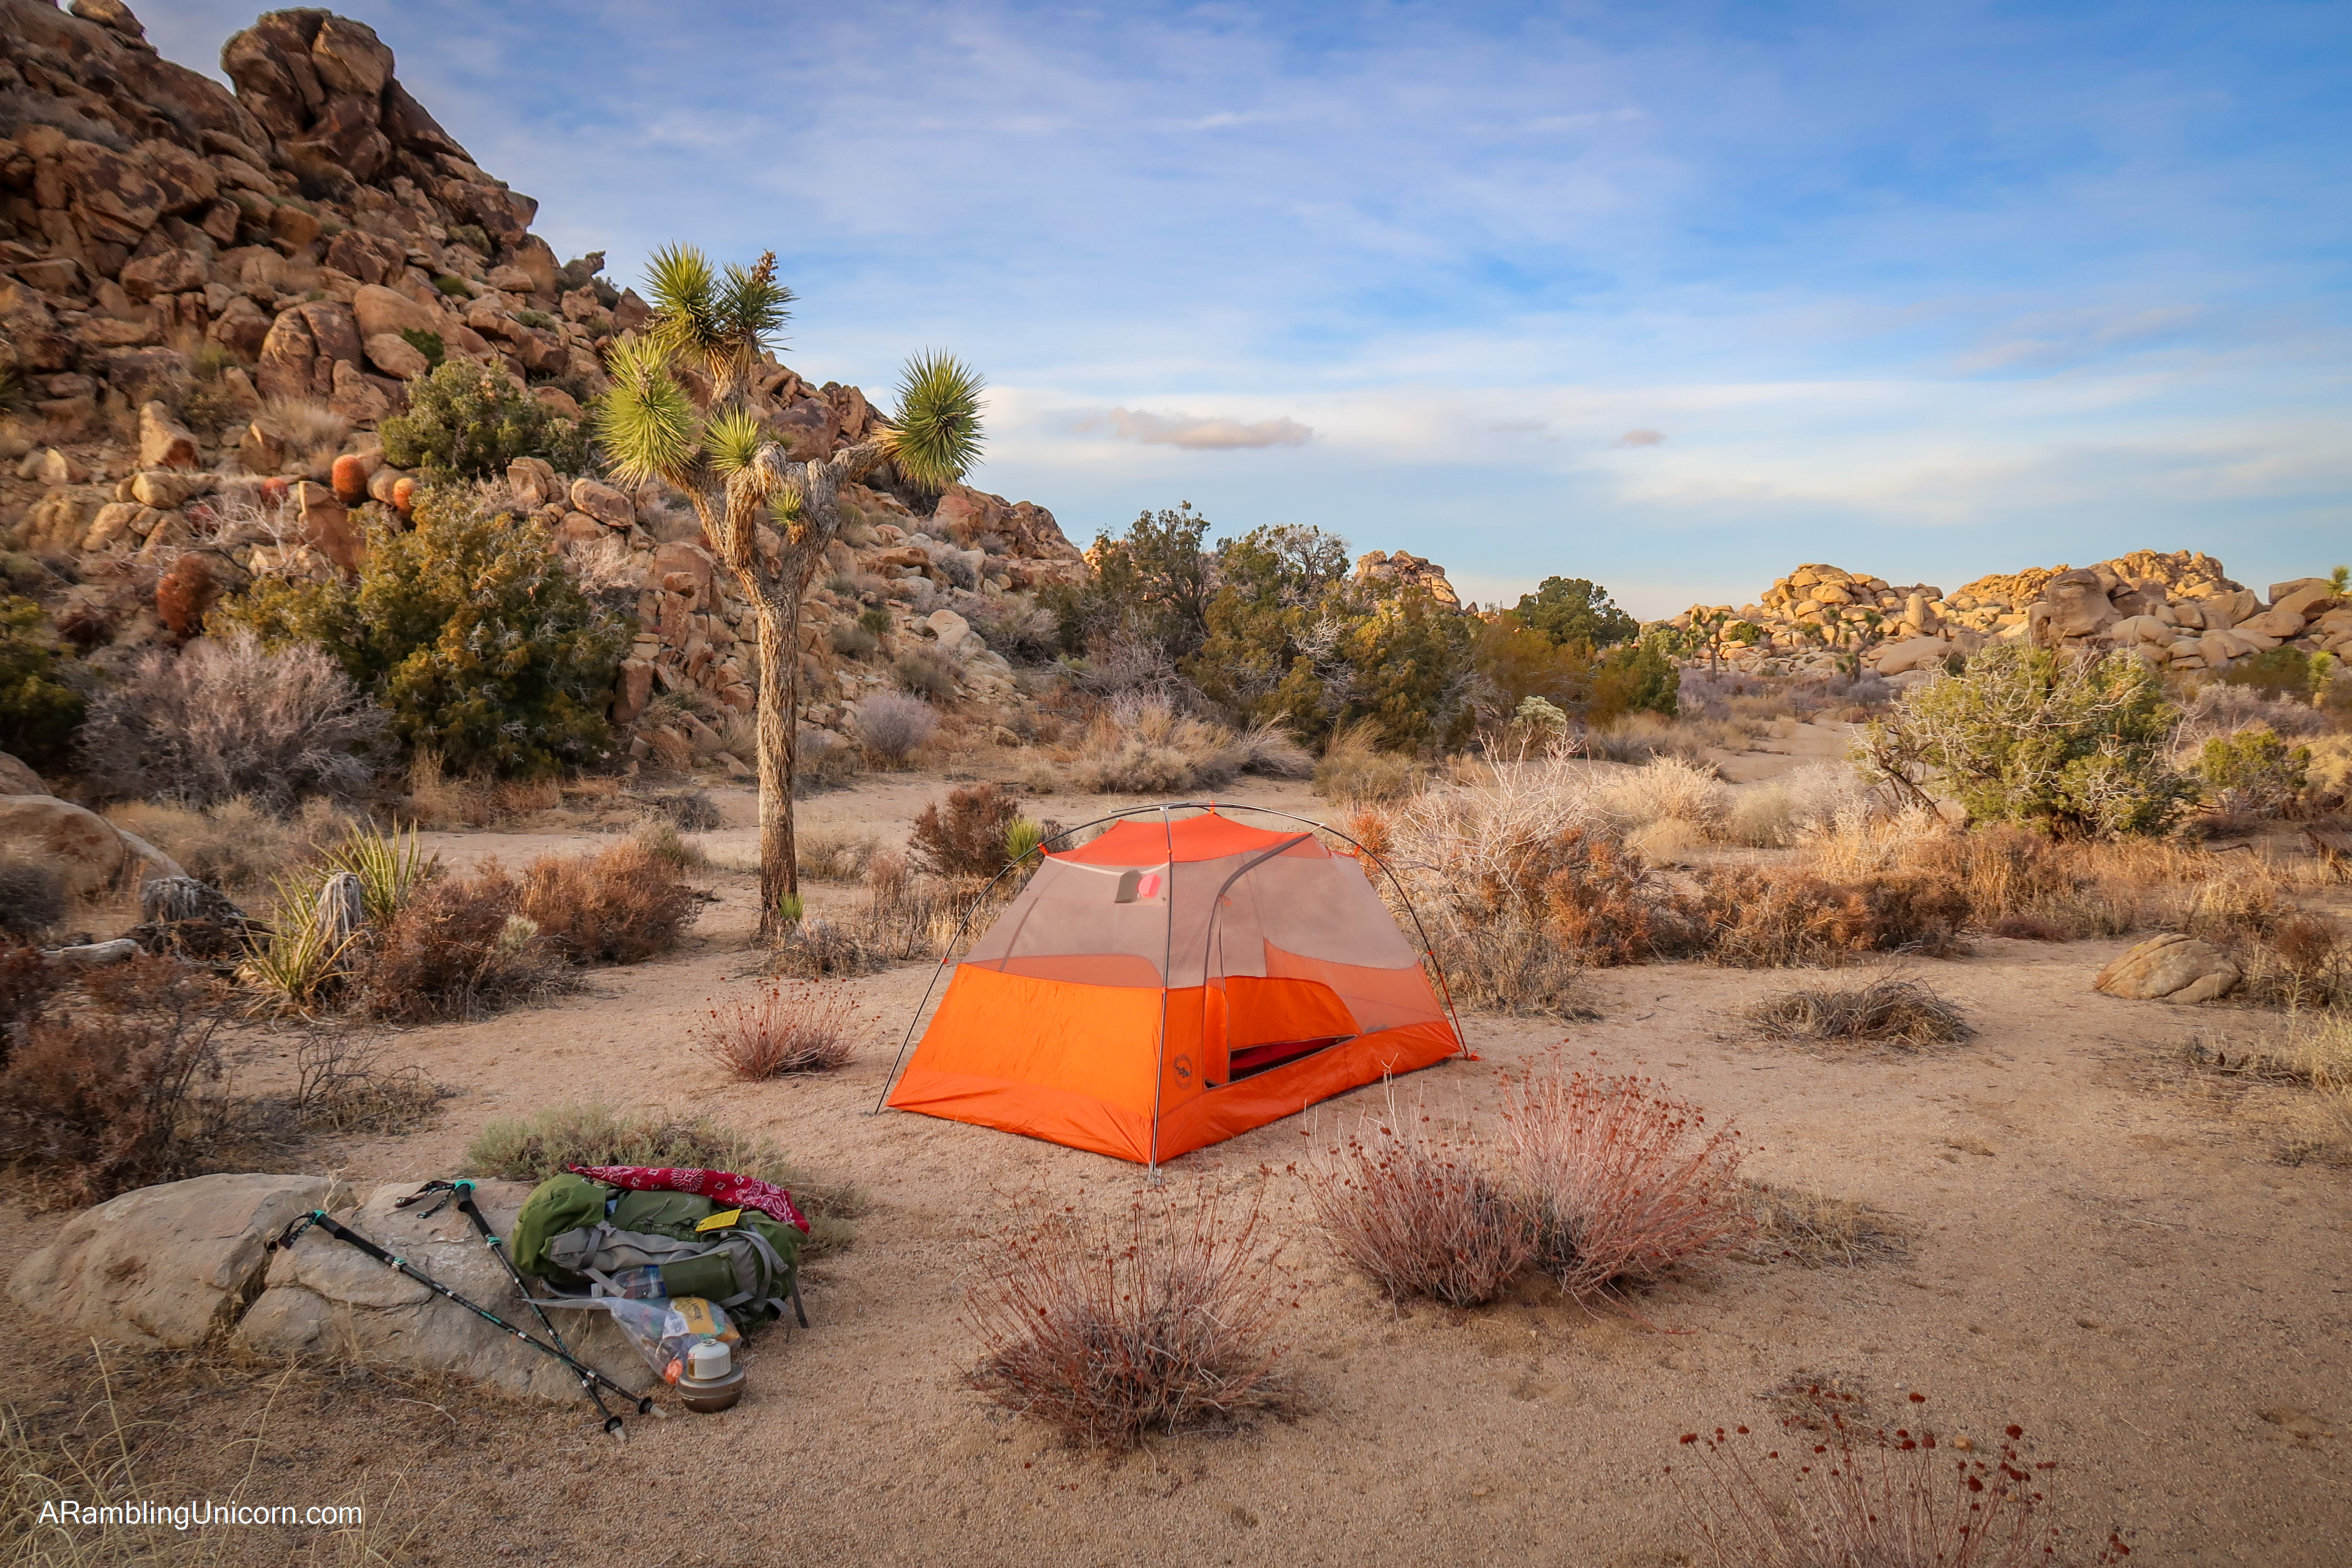
I’m a big fan of the Big Agnes Copper Spur Tent. I used the 1-person version when I hiked the PCT in 2017 and now my husband and I use the 2-person version. It’s a super lightweight standalone tent that is great for backpacking. It’s pretty pricey though, so if you’re looking for a more budget-friendly tent the REI Half Dome is a good option.
Big Agnes Copper Spur 2-Person Tent
Sleeping Bag or Sleeping Quilt
The sleeping bag you choose will depend on when you plan to go backpacking in Joshua Tree. If you’re camping in summer you’ll want a lightweight bag. Any other time of year, however, will require a warmer bag. Another factor to consider is that women tend to sleep colder than men. I have an ultra-lightweight 10 degree Enlightened Equipment Enigma custom quilt which I absolutely adore. But if I’m being honest, it really wasn’t warm enough for my last backpacking trip to Joshua Tree when the temperatures dipped below freezing at night. If I had it to do over again, I would bring a sleeping bag rather than a quilt.
Sleeping Pad
Choosing a sleeping pad is important not just because it determines how comfortable you will be at night. A sleeping pad also insulates you from the ground and helps to keep you warm. When choosing a sleeping pad, check the “R Value” of the pad as this will determine how much insulation the pad provides (and how warm you will sleep).
There are two types of sleeping pads: foam pads or air mattresses. Most people choose one or the other, but I actually bring one of each. This is because I’m a cranky lady when I don’t sleep well and getting a good night of sleep is incredibly important to me. I use the Exped Synmat Winterlite air mattress because I find the vertical baffles more comfortable than pads with horizontal baffles. For my foam pad, I use the Therm-a-Rest Z Lite Sol Ultralight Foam Backpacking Mattress which is great because it also doubles as a seating pad for when I want to take a break.
Exped Synmat Winterlite Air Mattress
What to Wear
It’s important to bring lots of layers when backpacking Joshua Tree as the temperature can vary wildly in a single day. Be prepared for cold nights and hot days as well as rain. Do not wear cotton clothing as it will not insulate you from the cold if it gets wet – synthetic or wool clothing is always best. And be sure to wear comfortable shoes.
Tops
Whenever I venture to the backcountry, I always bring a puffy coat, rain coat, sun shirt and warm base layer in addition to my t-shirt or tank top. This way I can add and remove layers depending on how cold it is outside.
Here are some of my favorites:
- Puffy Coat: Mountain Hardwear Ghost Whisperer – this is ultralight and ultra awesome (and ultra pricey)
- Rain Coat: Outdoor Research Women’s Helium II Jacket
- Light Base Layer: prAna womens Foundation Long Sleeve Crew Neck Top
- Warm Base Layer: Icebreaker Women’s 200 Oasis Long Sleeve Scoop Top
- Sun Shirt: Columbia Tamiami II
My favorite Marmot sun shirt isn’t manufactured any more, but if I had to buy a new one I’d probably go for the Columbia Tamiami II.
Bottoms
While most people tend to wear lightweight pants when hiking, I’m a skirt girl through and through. I find hiking in a skirt incredibly comfortable (and freeing). I pair the skirt with legging which I can put on or take off depending how cold it is outside. On warm days, I wear shorts underneath the skirt to prevent my thighs from chafing.
Here are my favorites:
- Skirt: Purple Rain Adventure Skirts
I’m a huge fan of Purple Rain Skirts and pretty much wear one every day. I’ve owned several over the years and love the fact that they are very sturdy, comfortable and have great pockets. - Leggings: I’ve had my favorite leggings for years and alas they are no longer manufactured. My pair is super baggy and has pockets.
- Warm Base Layer (Bottom): Icebreaker Women’s 200 Oasis Leggings
- Hiking Shorts: ExOfficio Men’s Give-N-Go Sport Mesh 6″ Boxer Brief
Yes it is true – I wear men’s underpants under my hiking skirt to prevent thigh chafe. I love these shorts because they are extra roomy in the nether regions and super comfy.
Footwear
A sturdy, comfortable pair of hiking shoes is critical before embarking on any backpacking trip as well as quality socks I also recommend wearing gaiters when hiking in the desert to keep sand and debris from getting into your shoes. Here’s what I like to wear:
- Shoes: Altra Lone Peaks
Altra Lone Peaks aren’t for everyone. These shoes have a zero drop and take some time to get used to. But I love them.
- Socks: Injinji Toe Socks
These socks are great because they help to minimize blisters between my toes.
- Gaiters: Dirty Girl Gaiters
Headwear
A broad sun hat is key when hiking in the desert. Also be sure to bring a warm hat for cold nights. Here’s what I like to wear:
- Sun Hat: Wide Brim Sun Hat
This hat is great because it is well ventilated and doesn’t have a back rim to bump into my backpack.
- Warm Hat: Outdoor Research Transcendent Down Beanie
This beanie is super lightweight and tiny!
- Neck Gaiter: BUFF Merino Headwear
Neck gaiters are incredibly versatile and great for keeping your neck warm. I always have one in my pack.
Cooking Gear and Food Storage
When entering the wilderness, pay attention to how you store your food to ensure it doesn’t attract critters or wild animals. I like to keep my food in a LOKSAK-OPSAK Storage Bag because it minimizes odors. Be sure to put all your food and garbage in the bag at night, along with anything smelly like toothpaste. If you are entering wilderness areas with bears, then you’ll want additional storage precautions such as a Ursack Major Bear Bag (thankfully this isn’t an issue in Joshua Tree though).
If you plan to cook on your overnight trip, then some basic cooking supplies are also essential. I like the Snow Peak GigaPower stove as well as Snow Peak aluminum cookware. Don’t forget to bring along a small can of propane, which you can pick up at a local outdoors store.
No Bathroom? No Problem!
If you don’t know how to pee outside, don’t fret. Pooping and peeing in the wilderness is easy once you get the hang of it.
Pooping outdoors
If you need to poop while in the backcountry, simply dig a cat hole in the ground that is at least 200 feet away from water, trails and camp. The cat hole should be about 6-8 inches deep and 4-6 inches in diameter. I recommend bringing The Deuce ultralight trowel and also some wet wipes along with some toilet paper and hand sanitizer. After you are finished with your business, cover the hole back up again with the displaced dirt. Be sure to pack out all toilet paper and wet wipes with you. Animals can dig up the toilet paper later and it is super gross to see toilet paper everywhere in the back country.
Pro trip: dig the cat hole in advance! That way you don’t have a mad scramble to dig a hole at the last minute when the urge strikes you.
Peeing outdoors
Peeing outdoors isn’t a big deal for guys, but for ladies it can be more complicated. I recommend bringing along a pee rag instead of using toilet paper. Simply tie the cloth afterwards to dry. I use a simple bandana but some of my friends swear by the Kula Cloth. Some women also like to bring along a portable urination device so that they can pee standing up. I haven’t used one before but the Pibella female urination device seems to be pretty popular with my hiking friends.
Pibella female urination device
My Experience Backpacking in Joshua Tree
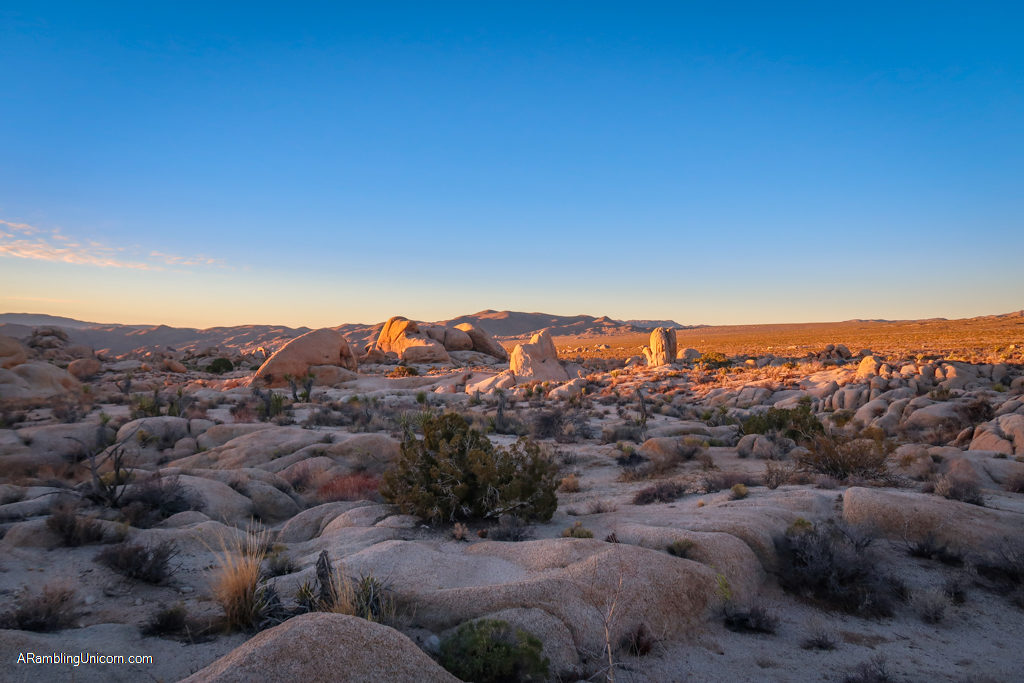
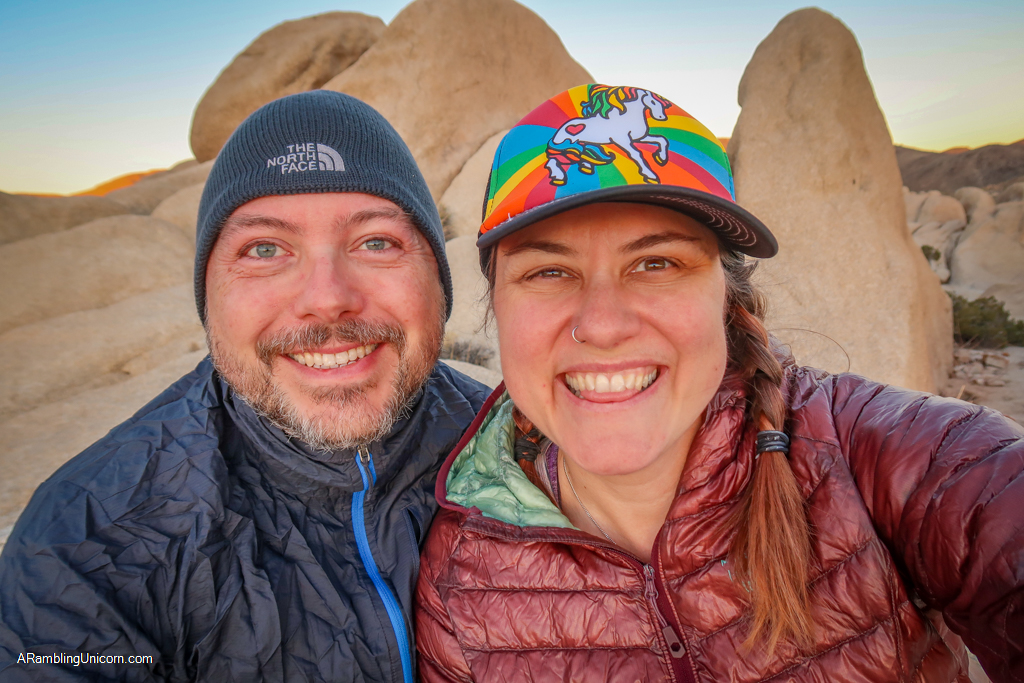
When my husband Daniel and I first arrived at Joshua Tree in January 2021, the campgrounds were all closed due to COVID-19. We really wanted to spend a night out under the stars, however. This is why we decided to go backpacking in Joshua Tree instead.
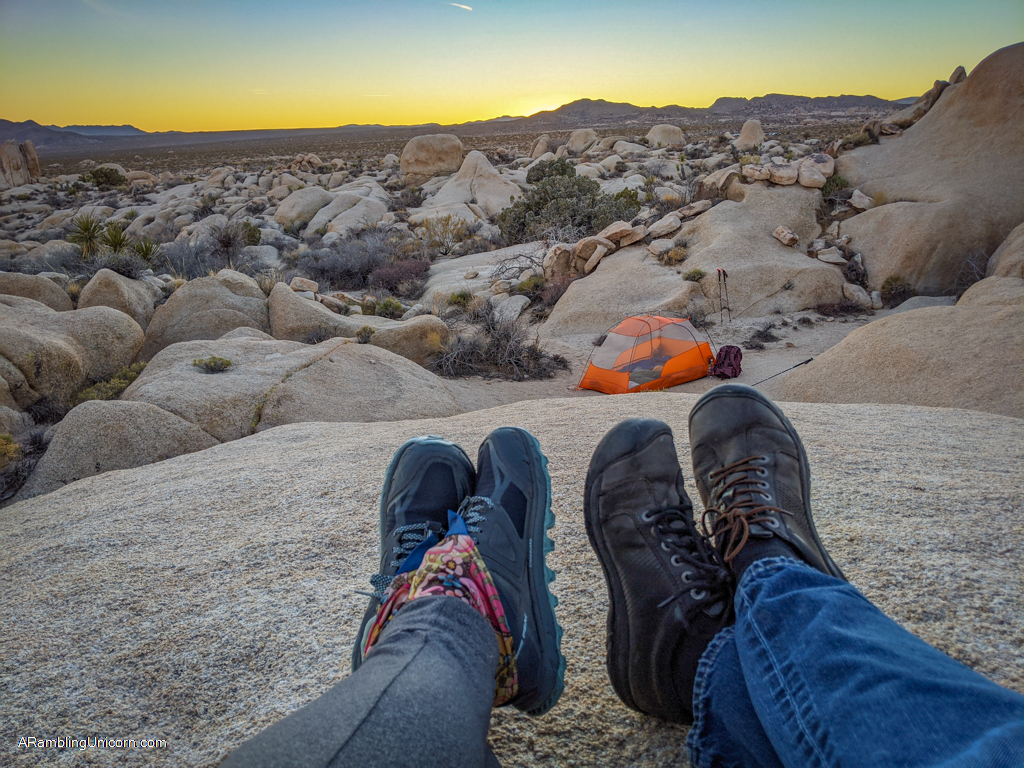
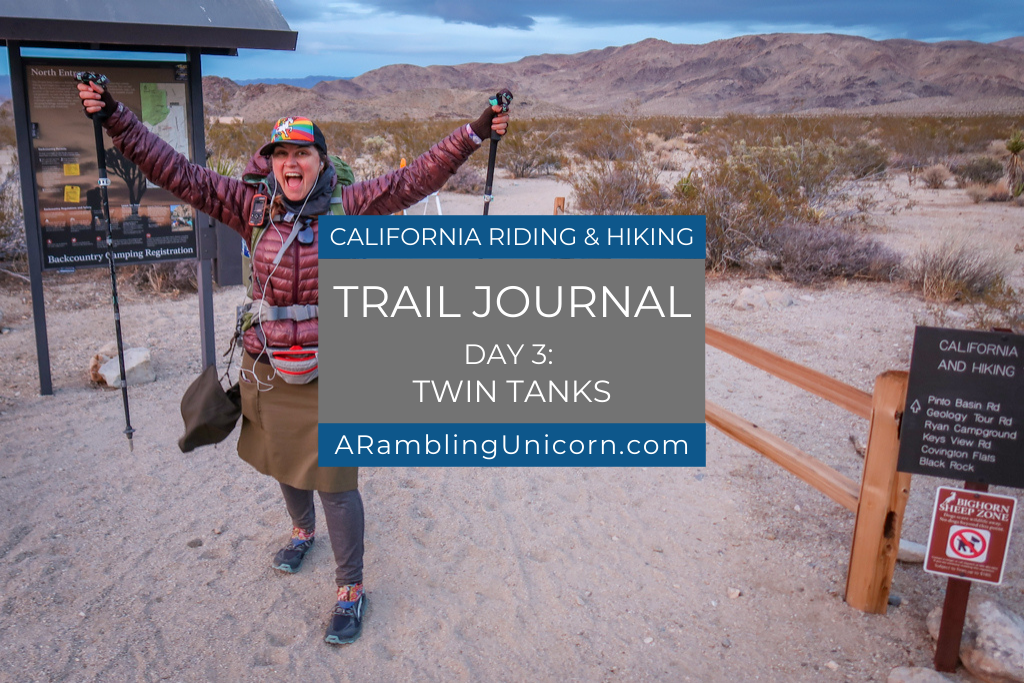
Since our focus was sleeping outside and taking night photos rather than a serious hiking adventure, we planned an easy trip to keep things simple. We parked at the Twin Tanks backcountry lot and hiked a mile away from the road near the vicinity of Arch Rock. Daniel and I brought pre-made sandwiches with us so we didn’t have to worry about cooking dinner and returned to our car in the morning.
We checked the weather forecast before heading out and chose a night that didn’t dip below freezing. It was still really cold at night, however. The sun sets really early in the winter so it was fully dark by 7:00 pm. This is great for star gazing but not much else. We were in our sleeping bags by 7:00 pm to stay warm and spent the evening listening to The Hobbit on audiobook before eventually falling asleep.
Despite the cold, it was an amazing experience. I usually hike and camp by myself, so it was an extra special treat to share this experience with my husband. My favorite memory is watching the sun set over the horizon while cuddling Daniel to stay warm.
I have also gone on a few solo backpacking trips in Joshua Tree as well, including the California Riding & Hiking Trail and the Boy Scout Trail.
Joshua Tree National Park Fee Information
Located in Southern California’s high desert, Joshua Tree National Park presents visitors with a close look at two fascinating ecosystems: the Mojave and Colorado Deserts. Miles of arid land are dotted with Joshua Trees and loose boulders in one part of the park and are filled with creosote scrub and cholla cactus in another.
The fee to enter Joshua Tree National Park is $30 per vehicle which is good for seven days. I recommend buying the America the Beautiful Interagency Pass, however, which costs $80. This allows entry to all National Parks for an entire year, as well as most federal lands (including National Forests, Bureau of Land Management and more).
Be sure to check the Joshua Tree National Park official web site for current prices and conditions.
Further Reading
If you enjoyed this trail guide, be sure to check out my other articles about Joshua Tree National Park!
- Joshua Tree Day Trip: The Ultimate One-Day Itinerary
- Best Hikes in Joshua Tree: The Ultimate Hiking Guide
- California Riding and Hiking Trail: An Epic Joshua Tree Backpacking Adventure
- 10 Fun and Quirky Things to Do Near Joshua Tree
Like this article? Pin it!
Note: This post contains affiliate links, which means I may receive a commission if you click a link and purchase something. While clicking these links won’t cost you anything, they will help me to keep this site up and running!



I’m just getting into backpacking, and that’s awesome you can get a free permit for Joshua Tree! I still haven’t gotten there yet, so this is definitely good information for me when I do go. I could see it being difficult not being able to refill on water, but at least one night in the back country would be so much fun! Thanks for this informative post!
Thanks Maura! Hope this guide helps you when you make it to Joshua Tree!!
Wow! I had no idea you could get a free permit to backpack in Joshua Tree. So good to know and I would love to visit.
Yeah the permitting process is really easy at Joshua Tree. It’s pretty great 😊
Such a great article! Visiting Joshua Tree is on my list, and camping there would be the ultimate experience! Thank you for this thorough guide
You’re welcome Caitlin!
This is a phenomental guide! I have never been backpack camping and am totally intimidated by the thought but this guide has everything I would need so thank you!
Great guide. Didn’t know you could get free permits for Joshua Tree. We visited one afternoon and loved the park.
Thanks Cosette!
Thanks for sharing this guide. I was saddened when I heard the news about the fire. I would love to visit Joshua Tree someday.