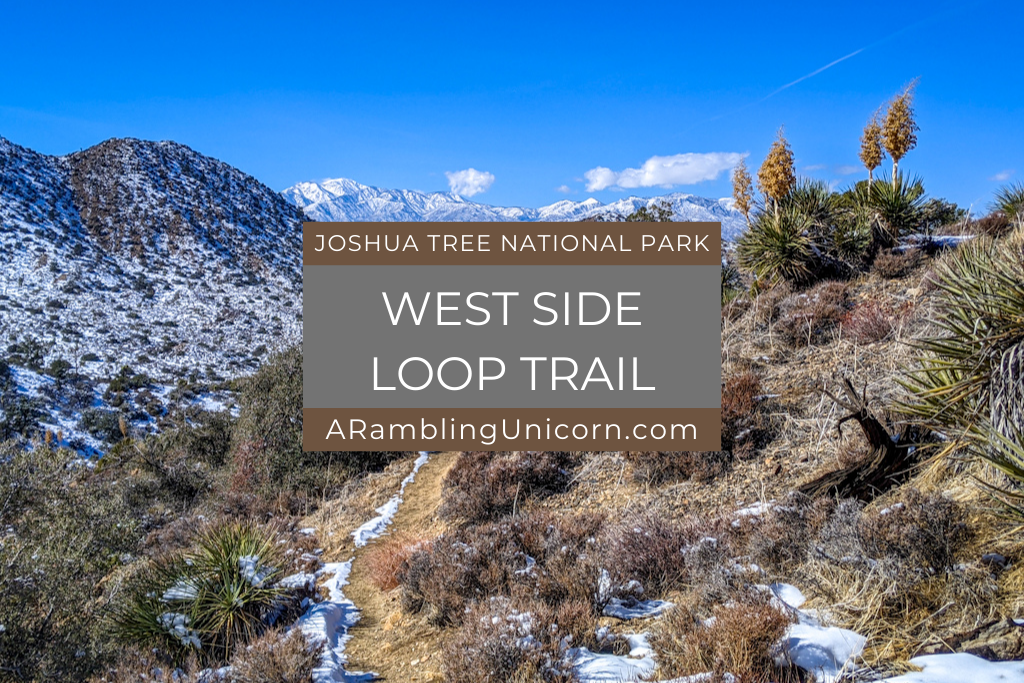
West Side Loop Trail Joshua Tree is a delightful moderate-length hike through dense groves of Joshua trees and pinyon pines in Joshua Tree National Park. Tucked away in the park’s remote northwest corner, this 4.9-mile trail is often overlooked – yet it remains of the best hikes in Joshua Tree National Park. West Side Loop Trail has a gentle rolling elevation profile, gaining 820 feet over 4.9 miles with some fabulous views of Mount San Jacinto and San Gorgonio Mountain in the middle of the hike.
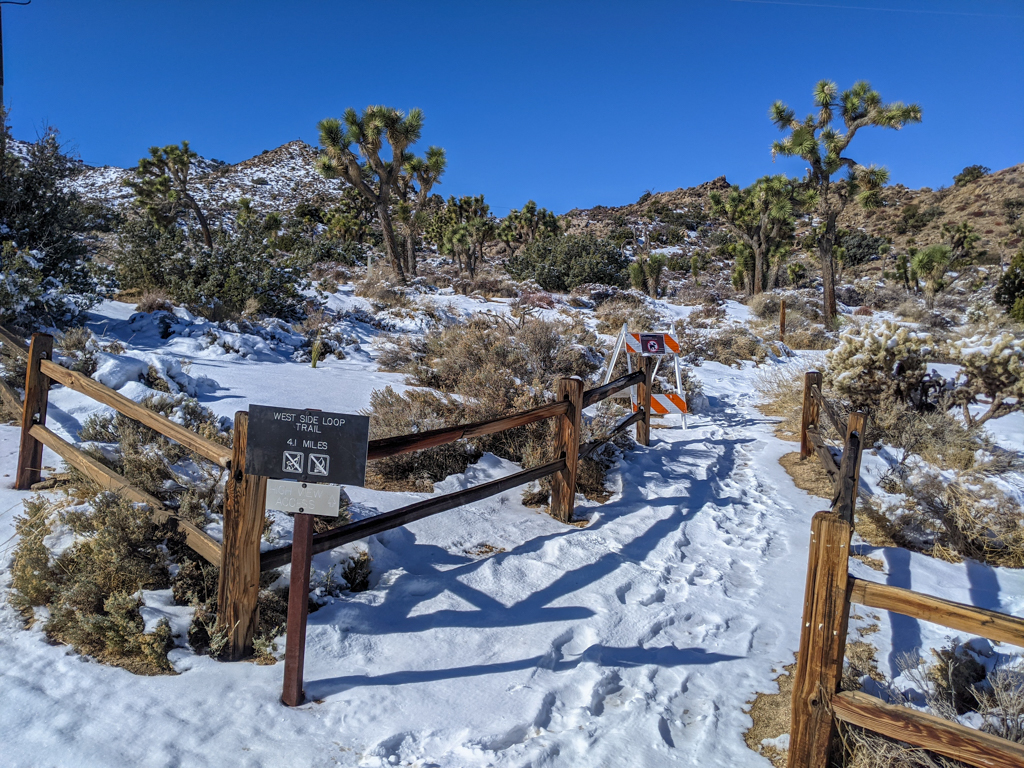
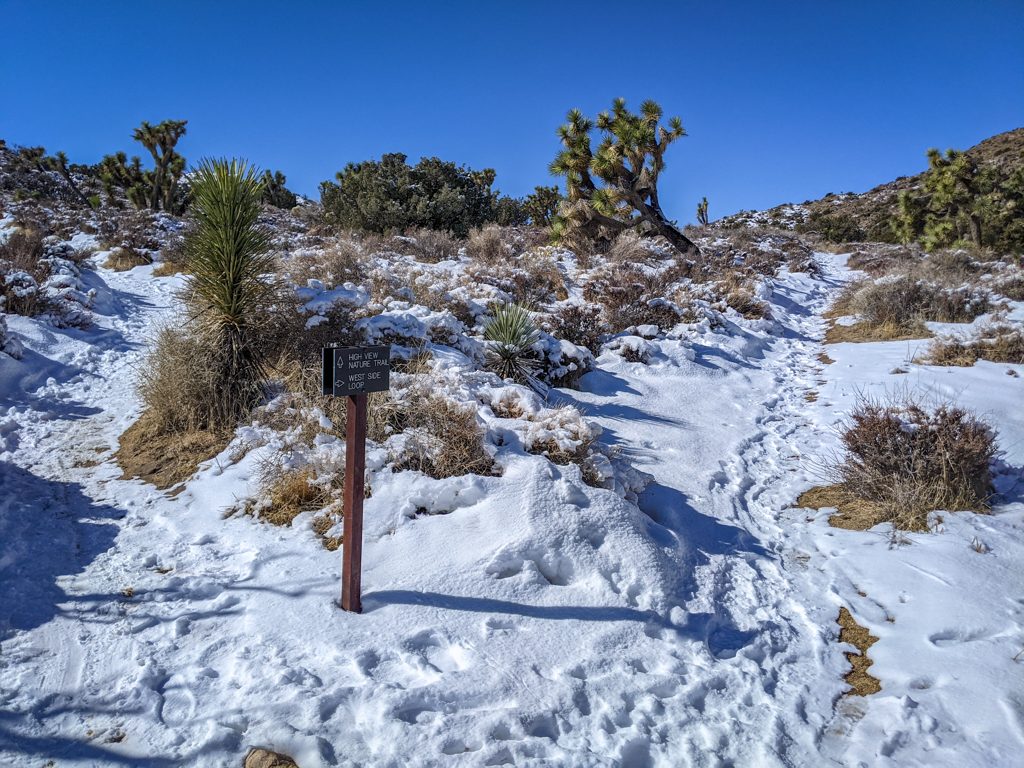
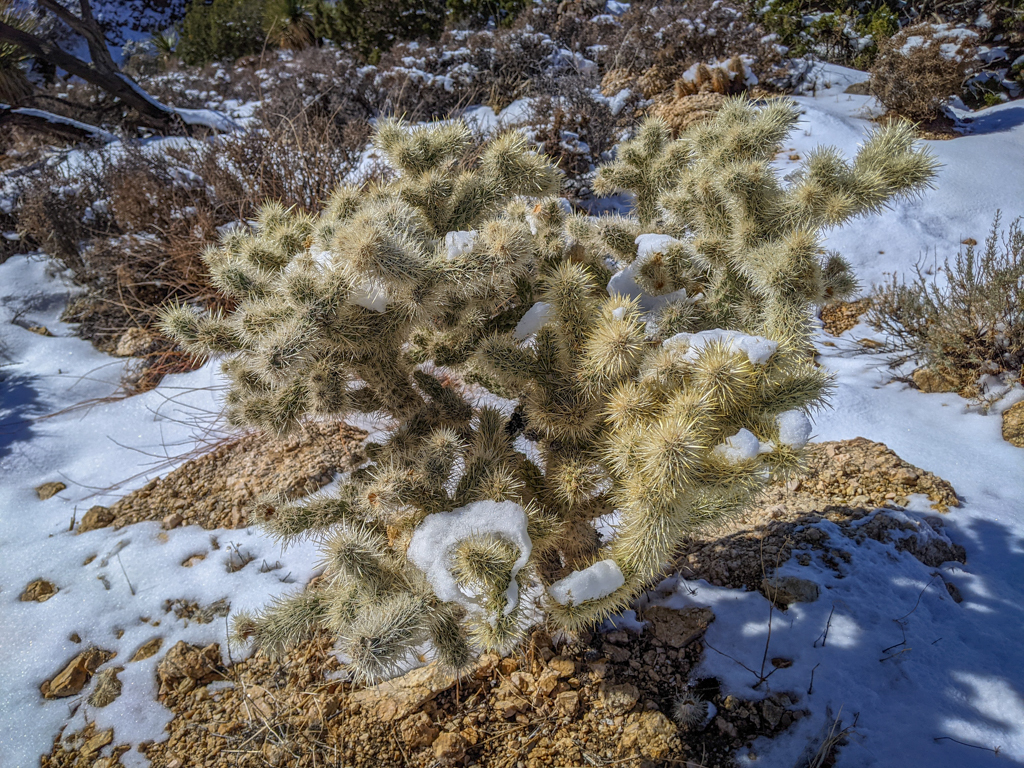
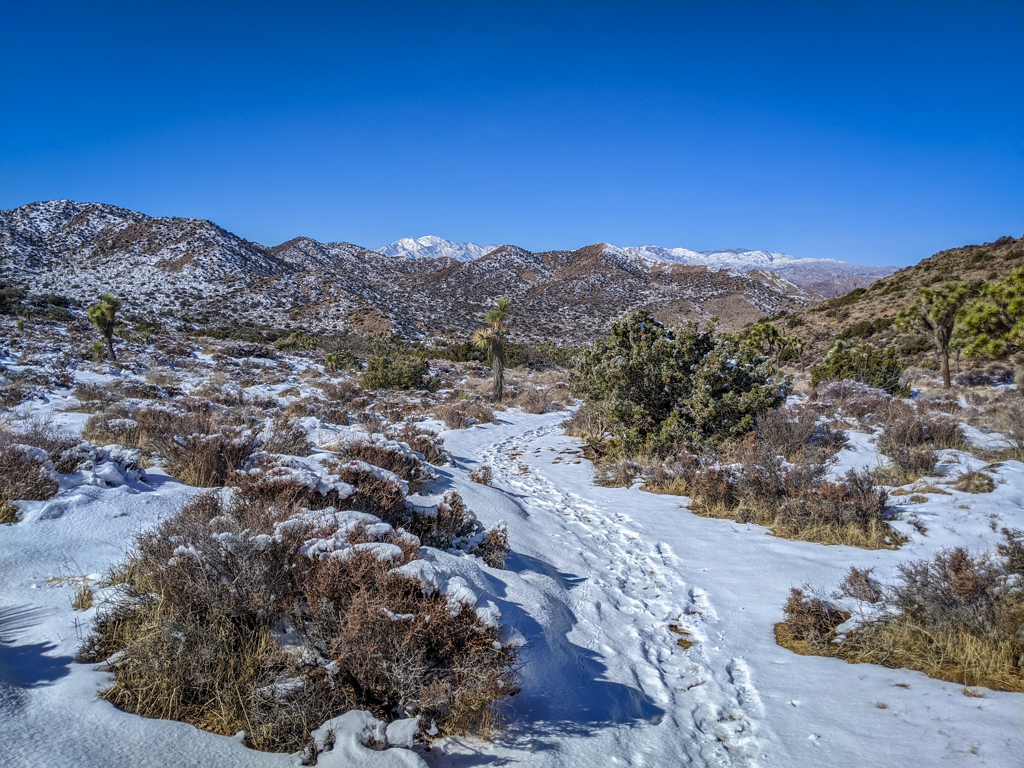
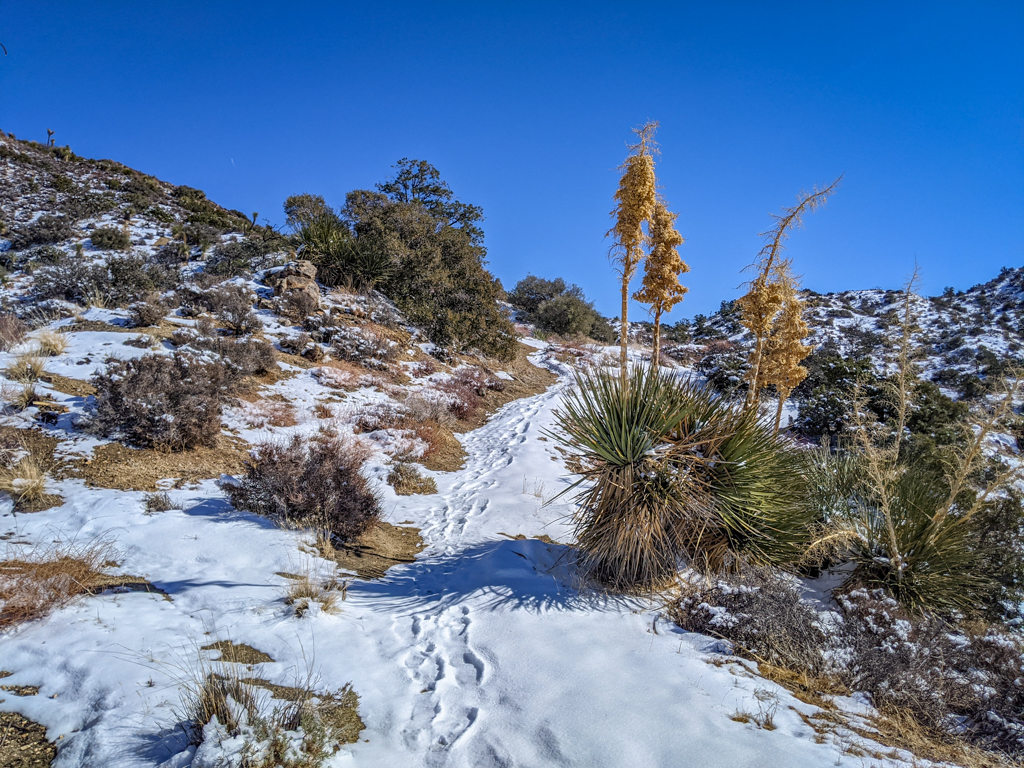
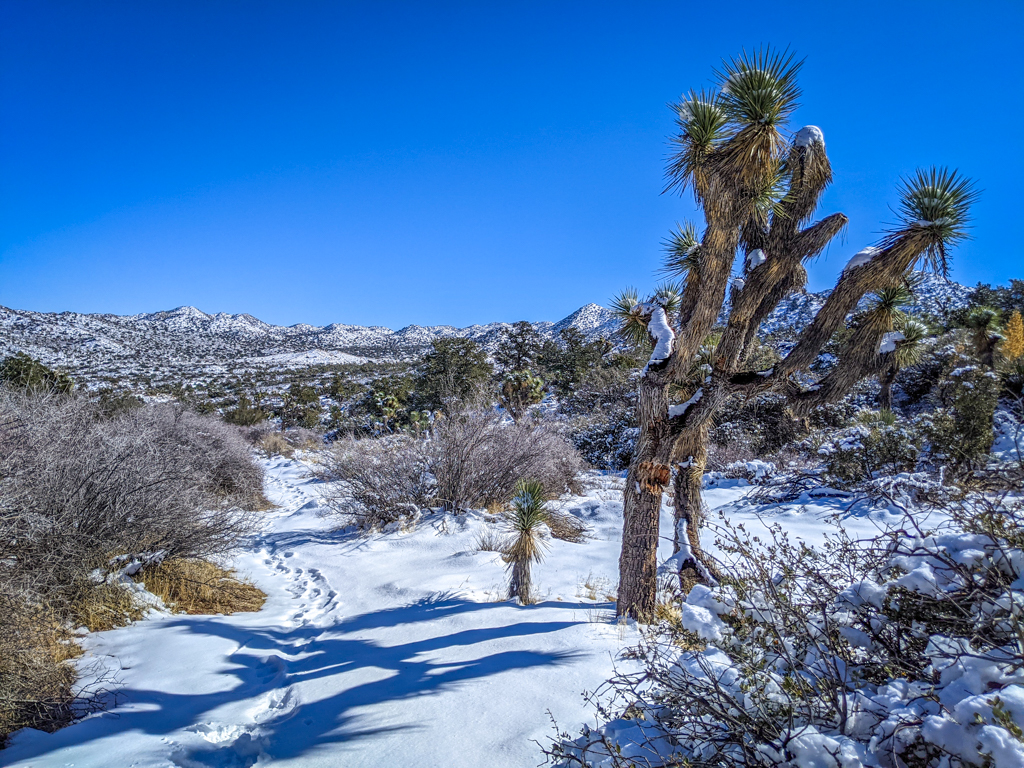
I liked this trail so much that I hiked it twice. On the second time around, the area experienced snowfall in the high desert and was transformed into a magical winter wonderland. This is a somewhat rare occurrence and I felt lucky to have experienced it. This hiking guide includes photos from both hikes to show the difference that a little bit of snow makes.
Only have one day to spend in Joshua Tree? Hit all the best spots with this Joshua Tree day trip itinerary.
Table of Contents
Black Rock Canyon Trailhead and Parking
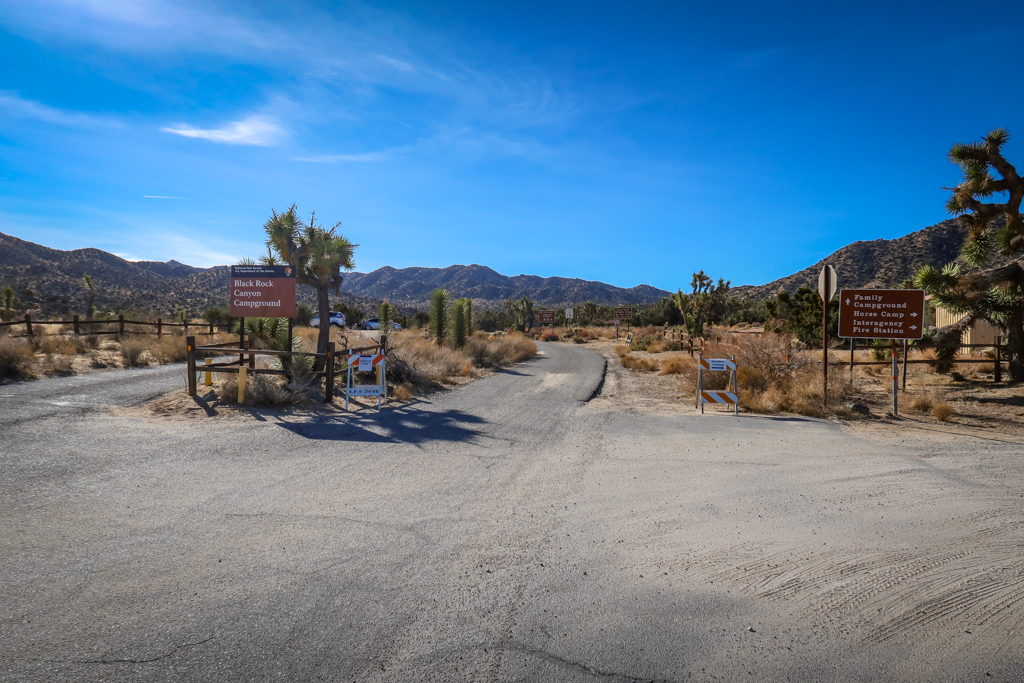
The trailhead for West Side Loop is located at the Black Rock Canyon Campground in the northwestern corner of the park. Nestled among one of the area’s thicker stands of Joshua Trees, the campground is a short drive away from the town of Yucca Valley. The Black Rock Nature Center is worth a visit before starting the hike and provides natural exhibits as well as park information and maps.
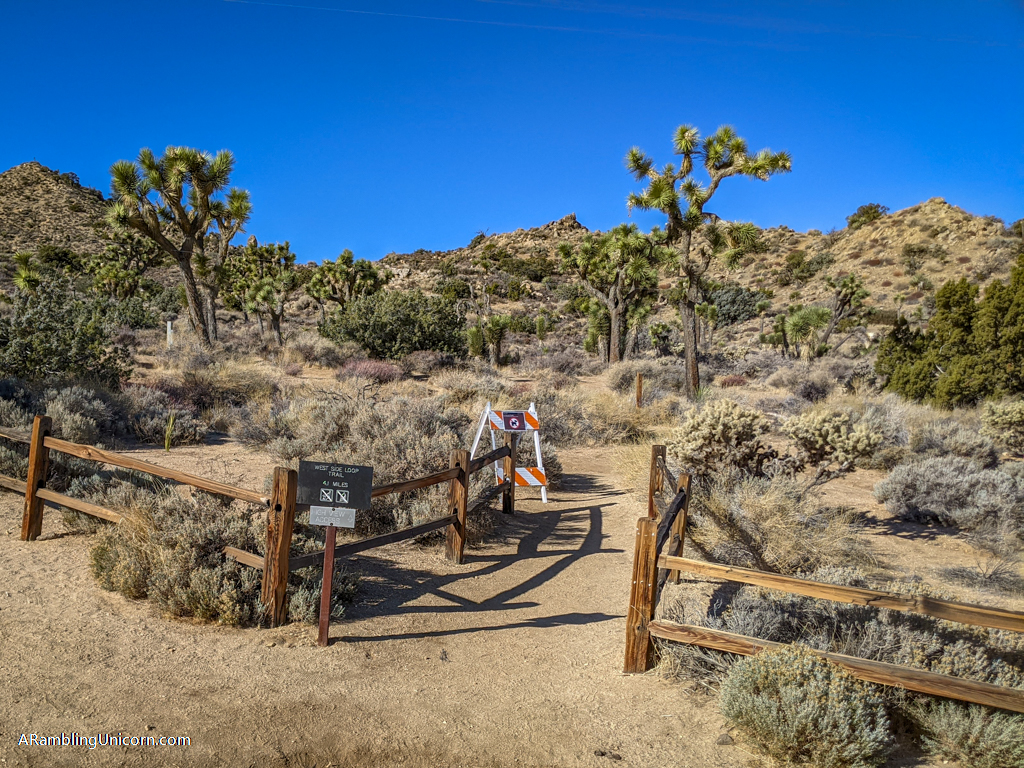
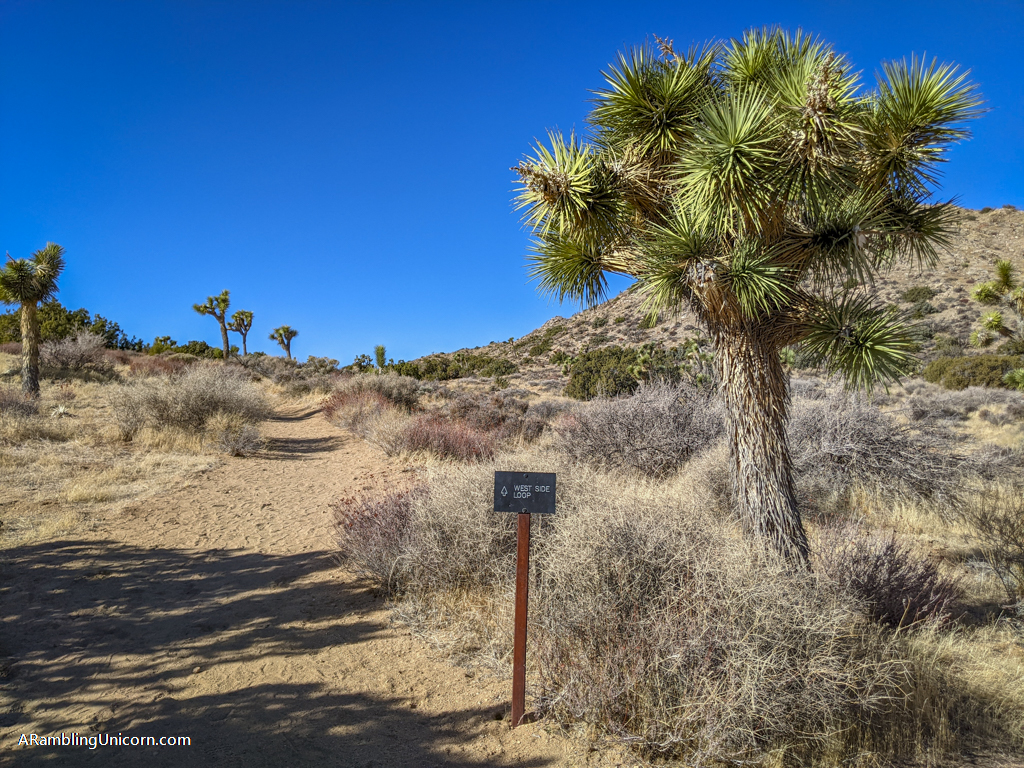
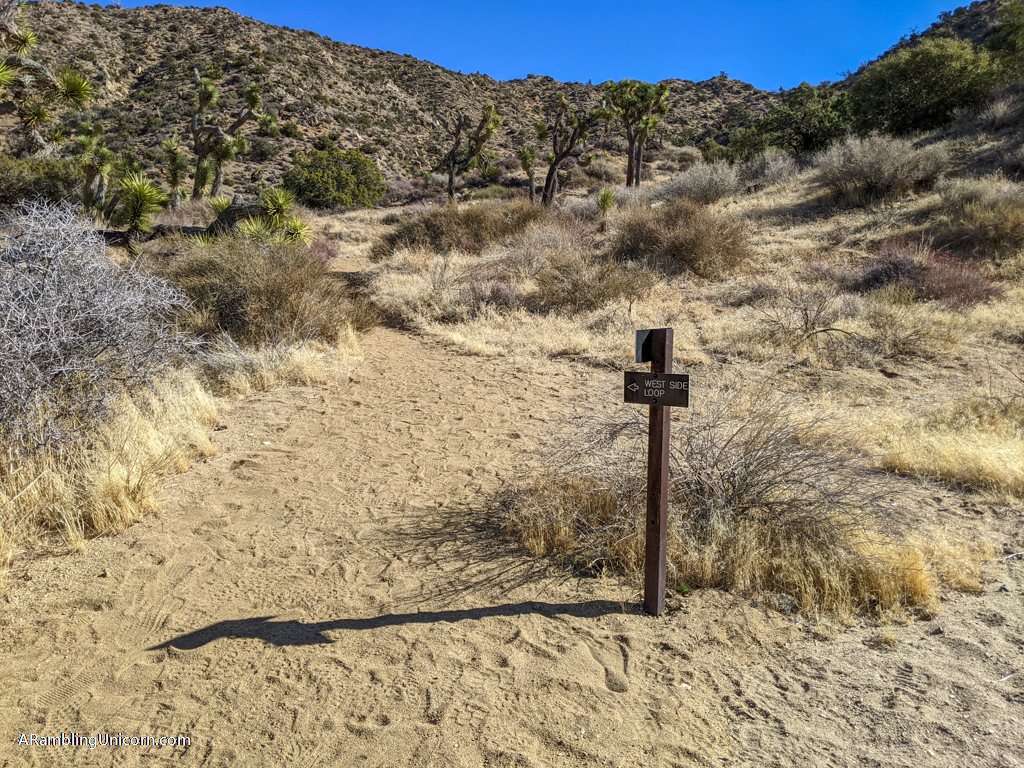
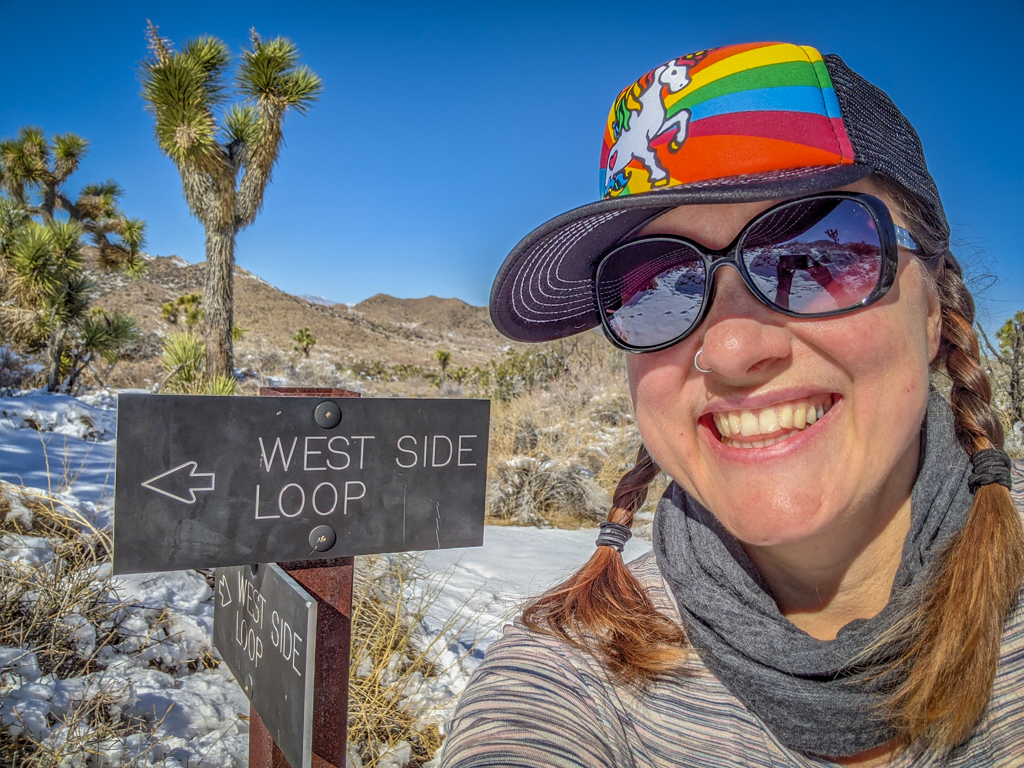
While there are several options for starting the trail, the hike described in this post begins at the West Side Loop Trailhead which is just to the west of the visitor center.
Driving directions from Highway 62: turn south onto Joshua Lane in the town of Yucca Valley (this is about 5 miles west of the park’s west entrance). Drive about 5 miles and take a right onto San Marino Drive which turns into Black Rock Road. This leads directly to Black Rock Canyon Campground. Enter the campground and park next to the Black Rock Nature Center. Alternatively, head west a couple of hundred feet on the road from the from the Nature Center to the trailhead – there is room for a few cars to park here too.
If the parking lot is full, take a right on the dirt road just before the entrance and park in the group horse camp overflow area.
Preparing for a Hike in Joshua Tree
When planning your hike, remember that you are entering a desert environment and pack accordingly. There are no stores or restaurants once you enter the park, so you should come prepared with everything you need for your visit. Daytime temperatures can get really hot in Joshua Tree, especially in the summer months, so be prepared with adequate sun protection and plenty of water.
Avoid hiking during the hottest part of the day if you can help it (or hike during the winter months when it is cooler). Be sure to leave no trace of your visit behind a learn how to pee outside in case the urge strikes away from a bathroom.
Hiking Gear
This list includes some of my favorite gear for day hiking. Refer to my Best Hikes in Joshua Tree: The Ultimate Hiking Guide for a more comprehensive list.
- Hiking Shoes – Sturdy hiking or walking shoes are a must. Personally, I’m a big fan of Altra Lone Peak Trail Running Shoes. I pair them with Dirty Girl Gaiters to keep sand and rocks from getting into my shoes.
- Socks – Good thick socks are also important. I usually wear a pair of double-walled Wrightsock Coomesh II socks with my Altras. For longer hikes, I switch to Injinji Midweight socks to prevent toe blisters.
- Backpack – A backpack is essential so you can carry water, layers, and snacks. I love Ospreys and use the Osprey Manta pack which is technically a men’s pack (because I have a longer torso than most women). The women’s equivalent is the Osprey Mira pack.
- Hiking Poles – Hiking poles reduce pressure on your joints and help maintain your balance if you trip. My current favorites are the LEKI Micro Vario Carbon Trekking Poles because they are super lightweight and fold down to easily fit into my suitcase.
- Electronics – if you are using your phone for navigation, bring a portable battery such as the Anker portable battery charger. For longer hikes or backpacking trips, consider bringing a Garmin InReach Explorer. This is a Personal Locator Device (PLB) that enables you to trigger a SOS call to search and rescue and 2-way texting over satellite.
Hiking West Side Loop Trail Joshua Tree
The first mile of the West Side Loop
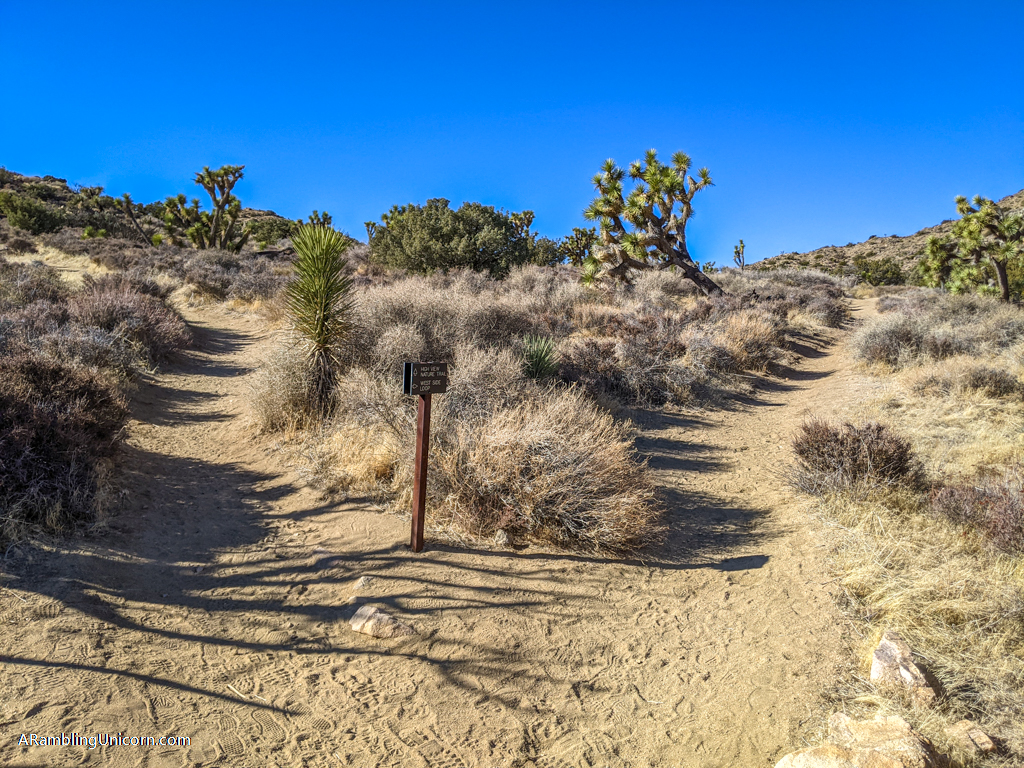
I chose to hike the West Side Loop in a clockwise direction, so I took a right at the first junction and headed west. The trail heads gradually uphill in its first mile, gaining about 200 feet of elevation as it passes through a striking forest of Joshua trees. At about .7 miles, the path intersects with the High Point Nature Loop Trail twice – I simply continued straight to stay on the trail.
First views of San Gorgonio Mountain
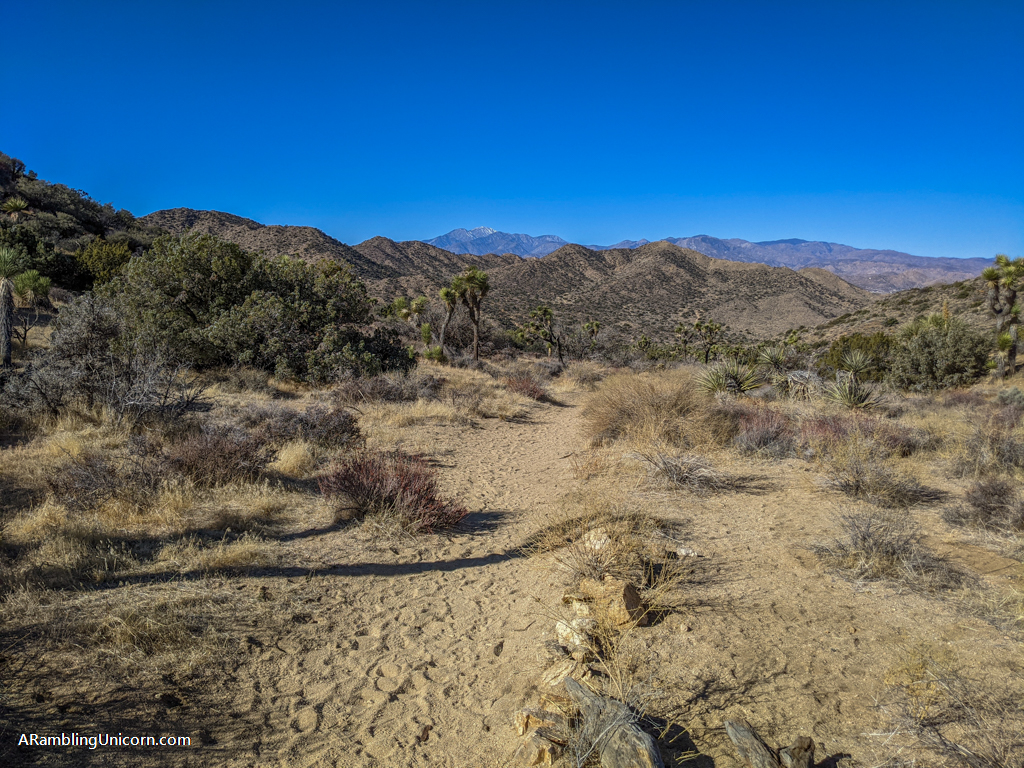
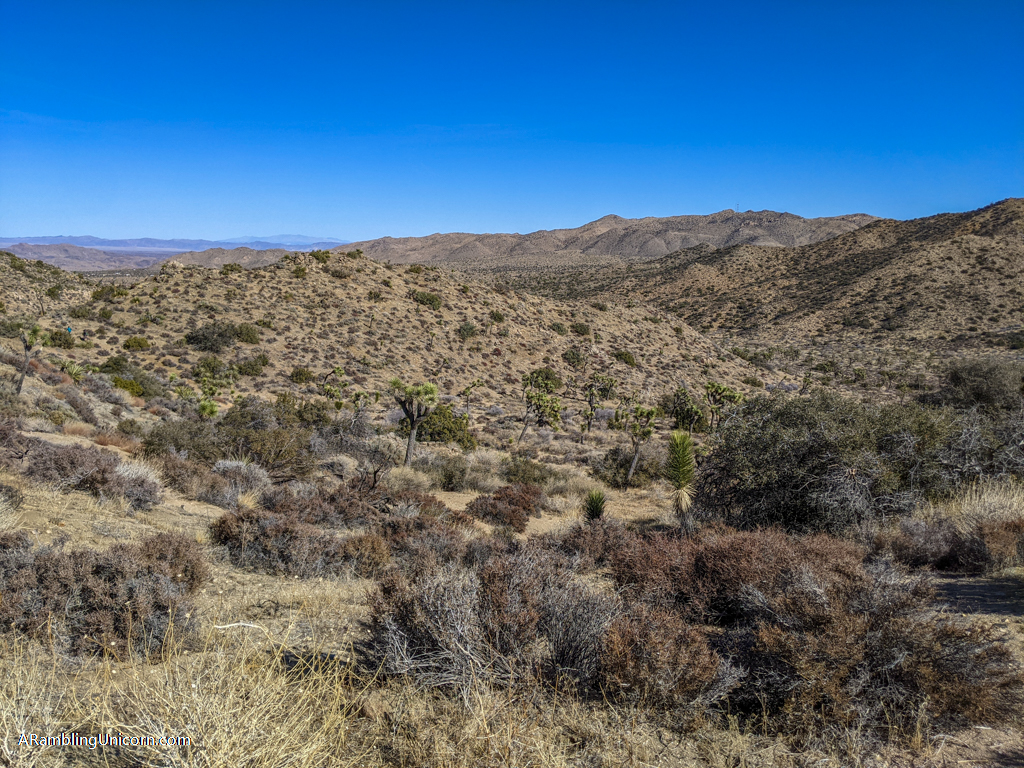
After about a mile, the trail crests a ridge and reveals a mountain range in the distance that had previously been hidden from sight. During my first visit, the area had been in such a severe drought that the mountains were almost completely devoid of snow. It was a very different experience the second time through.
From this point, the trail heads downhill for about half a mile until it reaches an intersection with some trails that lead out of the park’s northern boundary. I took a left here and started hiking south.
The midpoint
The trail flattens out a bit as it heads south, but not for long. Around 2.4 miles, the West Side Loop Trail climbs steeply up the side of the ridge. The relatively short climb rewards hikers with even better views of the mountain range to the west as it follows the ridge for about half a mile.
Completing the loop
After reaching its highest point of 4550 feet, the trail spends the next mile or so climbing up and down some ridges as it heads east. Eventually, the path loops northeast and descends gradually as it returns to the West Side Loop Trailhead.
West Side Loop Trail Information and Map
- Distance – 4.9 miles
- Elevation Gain – 820 feet
- Starting Elevation – 4035 feet
- Highest Elevation Point – 4550 feet
Park and Parking Information
The fee to enter Joshua Tree National Park is $30 per vehicle which is good for seven days. I recommend buying the America the Beautiful Interagency Pass, however, which costs $80. This allows entry to all National Parks for an entire year, as well as most federal lands (including National Forests, Bureau of Land Management and more).
Be sure to check the Joshua Tree National Park web site for current conditions before heading to the park.
While you’re in the area, don’t forget to explore outside of the national park as well. There are lots of fun fun and quirky things to do near Joshua Tree besides hiking and camping.
Further Reading
If you enjoyed this trail guide, be sure to check out my other articles about Joshua Tree National Park!
- Joshua Tree Day Trip: The Ultimate One-Day Itinerary
- Best Hikes in Joshua Tree: The Ultimate Hiking Guide
- Backpacking in Joshua Tree: Tips for Successful Wilderness Camping
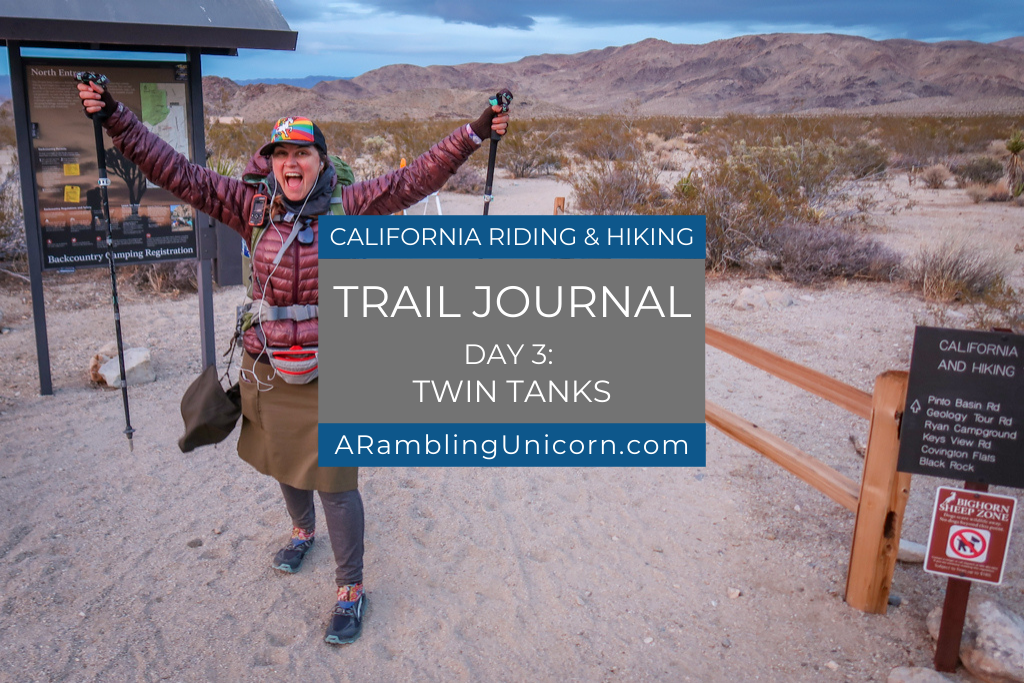
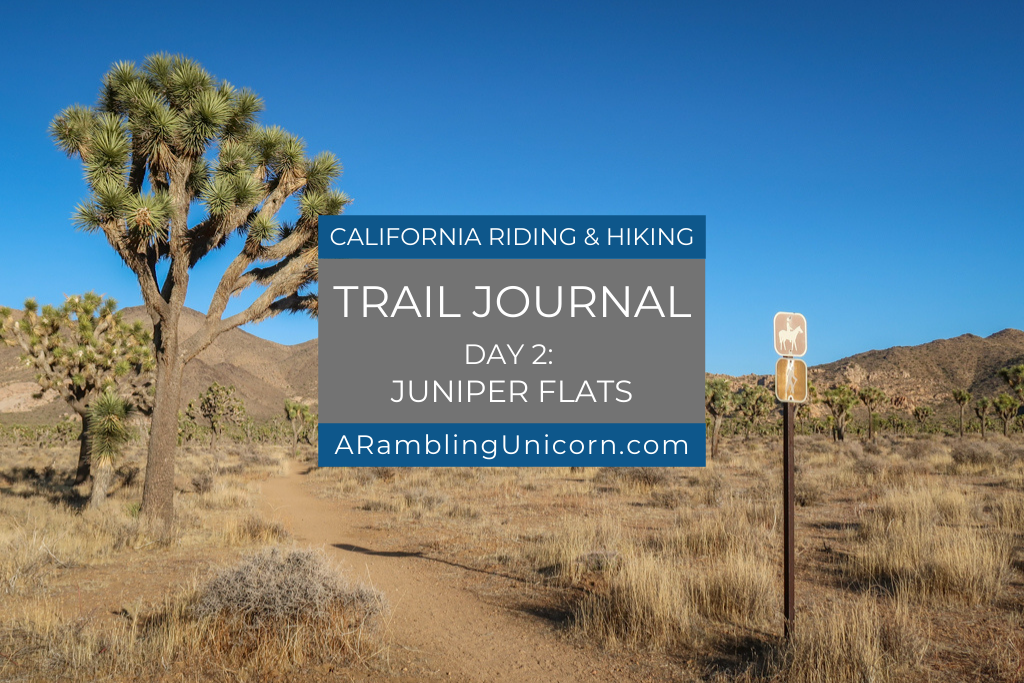
- California Riding and Hiking Trail: An Epic Joshua Tree Backpacking Adventure
- 10 Fun and Quirky Things to Do Near Joshua Tree
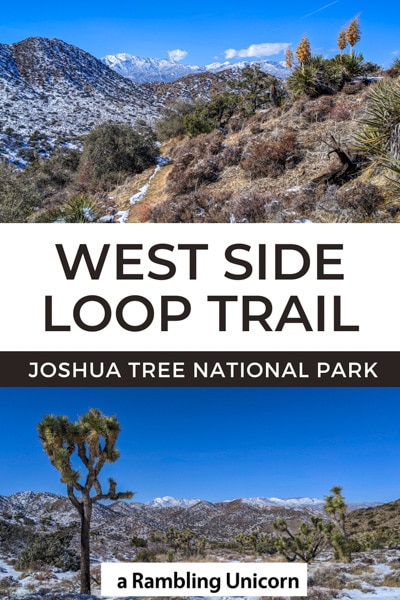
Like this article? Pin it!
Have you hiked the West Side Loop Trail? I’d love to hear from you! Share your experience in the comments below.
Note: This post contains affiliate links, which means I may receive a commission if you click a link and purchase something. While clicking these links won’t cost you anything, they will help me to keep this site up and running!






0 Comments