
Avalanche Lake is an incredibly scenic lake in Glacier National Park that is surrounded by rugged mountains on all sides. If you enjoy hiking, then trekking to this alpine lake deserves a spot on your bucket list the next time you visit this gorgeous National Park.
The 5-mile Alpine Lake Trail begins along the Trail of the Cedars, an easy nature trail through through towering Cedar trees. Soon afterwards, the official trail splits off and follows mossy Avalanche Creek through the forest to its source further in the mountains.
With a total of 757 feet elevation gain, Avalanche Lake Trail is a moderate hike that isn’t too easy or too difficult either. It’s a great option for families with kids that can handle a bit of climbing uphill.
Be warned that the trail is a popular one, however, and can get pretty crowded. When I hiked the trail in 2000, it certainly wasn’t a solitary experience. I learned a few tips and tricks about about avoiding some of the crowds, however, which I’m happy to pass along to you in this hiking guide.
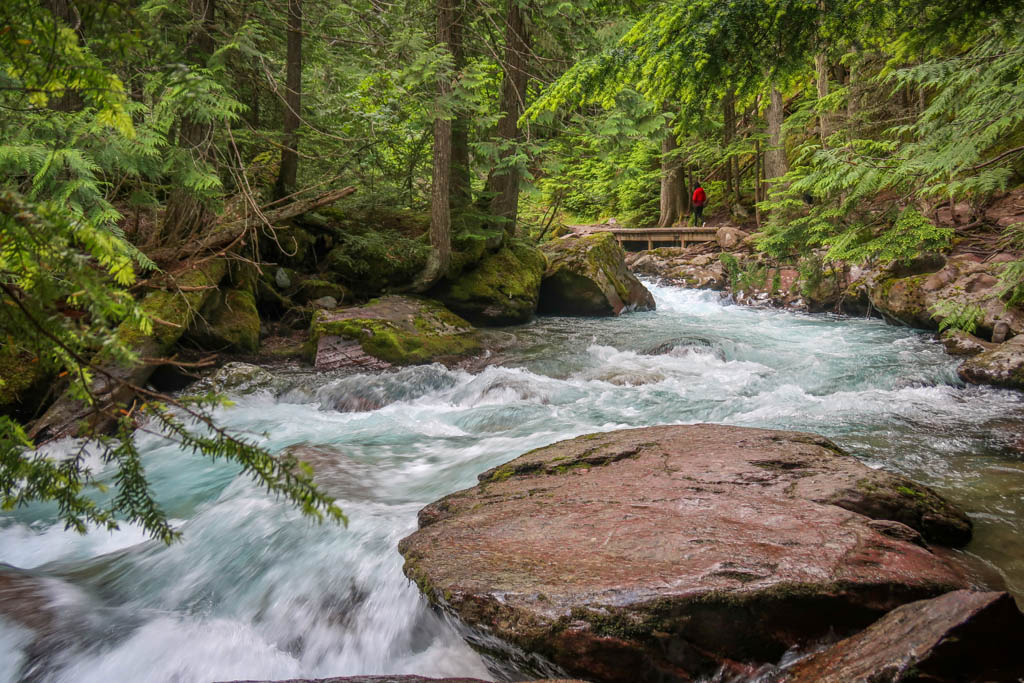
Avalanche Creek
Table of Contents
Avalanche Lake Trailhead and Parking
The trailhead for Avalanche Lake Trail begins at the Avalanche Creek Campground. The campground is located along Going-to-the-Sun Road just before the road begins really climbing in elevation. As such, it is typically the last accessible area before the road opens to car traffic each summer. There are a couple of small parking lots here that tend to full up fast.
During my visit in July 2020, Going-to-the-Sun Road wasn’t open yet and so the campground was closed and converted to a parking lot. Even with the extra parking, it was still challenging to get a spot. On our first attempt to hike the trail, we arrived around 8:00 am only to find the road to the campground blocked off because all parking spots were full.
So the next day we got up *SUPER* early, determined to reach the Avalanche Lake parking lot before it reached capacity. We arrived at 6:30 am and found a place to park in one of the campsites – although the available spots were going fast.
I’m not sure if the trailhead is this popular when the Going-to-the-Sun road is open and visitors can keep going past Avalanche Creek. Either way, I recommend arriving really early… or perhaps in late morning/early afternoon when the first batch of hikers have returned and moved on.
Another option is to leave your car behind and take the Glacier National Park shuttle to the trailhead.
Note: a ticketing system was implemented on Going-to-the-Sun Road in 2021 to ease traffic and overcrowding in Glacier National Park. More details are available at the bottom of this article.
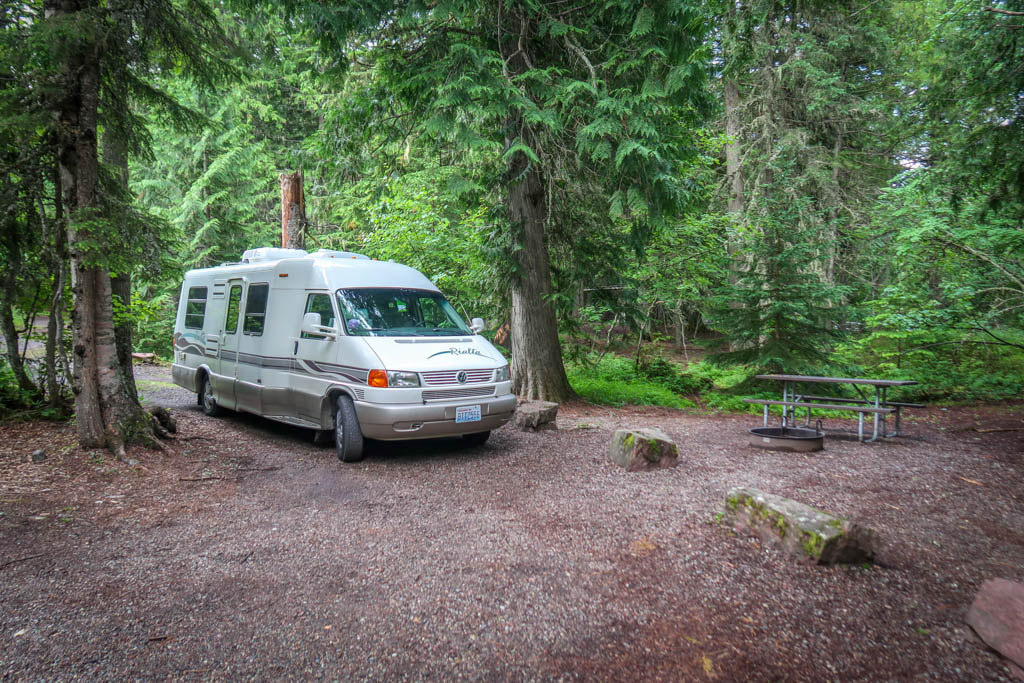
Our parking spot for the day at the Avalanche Lake campground
Preparing to Hike Avalanche Lake Trail
Before entering Glacier National Park, remember that you are entering a rugged outdoors environment and prepare accordingly. Pack a lunch and snacks, bring plenty of water, and wear sturdy hiking shoes. Check the weather forecast and make sure you’re prepared for the weather conditions with plenty of layers as appropriate.
Remember that you are in bear country and familiarize yourself with bear safety best practices. While there are pit toilets both at the trailhead and at the lake they, can be a little gross. Learn how to pee outside properly before hitting the trail in case you don’t want to use them or the urge strikes when you’re away from a toilet.
Be sure to leave no trace of your visit behind.
Day Hiking Gear
This list includes some recommended gear for day hiking at Glacier National Park.
- Bear Spray – a good bear spray is a must when hiking in grizzly bear country.
- Bear Bell – wear a bear spray to ensure that you won’t surprise bears as you hike.
- Hiking Shoes – Sturdy hiking shoes with excellent traction are a must. Personally, I’m a big fan of Altra Lone Peak Trail Running Shoes. I pair them with Dirty Girl Gaiters to keep debris from getting into my shoes.
- Socks – Good thick socks are also important. I usually wear a pair of double-walled Wrightsock Coomesh II socks with my Altras.
- Backpack – A backpack is essential so you can carry water, layers, and snacks. I love Ospreys and use the Osprey Manta pack which is technically a men’s pack (because I have a long torso). The women’s equivalent is the Osprey Mira pack.
- Hiking Poles – Hiking poles reduce pressure on your joints and help maintain your balance if you trip. My current favorites are the LEKI Micro Vario Carbon Trekking Poles.
- Puffy Jacket – Bring along layers in case the temperature drops. The Ghost Whisperer is a great lightweight option.
- Camera – I love taking photos and always bring a camera along on my hiking trips. I use the Canon PowerShot G7X Mark III.
- Electronics – if you are using your phone for navigation, bring a portable battery such as the Anker portable battery charger. For longer hikes or backpacking trips, consider bringing a Garmin InReach Explorer. This is a Personal Locator Device (PLB) that enables you to trigger a SOS call to search and rescue and 2-way texting over satellite.
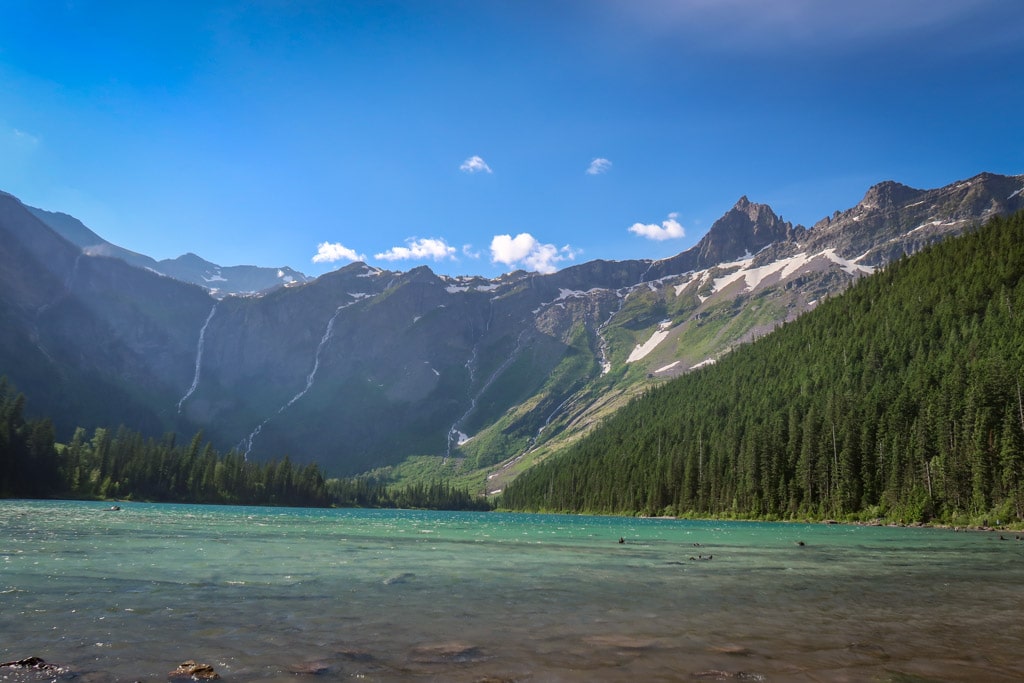
Gorgeous Avalanche Lake
Trail Information and Map
- Distance: 5 miles there-and-back (add an extra mile if you hike to the opposite side of the lake).
- Elevation Gain: 757 feet
- Starting Elevation: 3406 feet
- Highest Elevation: 3970 feet
- Difficulty Level: Moderate
My Experience Hiking to Avalanche Lake, Montana
Trail of the Cedars
Avalanche Lake shares a trailhead with the Trail of the Cedars nature trail. So I began my hike by rambling through a forest of ancient western hemlocks and red cedars. This part of the trail is the most crowded as it is filled with hikers who are just there for the nature trail.
After walking for 5-10 minutes, the trailhead for Avalanche Lake appears and the hike officially begins.
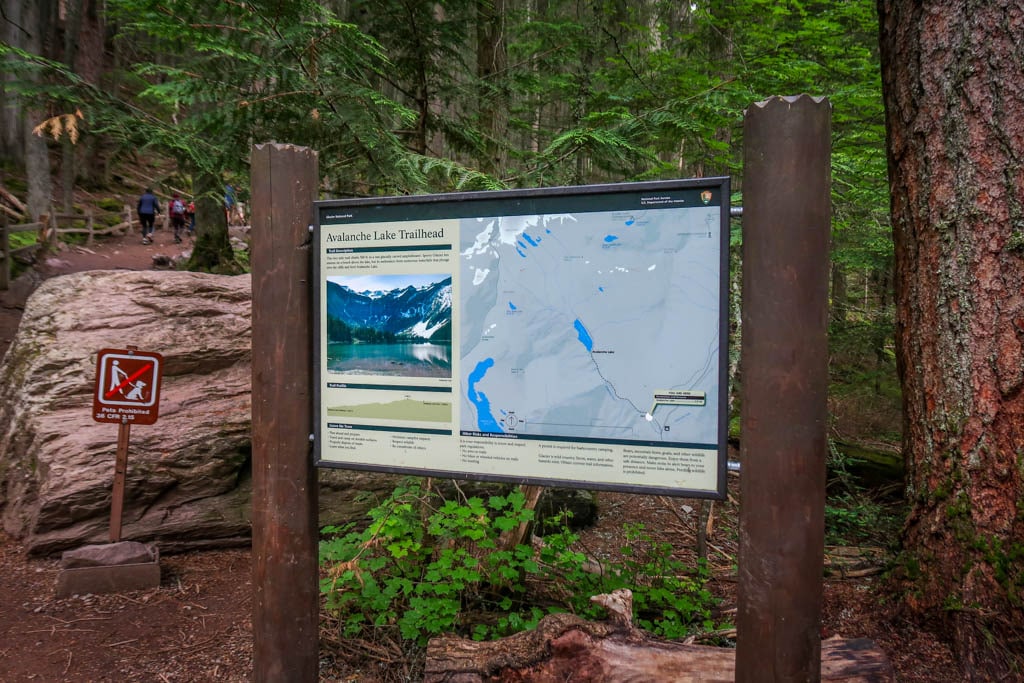
Avalanche Lake Trailhead
Ascending to Avalanche Lake
After passing the official trailhead, the path to Avalanche Lake diverges to follow Avalanche Creek. The trail climbs uphill for a short bit and then immediately levels out and gently follows the creek. It’s a lovely stroll with lots of great viewpoints of the water.
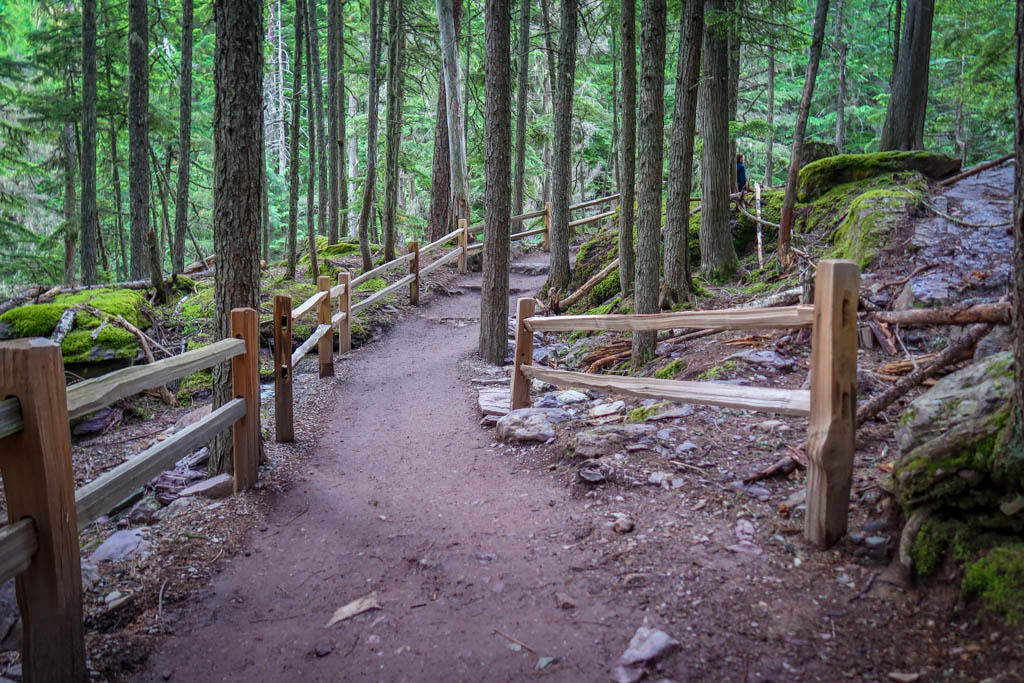
The beginning of Avalanche Lake Trail
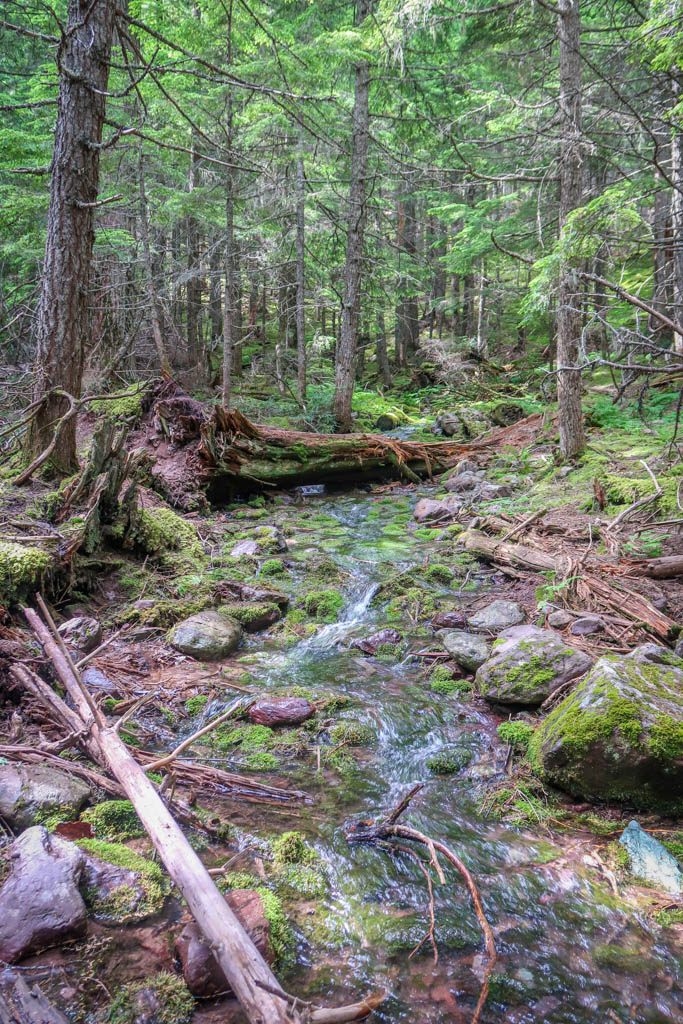
A mossy creek tributary
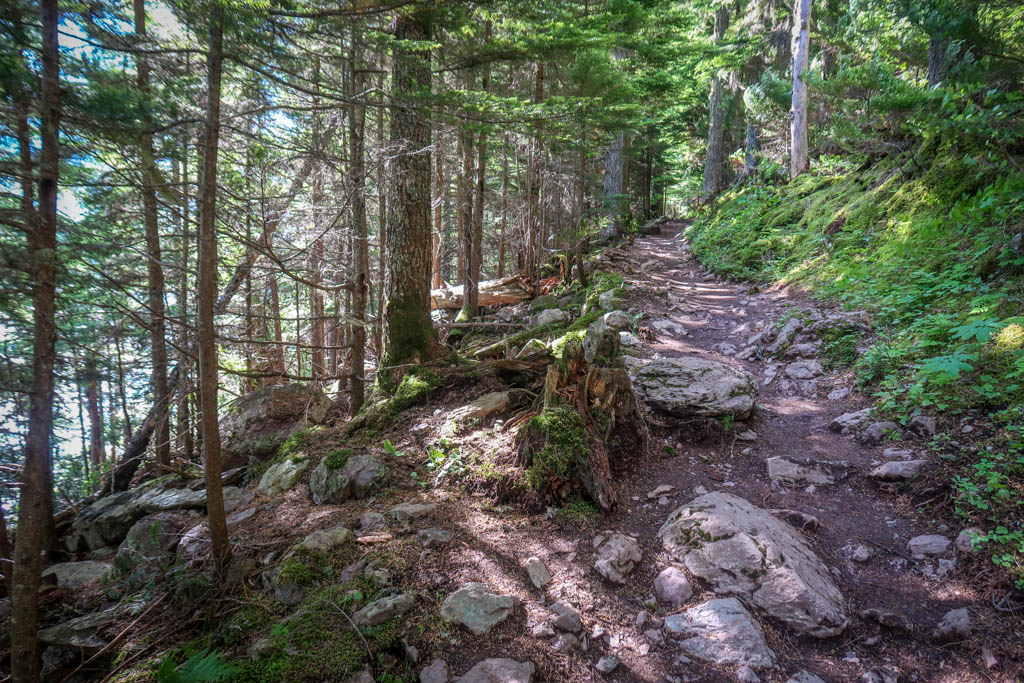
Eventually, the trail leaves the creek and climbs through the forest to some lovely alpine views.
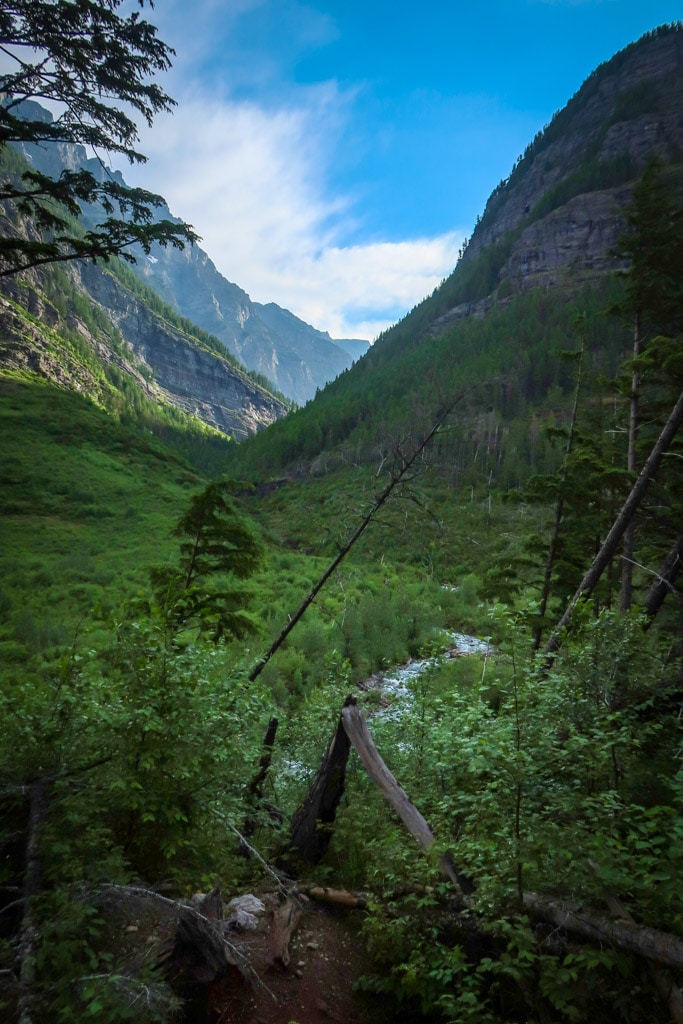
The beginning of some lovely alpine views
Behold! Avalanche Lake
I eventually arrived at the northern end of Avalanche Lake. Here, I joined the hordes of hikers along the beach. Framed with a backdrop of jagged peaks, the sparkling alpine lake was absolutely stunning. But it was too crowded for my tastes.
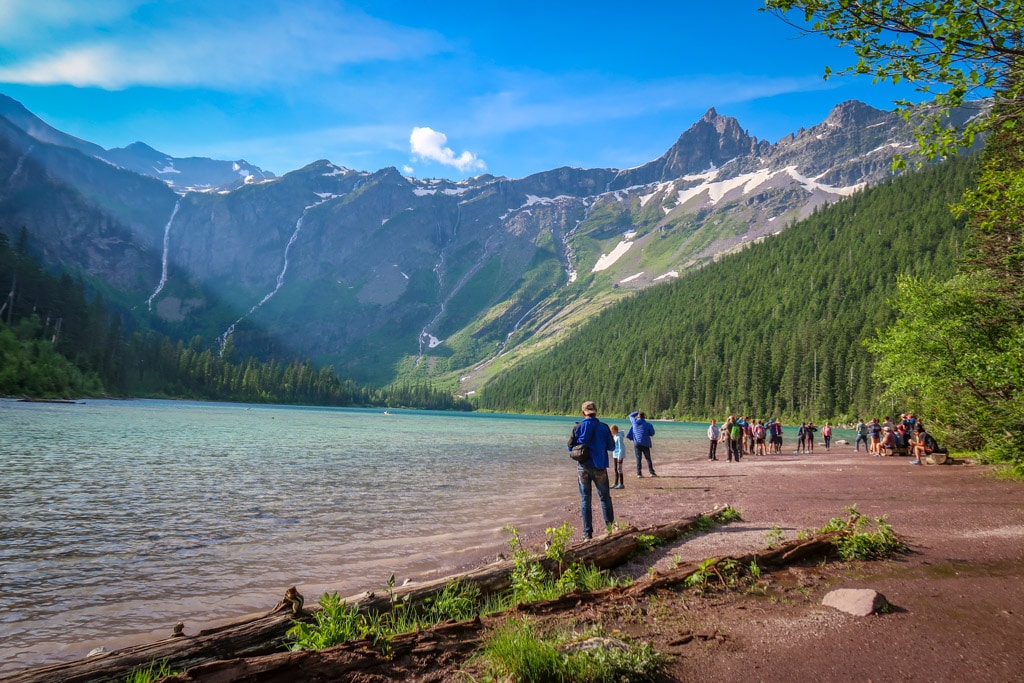
The north end of Avalanche lake. This beach is very popular.
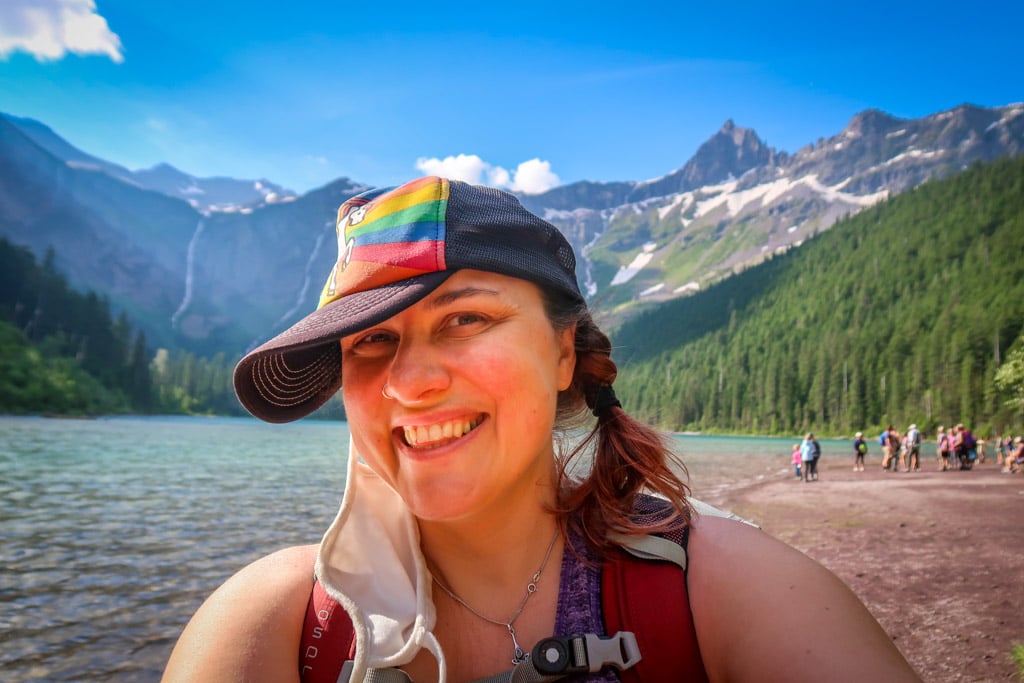
Squee! I love it here!
The Opposite Shore of the Lake
So I continued along the muddy path until the trail ended. From there, I followed a spur to a rocky beach along the lake’s southern end. Not as many hikers ventured this far, which made the hike more enjoyable. I hopped over several streams, getting my feet thoroughly wet in the process, until I found a quiet spot.
Here, I plopped down on the rocks for a spell.
And breathed.
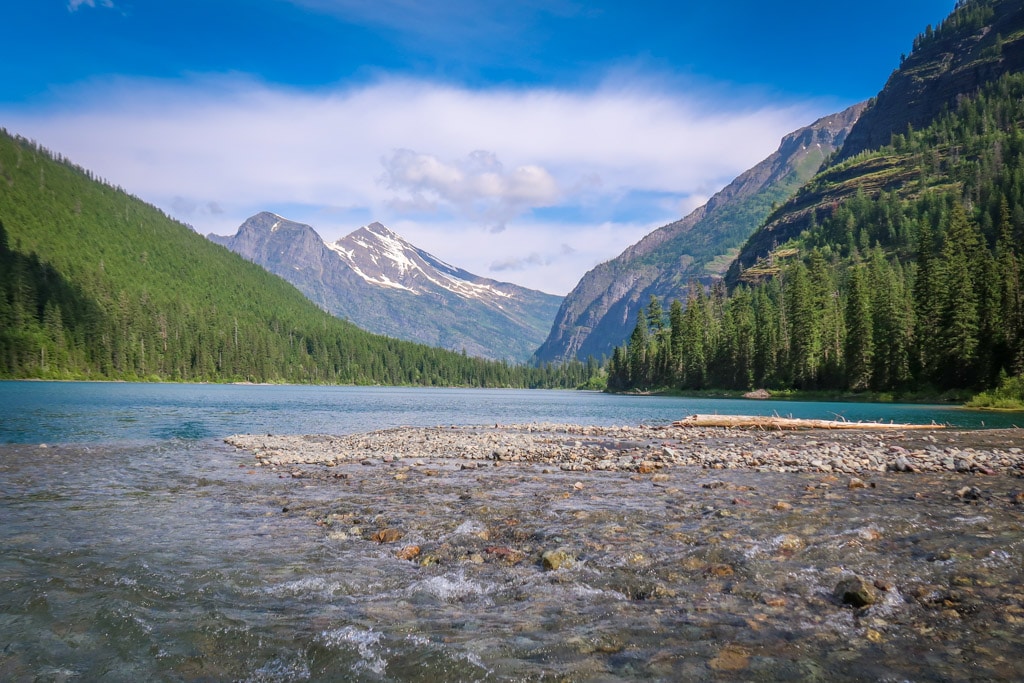
The view of Avalanche Lake from my spot on the lake’s southern side.
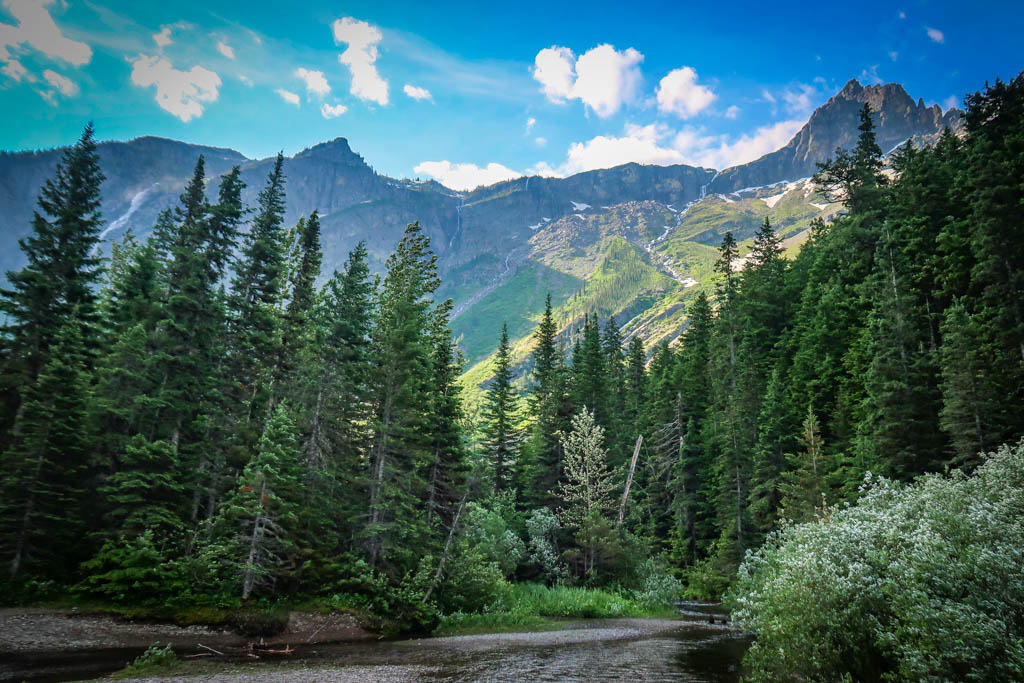
Photo taken as I crossed over a log. The wind whipped up and blew my Unicorn hat right off my head as I took this photo. Lucky for me, another hiker grabbed it before it went too far.
The Return Hike
The hike back to Avalanche Creek Campground was an entirely different experience. By the time I returned to the top of the lake, the crowds had gone. I encountered only a handful of others on the way back down.
I apparently had been traveling in a big group of people. We all arrived super early to get a parking spot and then ended up hiking at the same time. Most of those people didn’t venture to the other side of lake and left way before I did.
So the moral of the story is to try and avoid the herd, if you can. Arrive early or later in the day to try and miss this big group.
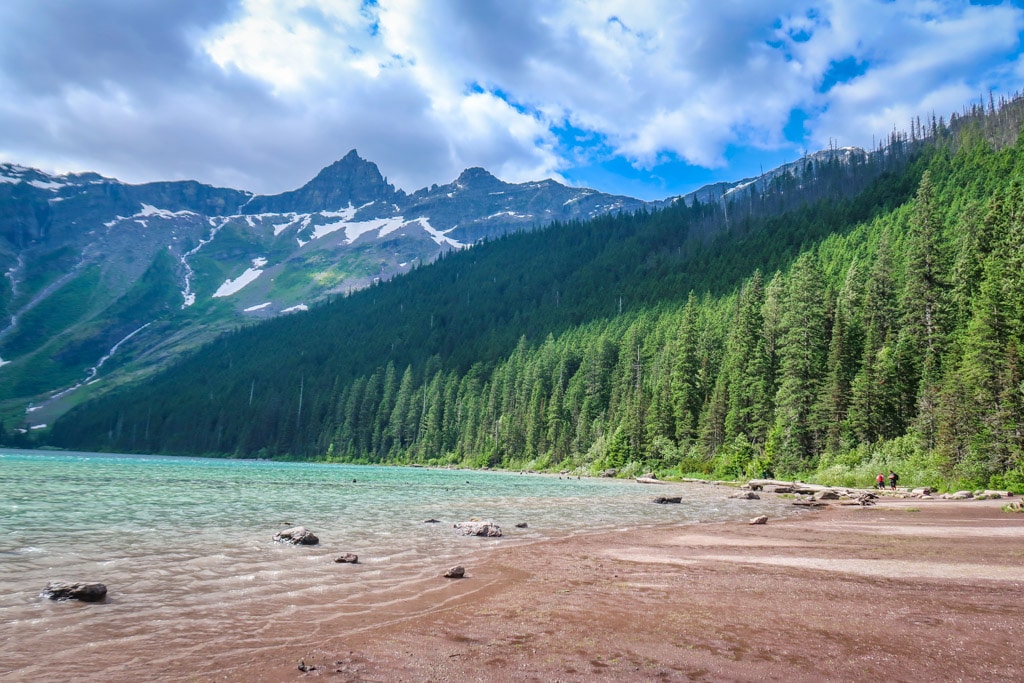
North end of Avalanche Lake happily devoid of crowds of people
Glacier National Park Fee & Shuttle Information
The fee to enter Glacier National Park is $30 per vehicle which is good for seven days. I recommend buying the America the Beautiful Interagency Pass, however, which costs $80. This allows entry to all National Parks for an entire year, as well as most federal lands (including National Forests, Bureau of Land Management and more).
Be sure to check the Glacier National Park web site for current conditions before heading to the park.
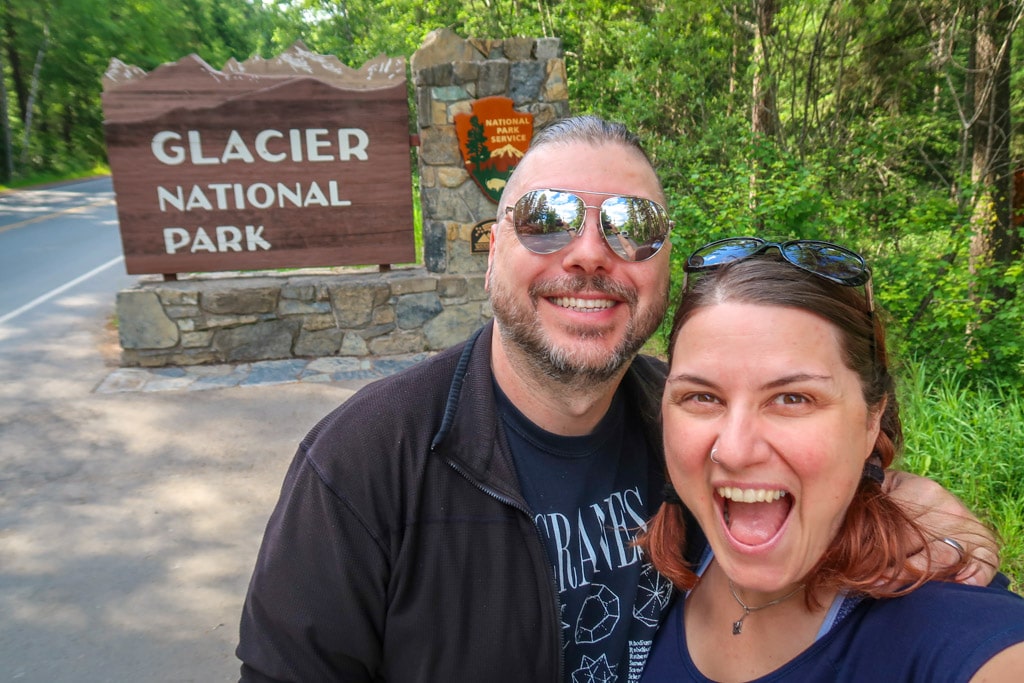
Welcome to Glacier National Park!
Going-to-the-Sun Road Ticketing System
In 2021, a ticketing system was implemented on Going-to-the-Sun road to reduce congestion at Glacier National Park. This will be re-stated in 2022 and will run from May 27 to September 11, 2022.
More information is available on Glacier National Park’s Ticketed Entry page.
Glacier National Park Shuttle System
Rather than battling for a parking spot at the trailhead, consider taking a shuttle instead. The Glacier National Park shuttle runs along the Going-to-the-Sun road during the summer months and stops at Avalanche campground.
More information is available on the Glacier National Park’s Shuttle System page.
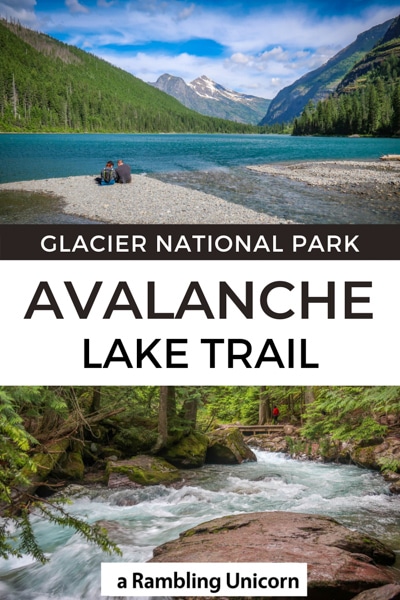
Avalanche Lake Trail
Like this Hiking Guide? Pin it!
Note: This post contains affiliate links, which means I may receive a commission if you click a link and purchase something. While clicking these links won’t cost you anything, they will help me to keep this site up and running!

0 Comments