
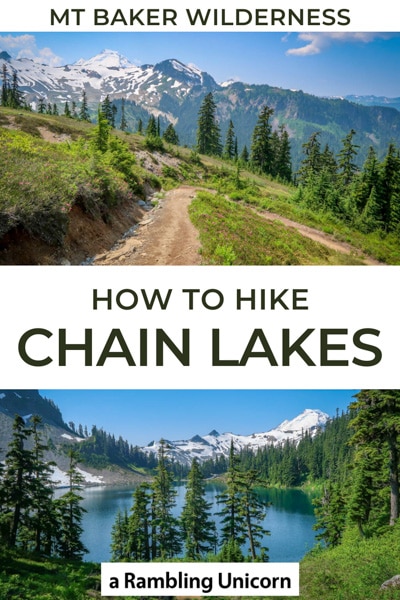
The Mount Baker Wilderness is one of my all-time favorite places to go hiking or backpacking. Artist Point, in particular, is an incredibly beautiful location with stunning 360-degree views all around of Mount Baker and Mount Shuksan. It is also the jumping off point for several fabulous trails, including the Chain Lakes Loop (Trail #682).
Chain Lakes one of the more popular hikes in the Artist Point area and it’s easy to see why. The Chain Lakes Loop is a stunning trail that features crystalline lakes and impeccable views of the Mount Baker Wilderness from every possible angle.
At 7.1 miles in length, the trail is suitable for day hikers – but be warned that it is surprisingly challenging. Chain Lakes is also a great place to backpack for beginners as there are some lovely campsites beside the lakes.
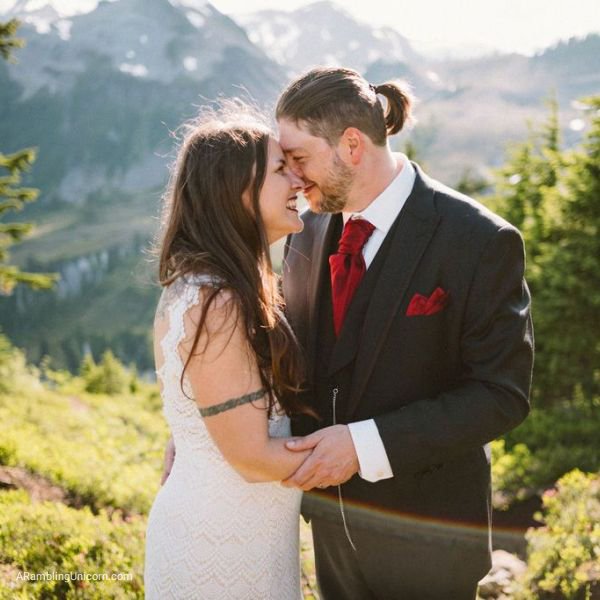
Located at 5,100 feet, Artist Point is one of highest spots in the state of Washington that you can actually drive to. Ease of access is one of the many reasons that makes it great for an Artist Point wedding (it’s where I got married!)
Are you ready to hit the trails yet?
If so, grab some trail mix and keep reading to learn everything you need to hike (or backpack) the Chain Lakes Trail!
Chain Lakes Loop Trail with a view of Mount Baker
Table of Contents
Preparing for a Hike in the Mount Baker Wilderness
When planning your hike, remember that you are entering a rugged wilderness environment environment and pack accordingly. There are no stores or gas stations once you pass the town of Glacier on the Mount Baker Highway, so you should come prepared with everything you need for your trip.
Pack a lunch, bring plenty of water, and arrive with a full tank of gas (or stock up in Glacier).
Check the weather forecast and make sure you’re prepared for the weather conditions. Weather can change rapidly in the mountains and you should always be prepared with some extra layers. Cell reception is spotty in and around Artist Point, so download hiking routes to your phone in advance and pick up a paper map from the Visitor Center in Glacier (and know how to read it!).
There are no flush toilets up at the Artist Point Area, but there are pit toilets at Artist Point, Heather Meadows and at Chain Lakes. In case you need to use the restroom away from a toilet, learn how to pee outside properly. Be sure to leave no trace of your visit behind.

Hayes Lake
What to Bring
Here are a few of my favorite pieces of hiking gear when I’m going for a hike in the Pacific Northwest. This is not an extensive list, but it will give you an idea of some things to consider bringing along.
If you choose to stay overnight, you’ll need to bring along wild camping essentials such as a bigger backpack, sleeping bag, tent, sleeping pad, cook stove, etc.
- Hiking Shoes – Sturdy hiking shoes are important. I’m a big fan of Altra Lone Peak Trail Running Shoes and pair them with Dirty Girl Gaiters to keep rocks from getting into my shoes.
- Socks – Good thick socks are key. I usually wear a pair of double-walled Wrightsock Coomesh II socks with my Altras. For longer hikes, I switch to Injinji Midweight socks to prevent toe blisters.
- Backpack – I love Osprey backpacks and use the Osprey Manta pack which is technically a men’s pack (because I have a longer torso than most women). The women’s equivalent is the Osprey Mira pack.
- Hiking Poles – Hiking poles reduce pressure on your joints and help maintain your balance if you trip. My current favorites are the LEKI Micro Vario Carbon Trekking Poles because they are super lightweight and portable.
- Rain Gear – Raingear is essential when hiking in the PNW. My favorite rain jacket is the Outdoor Research Helium II jacket since it is very lightweight.
- Electronics – if you are using your phone for navigation, bring a portable battery such as the Anker portable battery charger. For longer hikes or backpacking trips, consider bringing a Garmin InReach Explorer. This is a Personal Locator Device (PLB) that enables you to trigger a SOS call to search and rescue and 2-way texting over satellite.
- Camera – I love taking photos and always bring a camera along on my hiking trips. I use the Canon PowerShot G7X Mark III because it is lightweight yet has many advanced features.
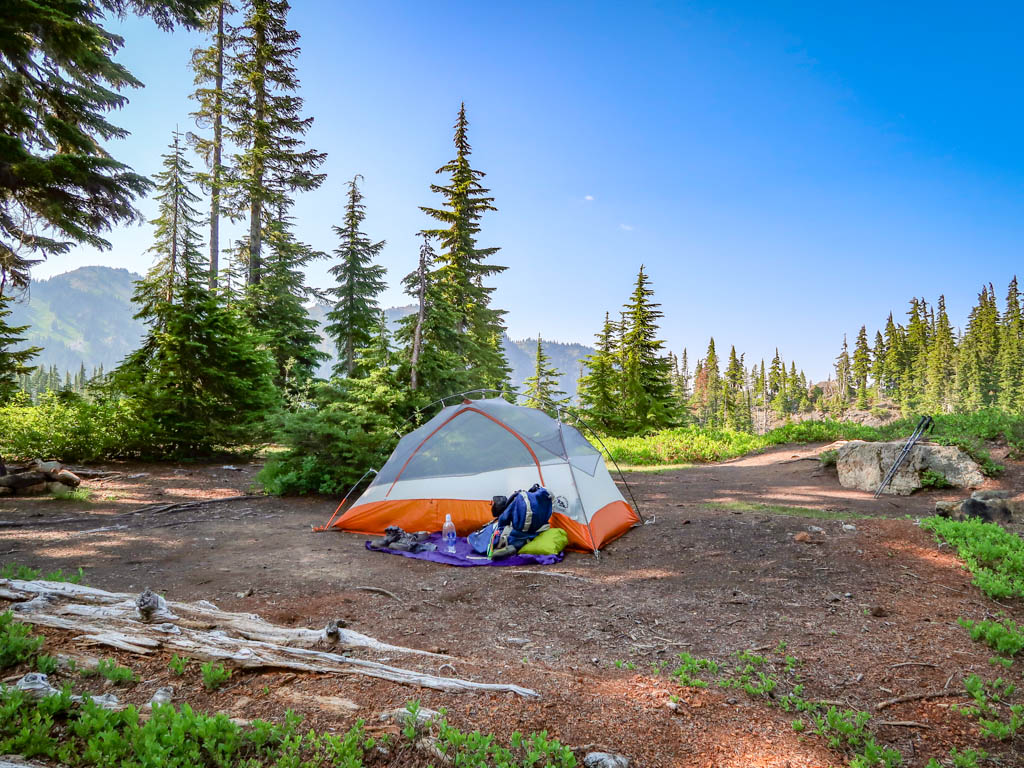
My campsite on the Chain Lakes Loop
When to Go and Road Closure Considerations
The best time to hike the Chain Lakes Loop is usually from June to September, but this varies each year depending on the snowpack and weather. Be aware that smoke from forest fires has made for hazy conditions in recent years (typically in August).
The Mount Baker Highway closes each winter at the Bagley Lakes Trailhead (milepost 54.7) due to heavy snow and the road is only accessible past that for a few months each year. While the road typically closes in October, autumn snow has been known to close the road as early as September in years past. The road is typically not plowed again until June.
Be sure to check the road conditions before heading up to Artist Point at the Mt. Baker-Snoqualmie NF Road and Trail Conditions web site and click on the Mt. Baker Highway tab. You can also find updated information for State Route 542 on the Washington State Dept of Transportation web site.
Note: the Artist Point Trailhead page on the Mt. Baker-Snoqualmie National Forest web site has some useful information but it is not always updated with current road status. I wouldn’t rely on it for the current road conditions.
If you do venture up to the Artist Point area in the wintertime, be sure to check the avalanche forecast ahead of time.

A picturesque bridge over Bagley Lakes
My Experience Backpacking the Chain Lakes Loop
I backpacked the Chain Lakes Loop on a weekend at the end of July when some other hiking plans fell through. As you can see from the photos, there was still some snowy patches in places.
I arrived at Artist Point around 11:30 am on a Saturday. Large piles of snow lined the parking area but the parking lot itself was snow-free.
A Forest Service Ranger was stationed under a canopy in the parking lot so I walked over and mentioned that I was headed to Chain Lakes. He thought that was a great idea but advised me to camp only in designated sites as they are trying to rehabilitate areas that have been overused in the past.

View of Mt. Shuksan from Artist Point
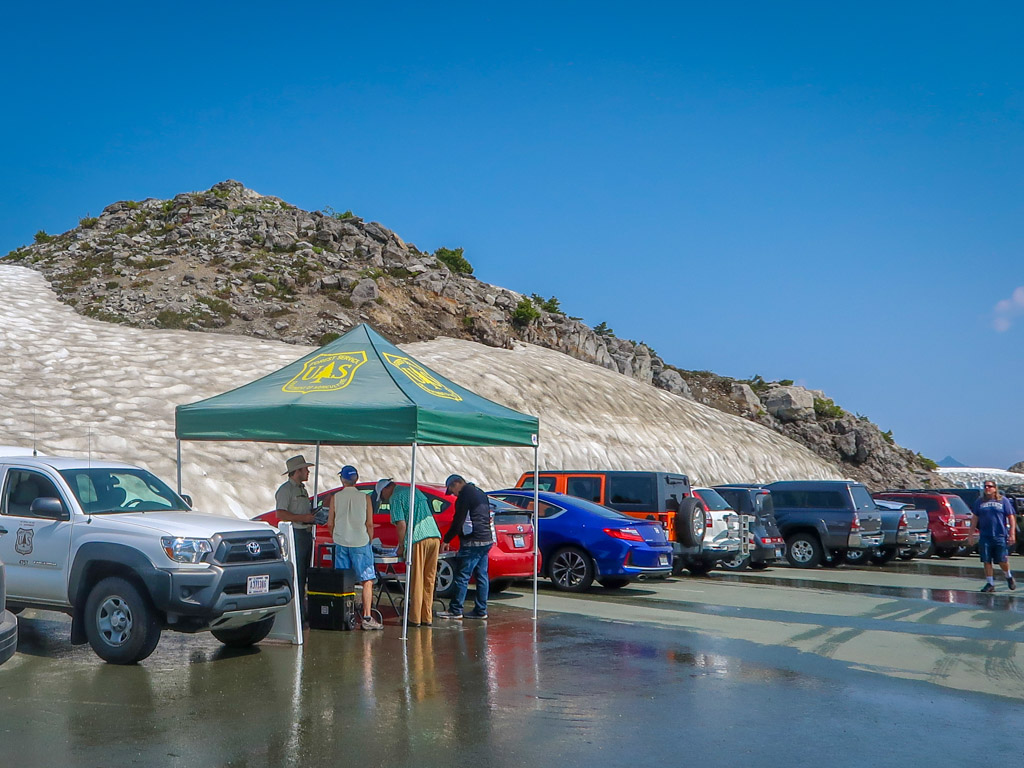
This ranger was very helpful. Thanks, ranger!
Ptarmigan Ridge Trail
I chose to hike the trail clockwise and so took a moment to locate the Ptarmigan Ridge trail. I had to climb over a snowbank when leaving the parking lot and then the Ptarmigan Ridge Trail emerged, snow-free for the most part.
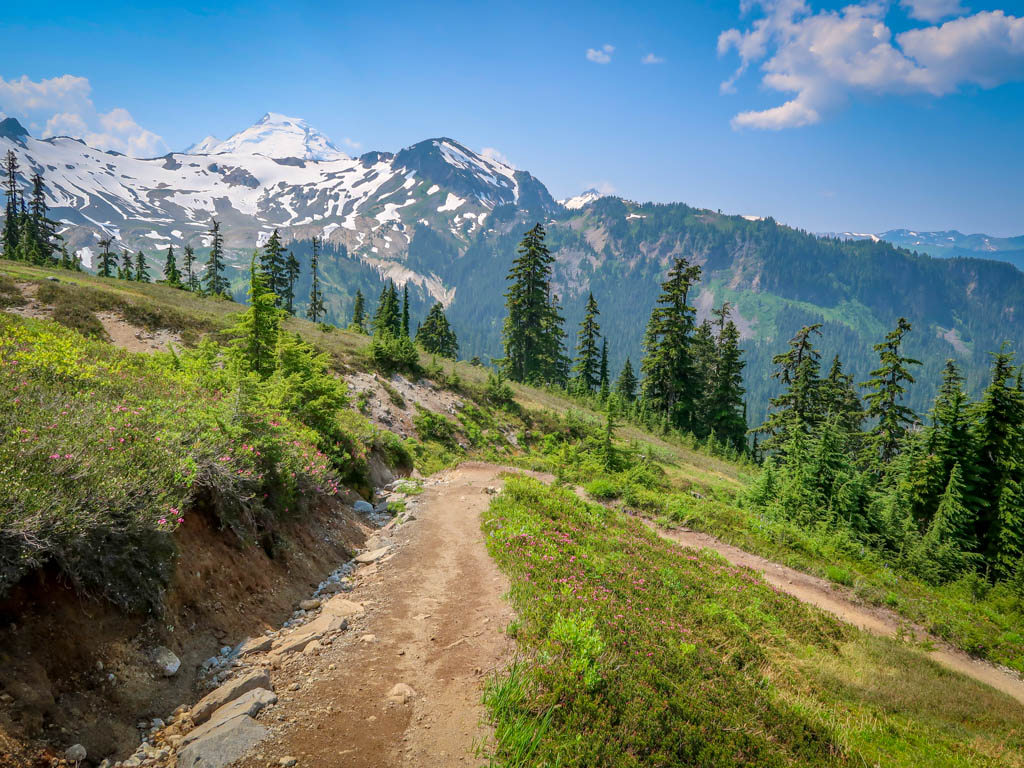
For the first mile, the trail hugs the side of Table Mountain with stunning views of Mt. Baker ahead and Mt. Shuksan behind. The temperature was in the upper 80s and this section is fairly exposed, so I stopped to apply sunscreen and guzzle some water.
Hiking the Ptarmigan Ridge Trail
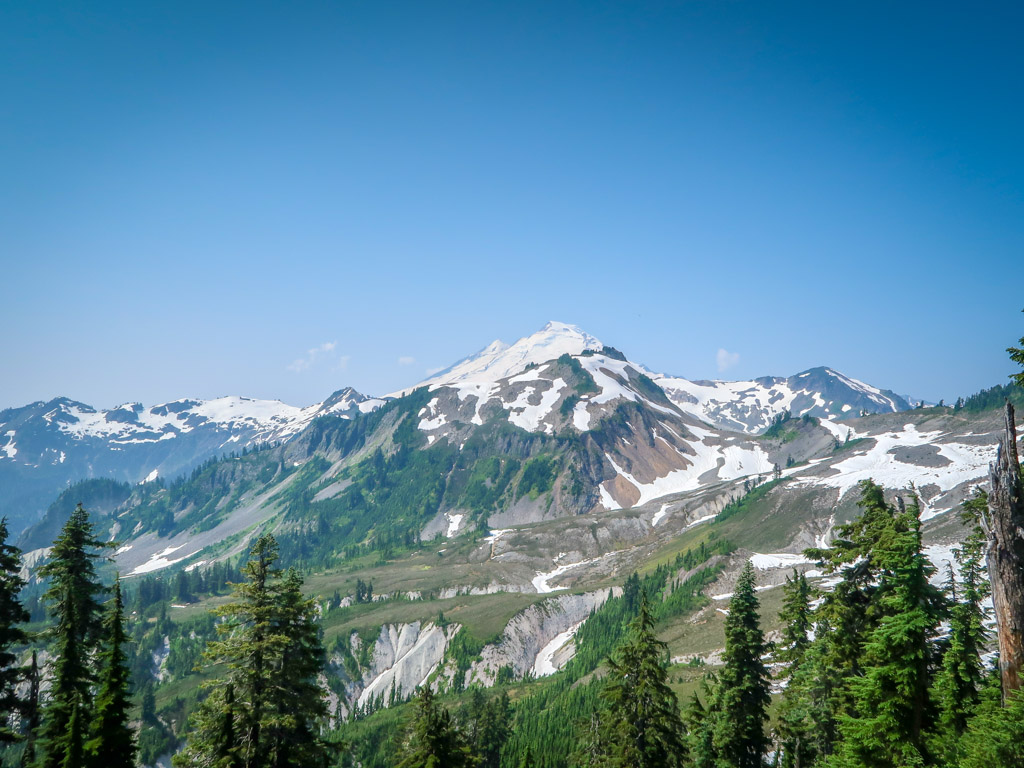
Mount Baker in all her glory
Junction with Chain Lakes Trail
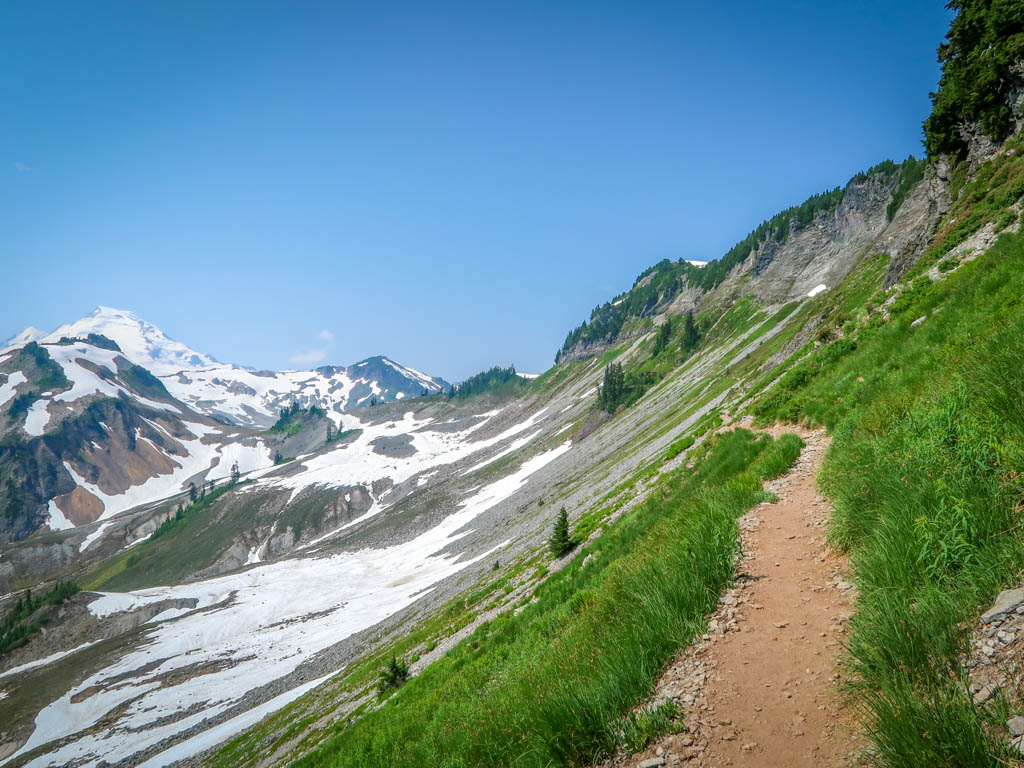
After a mile, I took the junction for the Chain Lakes Trail which dips down and over the ridge into a basin. Here, I encountered what was the biggest snowfield on the Chain Lakes Loop at the time.
I traversed it ok in my Altra Lone Peak trail runners but took my time as I had to navigate down a hill. You may also consider bringing micro-spikes to navigate any snowy patches.
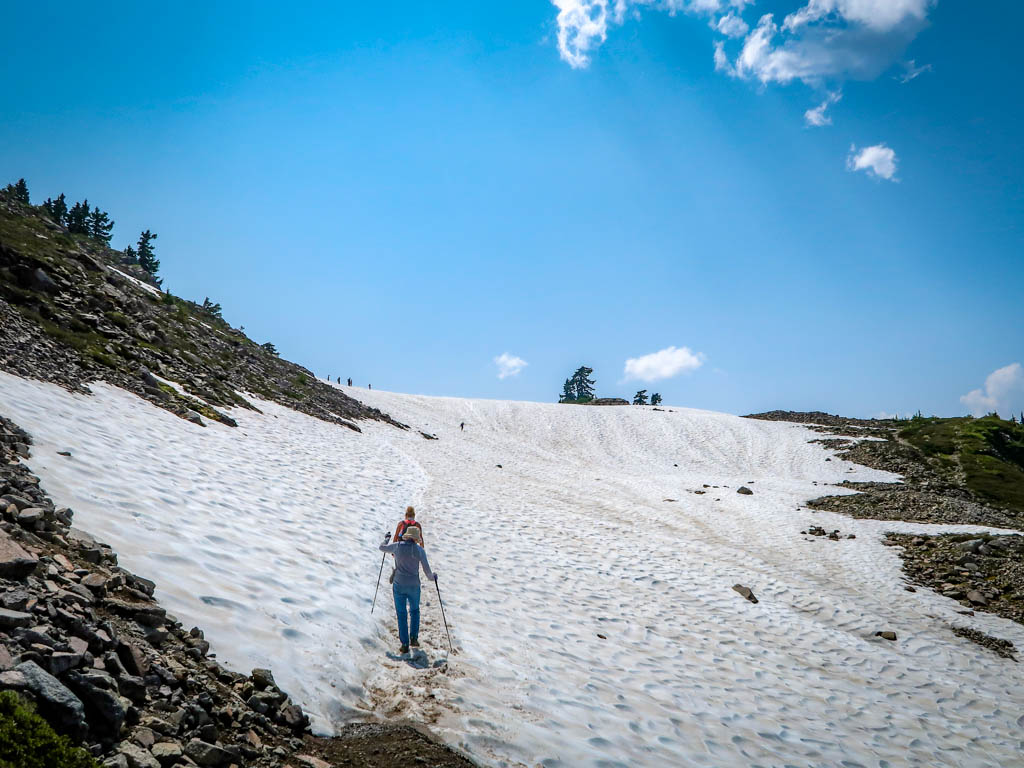
The snowy section at the intersection of Chain Lakes Loop with Ptarmigan Ridge Trail
Mazama & Iceberg Lakes
After passing the snowfield, from there the trail was snow-free down to Mazama Lake. Mazama is the smallest of the Chain Lakes and has lovely views of Table Mountain, as well as a privy.
I took the side trail to check out the four campsites to the west of the lake and was surprised to find them all unoccupied. I considered stopping there for the night, but my curiosity got the better of me and I pressed on.
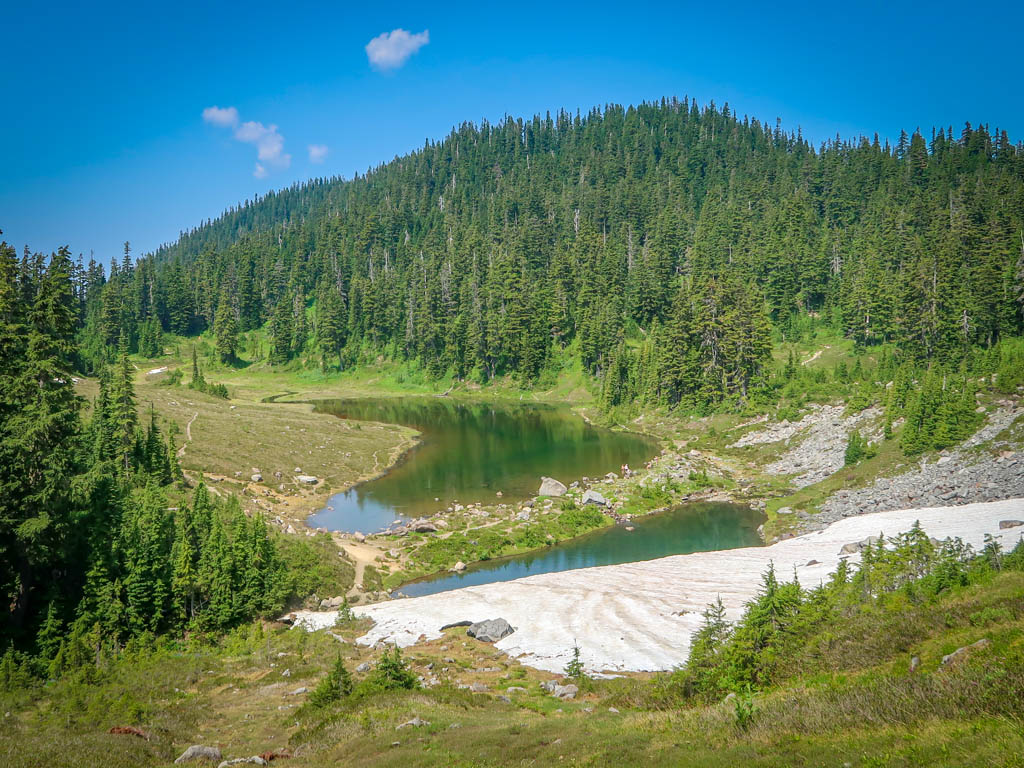
Mazama Lake
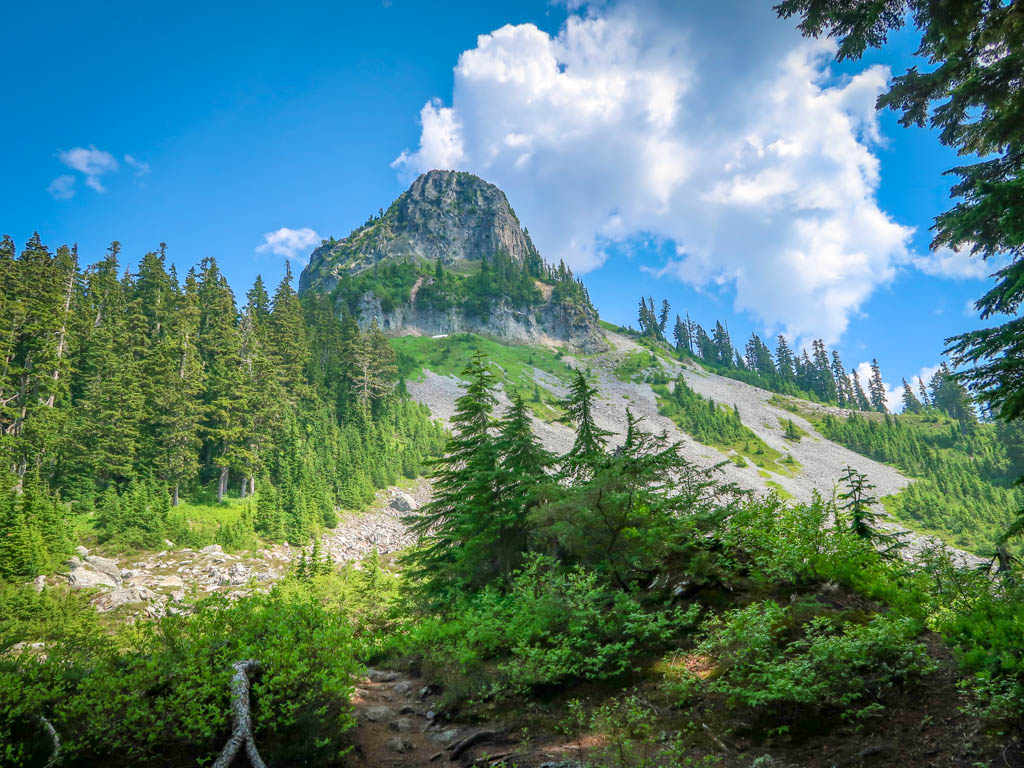
West face of Table Mountain as viewed from Mazama Lake
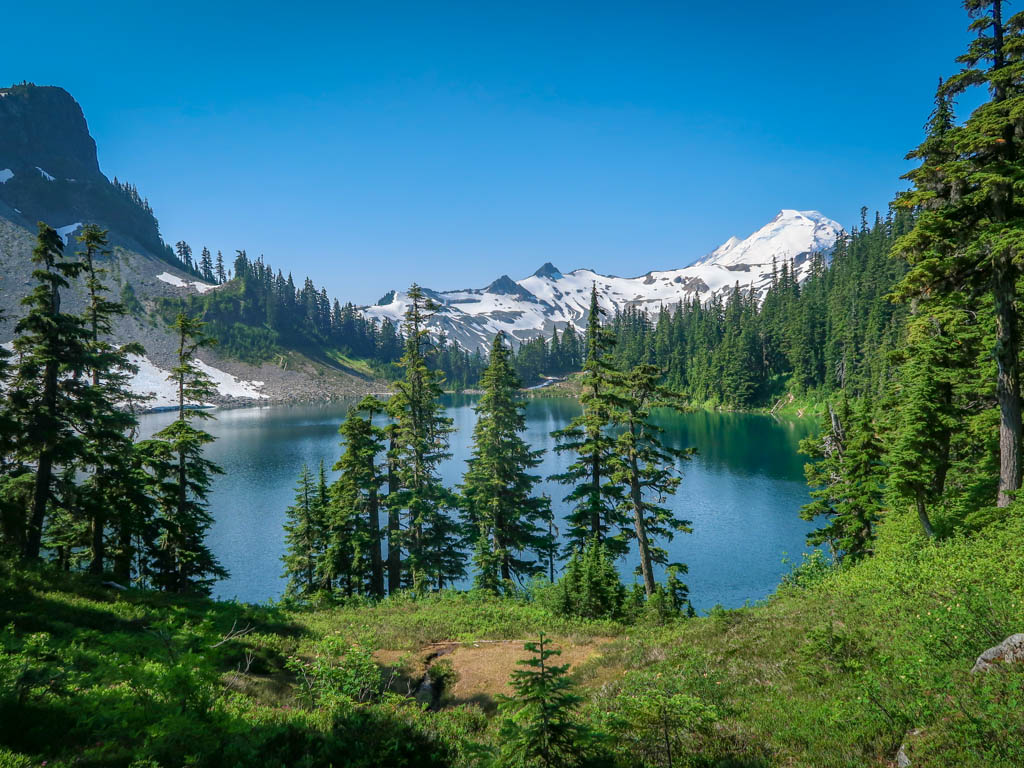
I was so glad that I kept hunting for a campsite. Five minutes later, Iceberg Lake came into view and my jaw dropped. The north flank of Table Mountain juts dramatically out of the lake with snowbanks encircling the water’s edge like a delicate necklace.
I haven’t seen anything this magnificent since I hiked the Sierras on the Pacific Crest Trail.
For families or those wanting a shorter hike, this is a good place to turn around. It’s just over 2 miles to Iceberg Lake one-way – with only 100 feet elevation gain on the way there and 450 feet on the way back.
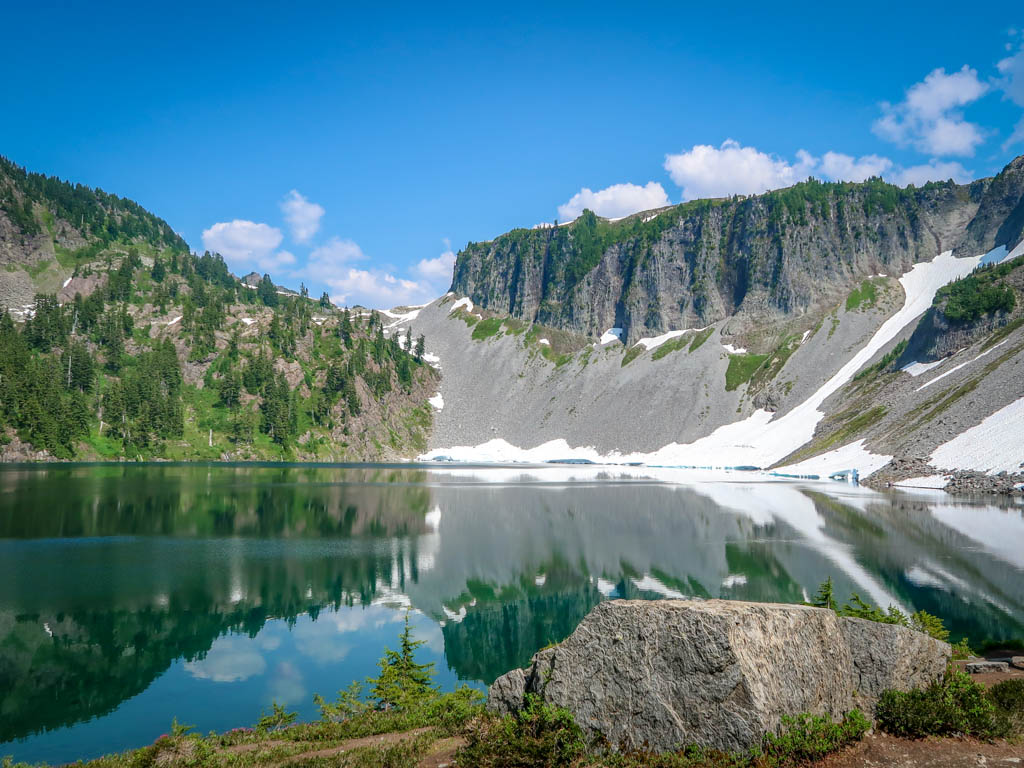
Incredible Iceberg Lake
Hayes & Arbuthnet Lakes
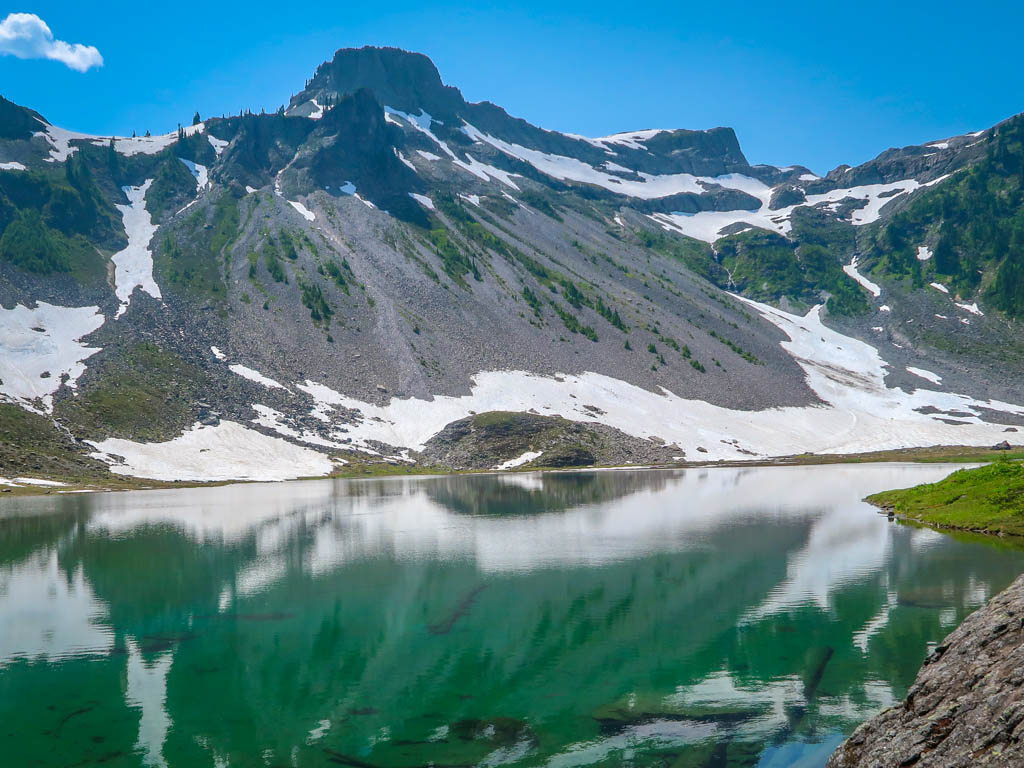
No camping is allowed next to Iceberg Lake so I continued along to Hayes Lake. According to my map, there are 4 campsites scattered around the lake so I began hunting for them.
Hayes Lake is much bigger than Mazama and also more popular due to the incredible views around the lake. The views of Table Mountain’s north face are gorgeous from this vantage point. I saw several tents set up illegally around the lake in unofficial spots which is a shame.
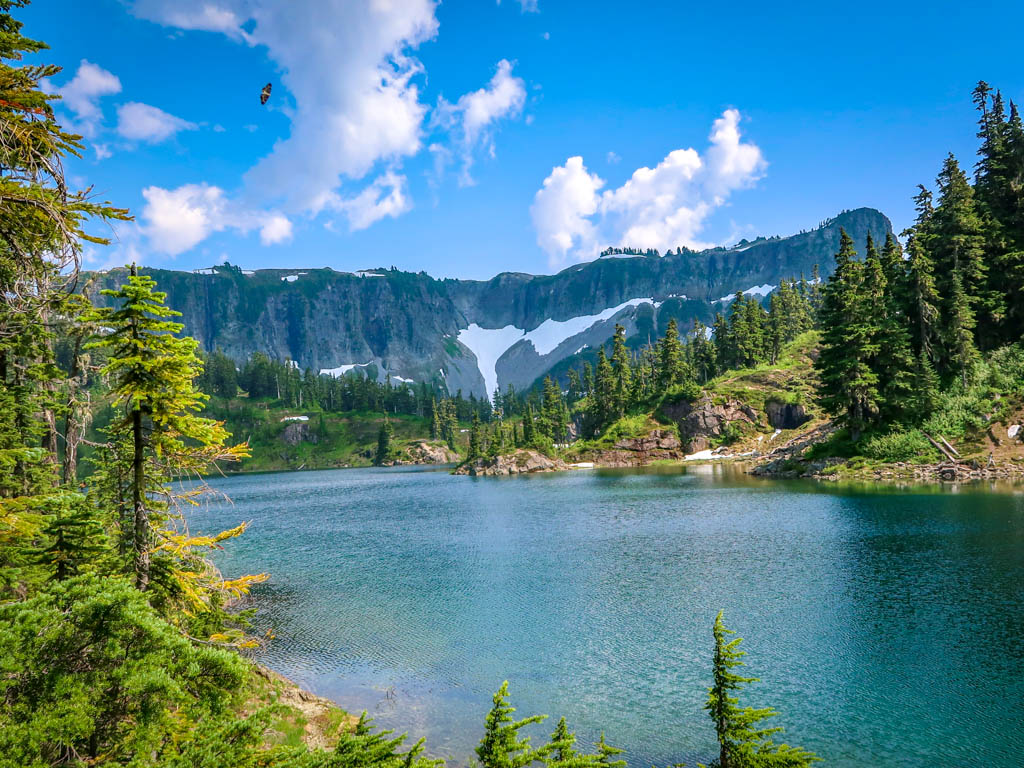
Hayes Lake with the Table Mountain in the background complete with a bird circling overhead
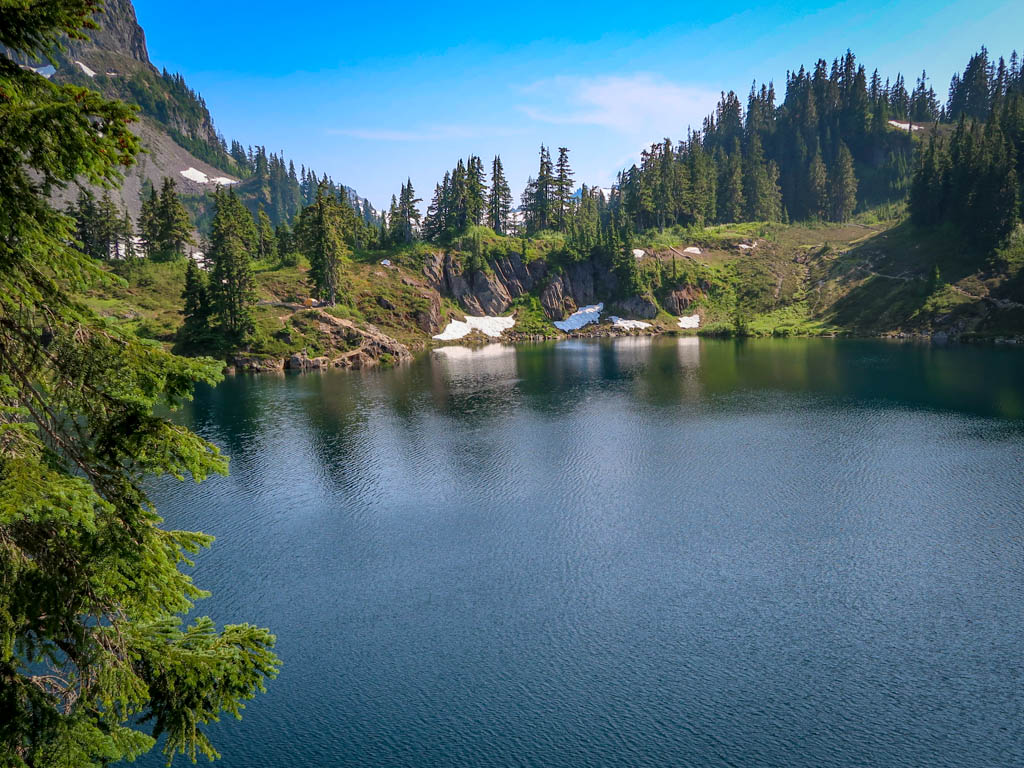
Hayes Lake as viewed from my campsite
I ended up walking all the way around Hayes Lake to the very last campsite and was happy to find it unoccupied. It’s a 20-minute walk from the toilet on the other side of the lake but has stunning views of both Hayes and Arbuthnet Lakes.
I spent a pleasant evening in solitude, watching the sun set over Arbuthnet Lake.
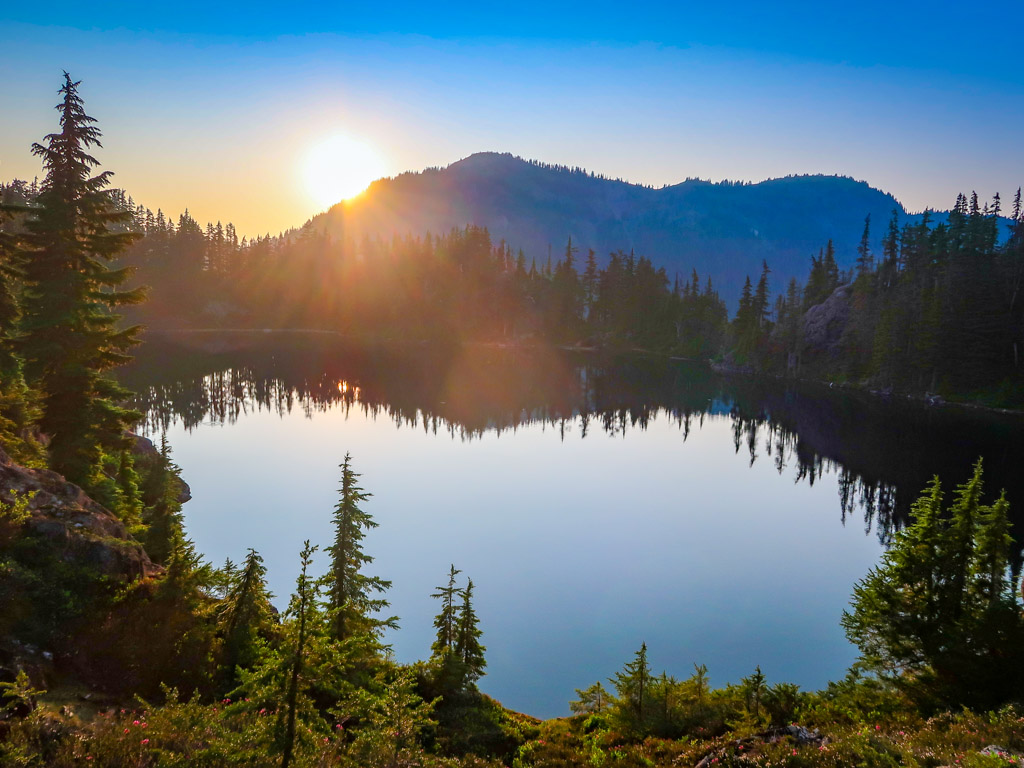
Sunset over Arbuthnet Lake
Herman Saddle
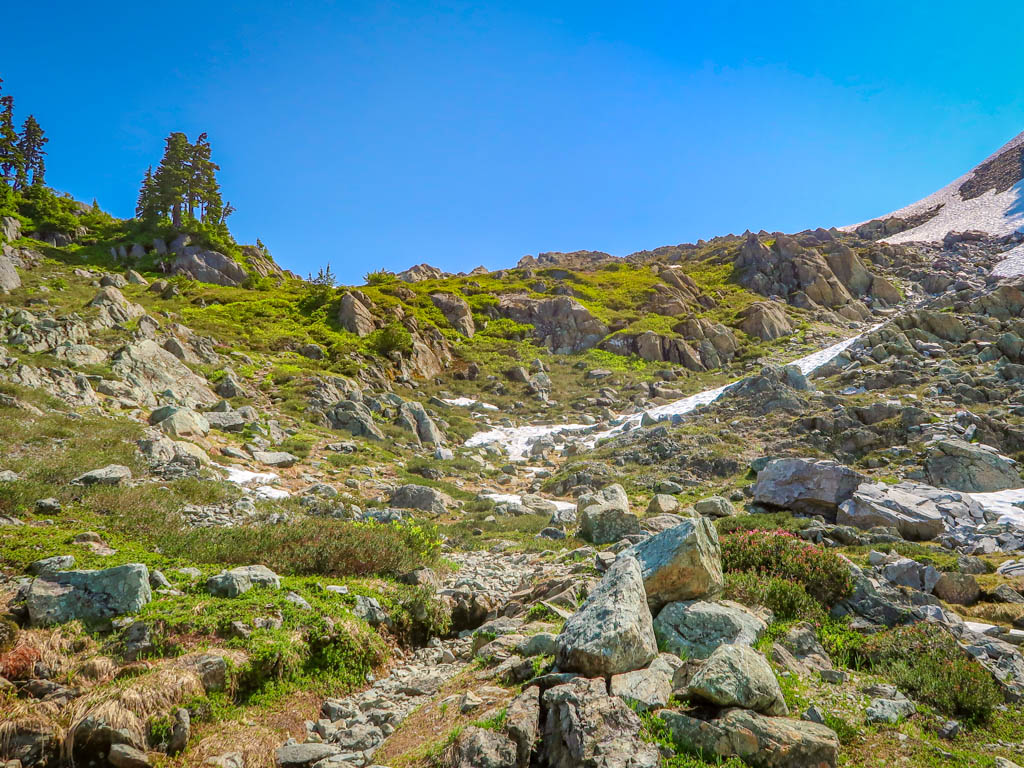
In the morning I broke camp around 9:30 am and continued hiking clockwise up to Herman Saddle. I couldn’t help but look behind me periodically to take in the view of Mt. Baker with Chain Lakes framed below.
The views at the top of the saddle are magnificent and I stopped for an early lunch and to drink it all in. There was still some snow here as well, but it’s less steep than the snowfield at the junction with Ptarmigan Ridge Trail and seemed easier to manage.
Also I got a signal on my phone here for the first time since the previous day.
View looking back towards Iceberg Lake as I climbed Herman Saddle
Herman Saddle
Descent to Bagley Lakes
Once over the saddle, the trail descends along the side of Mazama Dome to Bagley Lakes. The Heather Meadows Visitor Center is barely visible in the distance, along with gorgeous views of Mt. Shuksan.
I passed many day hikers huffing up the hill as I descended – some clearly unprepared for the heat and the elevation. This section is very exposed and I found it more difficult than I anticipated based on the map.
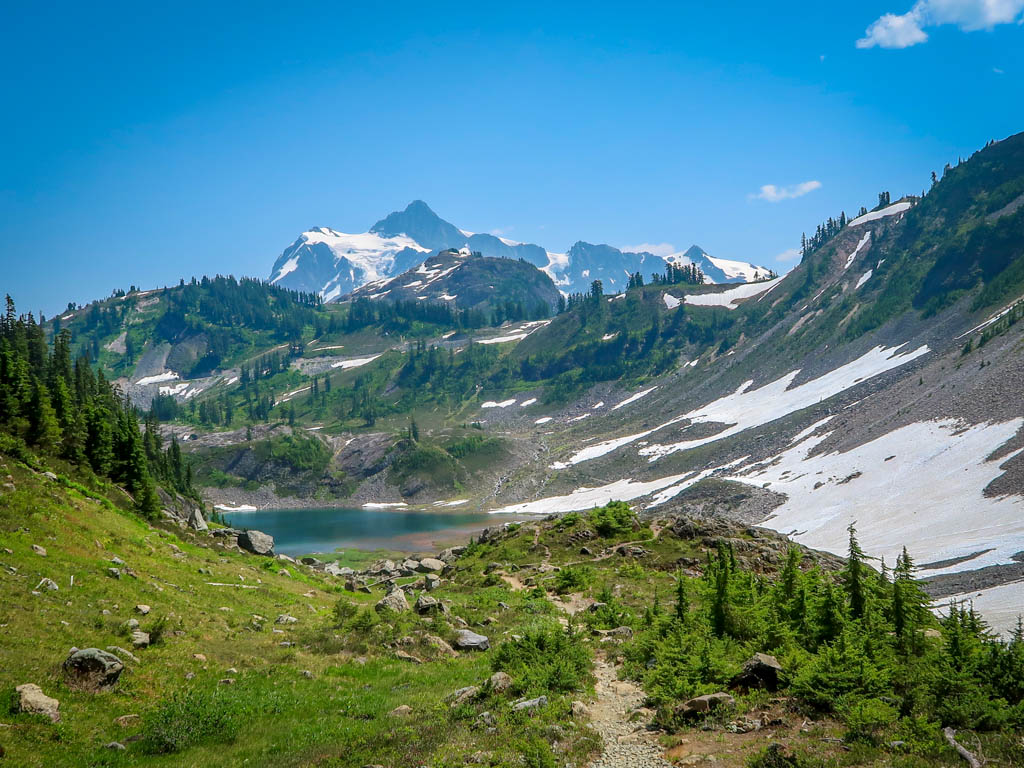
The trail leading down to Bagley Lakes with Mt. Shuksan in the background
Bagley Lakes
Heather Meadows Visitor Center & Wild Goose Trail
Once at Heather Meadows, take the Wild Goose Trail and that leads back to Artist Point. It’s a fairly steep trail that isn’t as pretty as the rest of the hike. Or, if you’re lazy like me, catch a ride with a friend or hitch hike.
Soon I was back at my car and ready to head home. What an amazing hike! I’ll definitely be doing this one again!
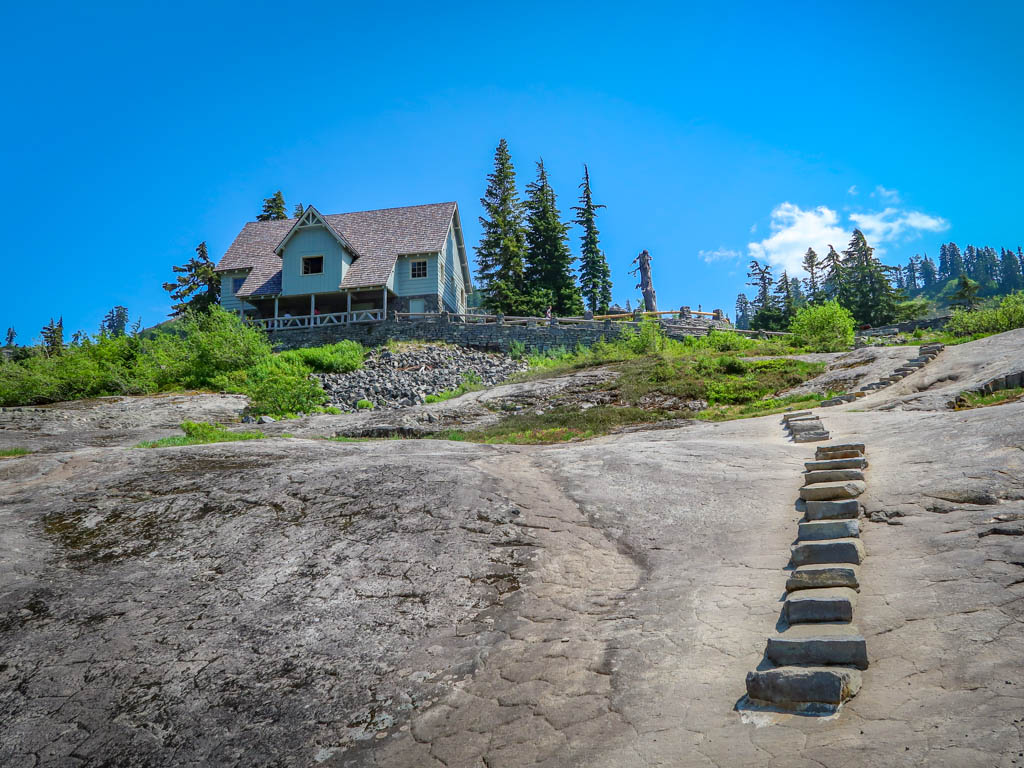
Heather Meadows Visitor Center
Trail Information and Map
- Distance – 7.1 miles loop
- Elevation Gain – 1886 feet
- Starting Elevation – 5082 feet
- Highest Elevation Point – 5444 feet
Trailhead and Parking Information
Chain Lakes Loop is accessed from Artist Point at the end Mount Baker Highway (State Route 542). Both the Artist Point and Heather Meadows trailheads can be used for hiking the trail. Each trailhead has a large parking area with pit toilets. Note that snow may be piled high along the edges of the parking lots until late summer.
A Northwest Forest Pass or America the Beautiful Interagency Pass is required to park in either parking lot. Personally, I prefer the American the Beautiful Pass because it is also valid at all National Parks as well as other Bureau of Land Management lands. If you do not bring a pass with you the trailhead, you can register onsite (the cost is $5 – be sure to bring cash).
If you choose to backpack into Chain Lakes, a backcountry permit is not required for camping.
Driving directions: from Bellingham, head east on State Route 542 for 58 miles to the end of the highway. It is an incredibly scenic drive with lots of curves and hairpin turns near the summit. Plan on at least 1.5 hours for the drive.
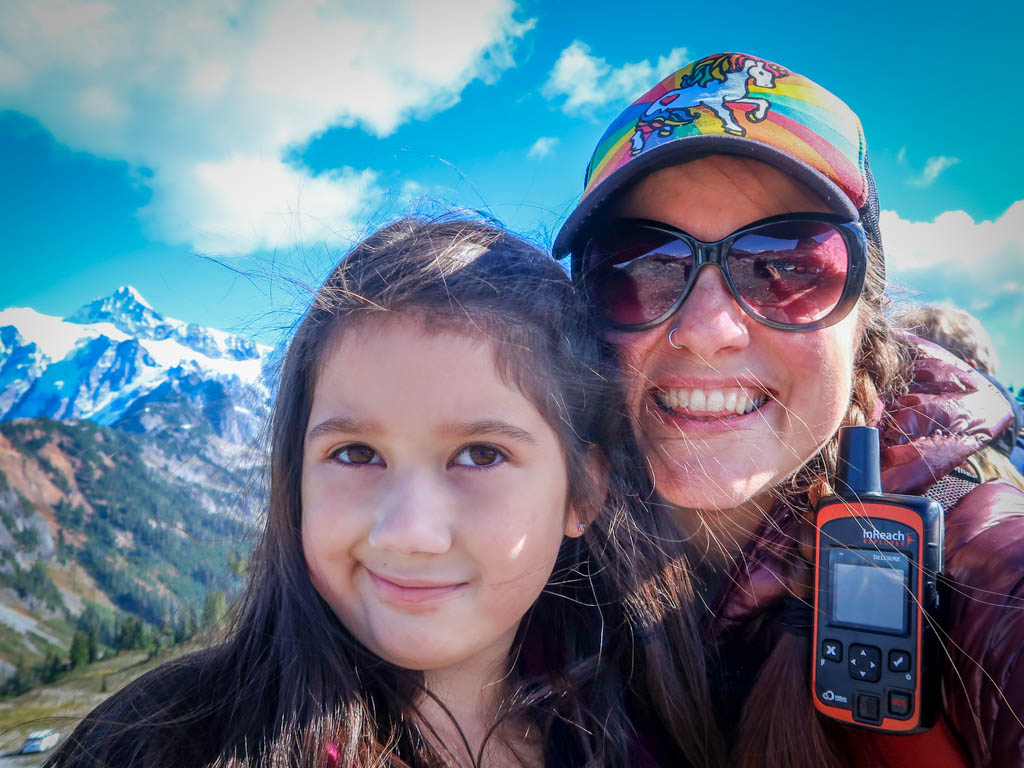
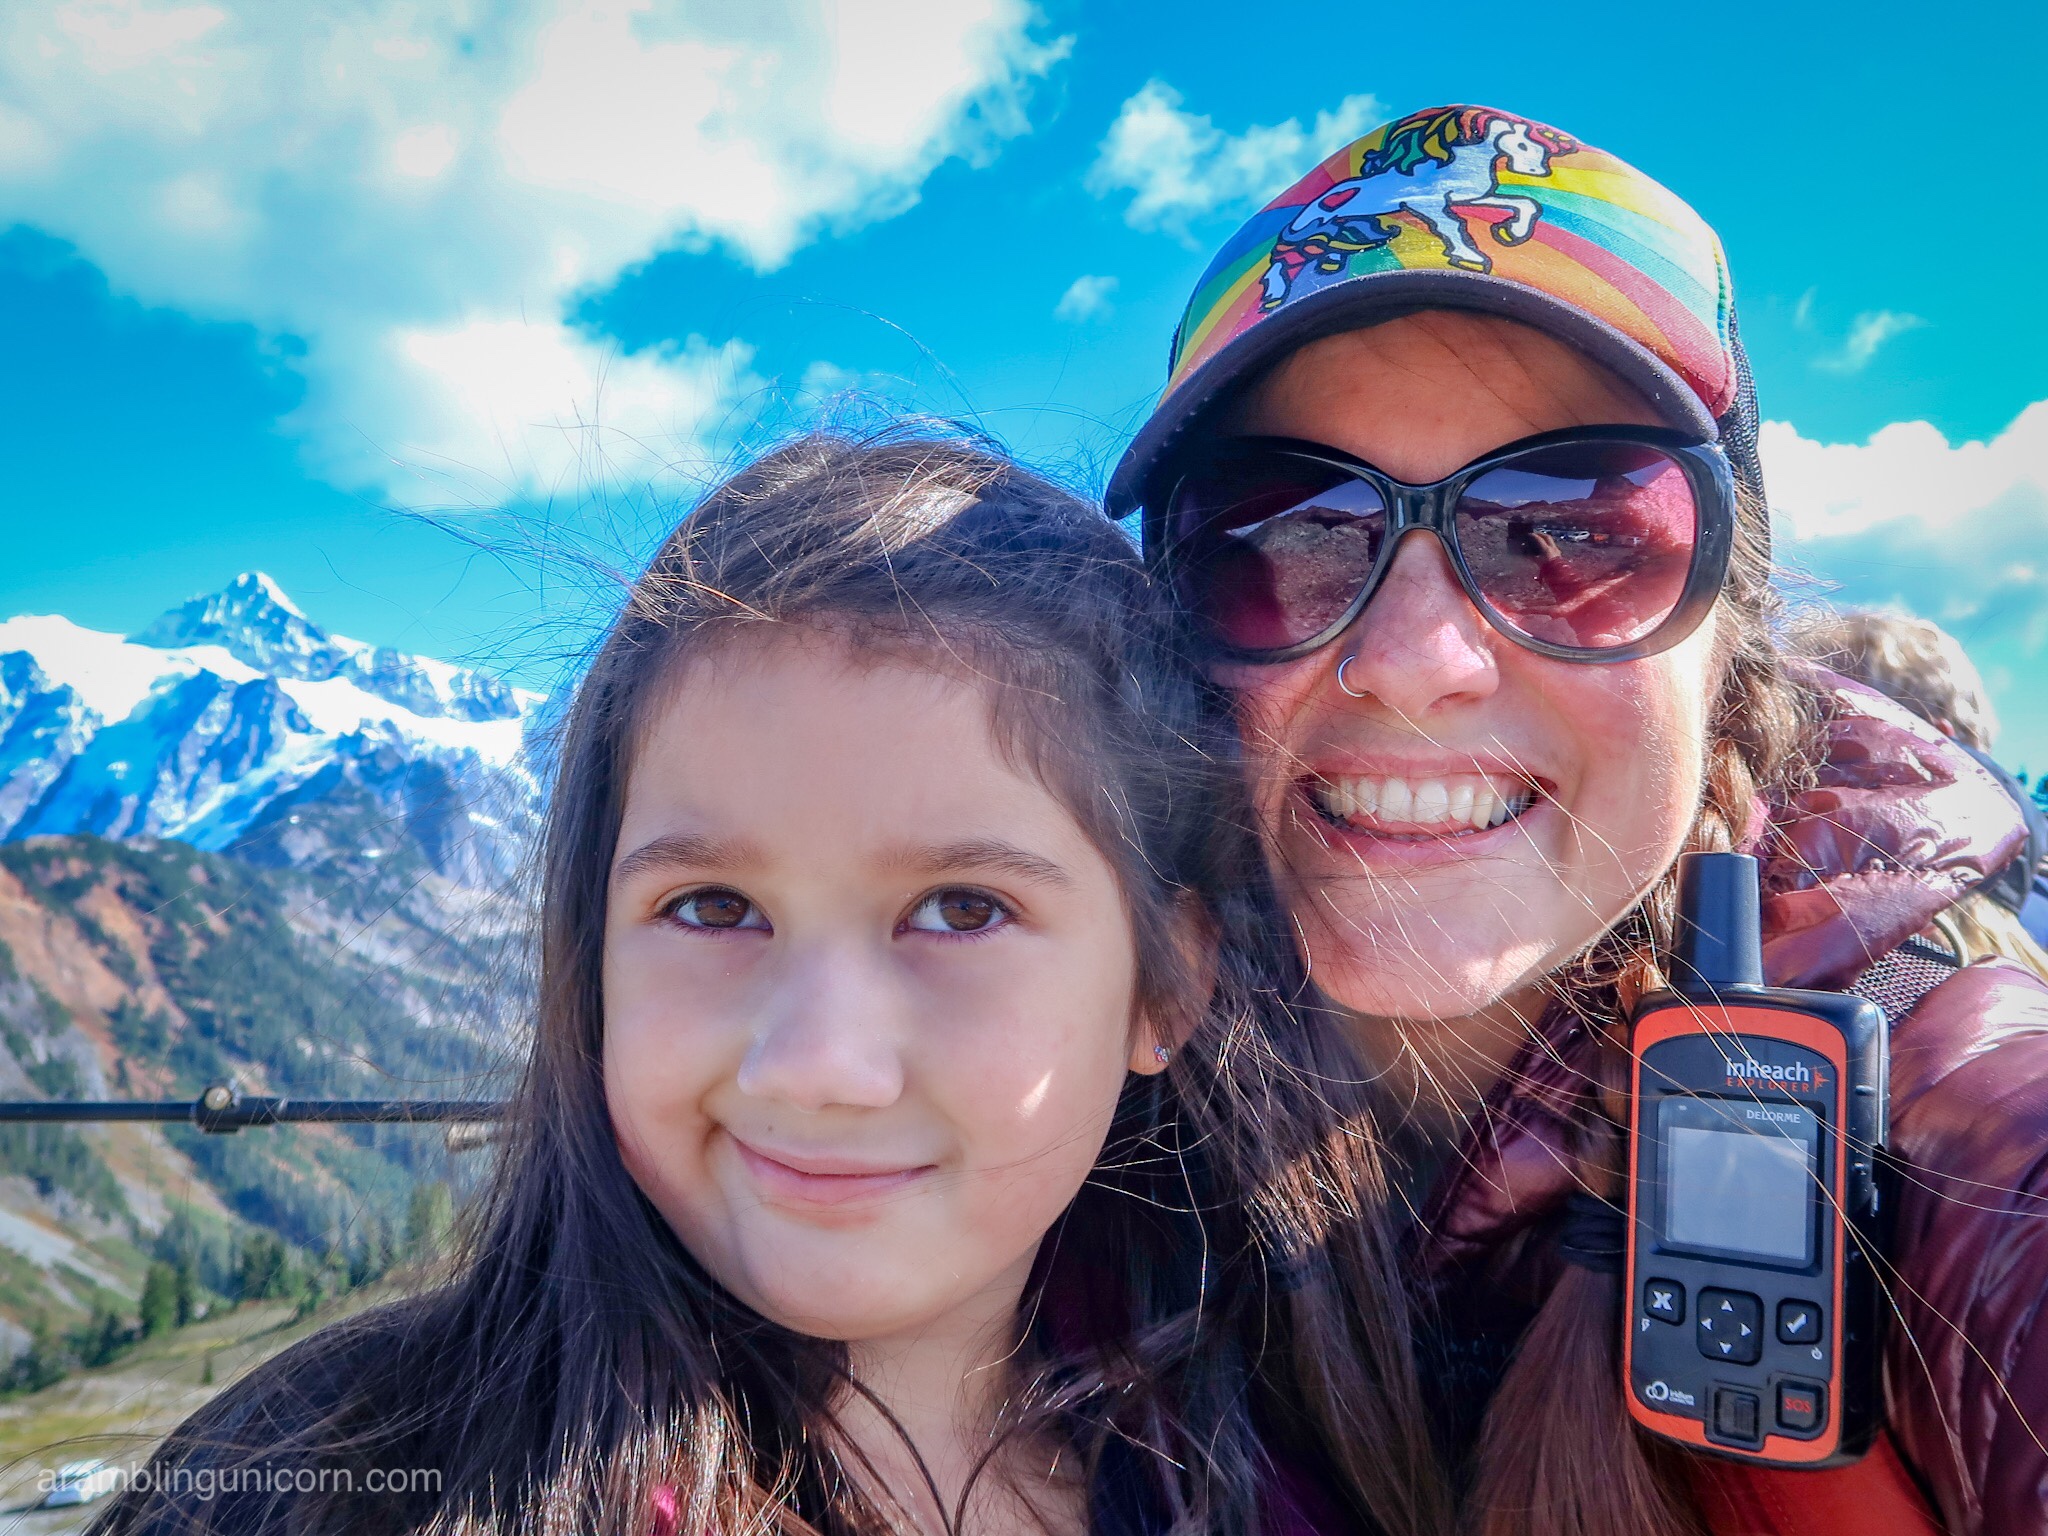
Hanging out at Artist Point with my niece, Ava
Like this article? Pin it!
Note: This post contains affiliate links, which means I may receive a commission if you click a link and purchase something. While clicking these links won’t cost you anything, they will help me to keep this site up and running!
HI, I am planning to do the one night camp this weekend as well. May I ask you any suggestion how you store foods at night? I read the official website, and it suggests that better to hang all the foods on the tree. How did you do? And did you bring two sets of cloths? one for sleeping and the other one for while you cook.
This was very entertaining. Thank you for sharing. Beautiful pictures.
Thank Mike!