
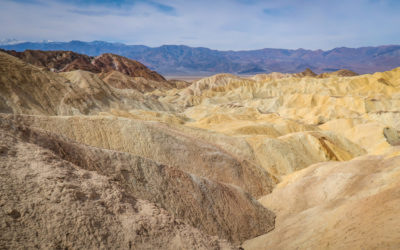
There is no shortage of amazing hiking opportunities in Joshua Tree National Park. Visitors can climb mountains with panoramic views, wander through forests of Joshua Trees and discover palm oases that are hidden throughout the park.
While there are hikes for every skill level, there is one that stands above the rest. This trek is the big enchilada, the granddaddy of all trails, one of the best hikes in Joshua Tree National Park. It’s the longest trail in the park and an incredible multi-day backpacking adventure.
What is this phenomenal trail, you ask? Why, the California Riding and Hiking Trail of course.
Stretching for 37 miles across the park’s northern region, the California Riding and Hiking Trail is a mini thru-hike amidst some of Joshua Tree’s most spectacular scenery. The trail provides hikers with the opportunity to explore remote wilderness areas and commune with the Mojave desert well away from other visitors.
From the minute I heard about this amazing trail, I knew I had to experience it for myself. This was during a two-month visit to Joshua Tree when my husband Daniel and I were laying low during the pandemic. I had fallen in love with Joshua Tree National Park and planned to hike as many of the trails as humanly possible.
All good things come to those who wait, they say. So I decided to save this trail for the very last.
And that is how I ended up hiking 37 miles along Joshua Tree’s California Riding and Hiking Trail on an epic solo backpacking trip in early March 2021.
Table of Contents
Wilderness Backpacking in Joshua Tree National Park
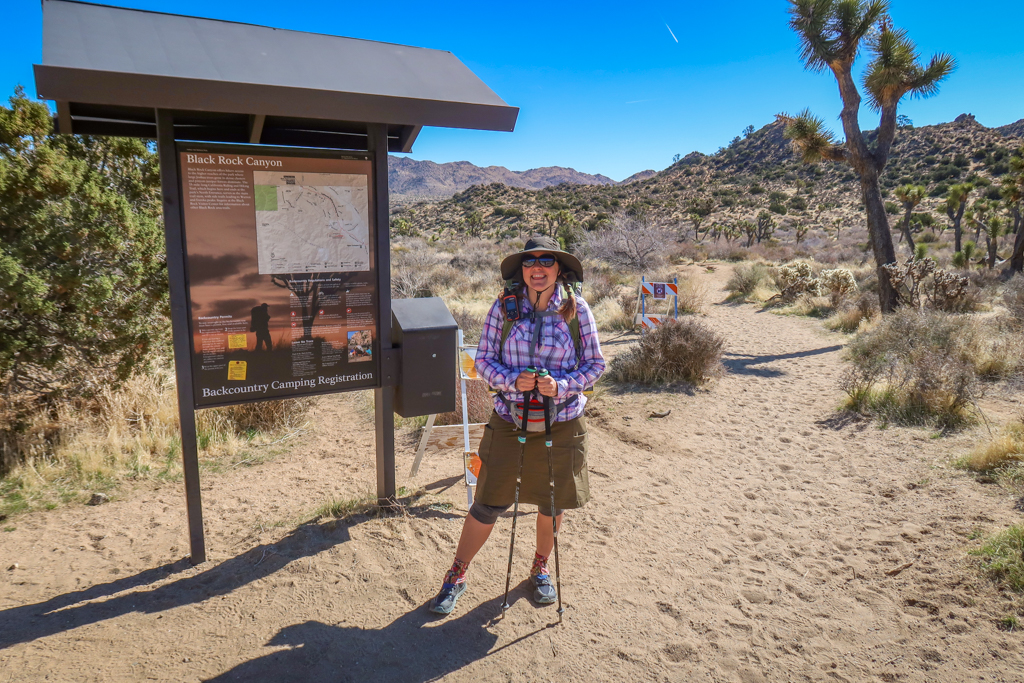
Before striking out on the California Riding and Hiking Trail, I did my homework on Joshua Tree’s wilderness camping regulations. After chatting with the rangers and researching online, I learned the following:
- Backpacking in Joshua Tree is fairly easy compared to some other National Parks. There are no quotas for permits or early registration required. You can self-register for a backcountry permit at one of 13 backcountry registration boards which are located throughout the park.
- After registering for a permit, you can camp anywhere in the park as long as you’re at least one mile from the road, 500 feet from the trail, and not in a day use area.
- There is no water available in the main part of the park. Hikers have to either bring all of their water with them or cache it in advance.
There are more things to know about wilderness camping of course, but these are the basics. For more detailed information, consult my comprehensive guide to backpacking in Joshua Tree.
Backpacking Gear
This list includes some of my favorite backpacking gear. This isn’t a comprehensive list of everything you’ll need but it will get you started.
- Hiking Shoes – Sturdy hiking or walking shoes are a must. Personally, I’m a big fan of Altra Lone Peak Trail Running Shoes. I pair them with Dirty Girl Gaiters to keep sand and rocks from getting into my shoes.
- Socks – Good thick socks are also important. For long hikes, I prefer Injinji Midweight socks to prevent toe blisters.
- Backpack – A comfortable and well-fitting backpack is essential. I love Ospreys because I tend to get a sweaty back and the design promotes good airflow. My go-to bag is the Osprey Exos 58 because it’s super lightweight.
- Tent – I’m a big fan of the Big Agnes Copper Spur Tent. I used the 1-person version when I hiked the PCT in 2017 and now my husband and I use the 2-person version.
- Sleeping System – I use an ultra-lightweight 10 degree Enlightened Equipment Enigma custom quilt which I absolutely adore. For a sleeping pad, I prefer the Exped Synmat Winterlite air mattress because I find the vertical baffles more comfortable than pads with horizontal baffles.
- Hiking Poles – Hiking poles reduce pressure on your joints and help maintain your balance if you trip. My current favorites are the LEKI Micro Vario Carbon Trekking Poles because they are super lightweight and fold down to easily fit into my suitcase.
- Sun Hat – Protect your face (and scalp) with a broad sun hat. This sun hat is great because it has a wide brim and no back so it doesn’t bump into my backpack.
- Camera – I love taking photos and always bring a camera along on my hiking trips. I use the Canon PowerShot G7X Mark II because it is lightweight yet has many advanced features.
- Electronics – if you are using your phone for navigation, bring a portable battery such as the Anker portable battery charger. For longer hikes or backpacking trips, consider bringing a Garmin InReach Explorer. This is a Personal Locator Device (PLB) that enables you to trigger a SOS call to search and rescue and 2-way texting over satellite.
Training to Hike the California Riding and Hiking Trail
After acquainting myself the basics on wilderness camping, I began training. I was out of shape after recovering from an illness and could barely hike a few miles, let alone a 37-mile trail.
So I started small. I began with easy trails such as the South Park Peak Trail and the West Side Loop Trail. I was eager to try something harder, however, and decided to try the more challenging 6.4-mile Panorama Loop Trail.
Unfortunately, I went a little too fast too soon and hurt my right foot. I have an old hiking injury that bothers me sometimes if I’m not too careful, and I wasn’t being careful. I could barely walk by the time I returned to the car and was reduced to a painful hobble.
So I iced my foot and rested for a week before trying again. This time I did strength-training exercises and stretched religiously before hitting the trail.
Needless to say, it is important to train for your hike to strengthen muscles, build endurance, and improve stability. All the things your body needs to do during a hike.
That made a world of difference.
Soon I was back in the park exploring easy trails with Daniel. We hiked the Barker Dam Trail, the Arch Rock Nature Trail and the Hidden Valley Trail (twice!). Before long, I graduated to slightly more difficult trails such as the 49 Palms Oasis Trail and the Lost Horse Mine Trail.
After those outings, I decided to try an overnight camping trip. I wanted to test out my hiking gear (and my foot) on a short trip before committing to a longer adventure. The 8-mile Boy Scout Trail Joshua Tree was the perfect trail for this experiment. It was just the right length without being too easy or too difficult.
After the successful overnight trip, I was ready for some longer day trips. I loaded my pack with training weight and hiked the 6.8-mile Willow Hole Joshua Tree Trail and then the 7.2-mile Lost Palms Oasis Trail later the same week.
Once those hikes were completed, I decided that I was finally ready to tackle the California Riding and Hiking Trail. But first, I had to cache my water. And before I could place my water caches, I had to plan my route.
This Unicorn is ready to ramble!
Maps and Trip Planning
- Distance – 37.6 miles point-to-point
- Elevation Gain – 3,175 feet
- Elevation Loss – 3,623 feet
- Highest Elevation Point – 5,167 feet
- Lowest Elevation Point – 2,836 feet
The trail starts at the Black Rock Canyon trailhead and ends at the North Entrance near the town of Twentynine Palms. While it can be hiked in either direction, I recommend hiking from west to east due to an easier elevation profile. When hiking in this direction, most of the uphill hiking takes place at near the beginning of the trail with the second half of the hike being an easy jaunt downhill.
AllTrails Map
Be sure to download this map to your phone before heading out as there is no cell reception once you’ve entered the park. Bring a portable batter charger to keep your phone powered while you hike.
Official Joshua Tree National Park Map
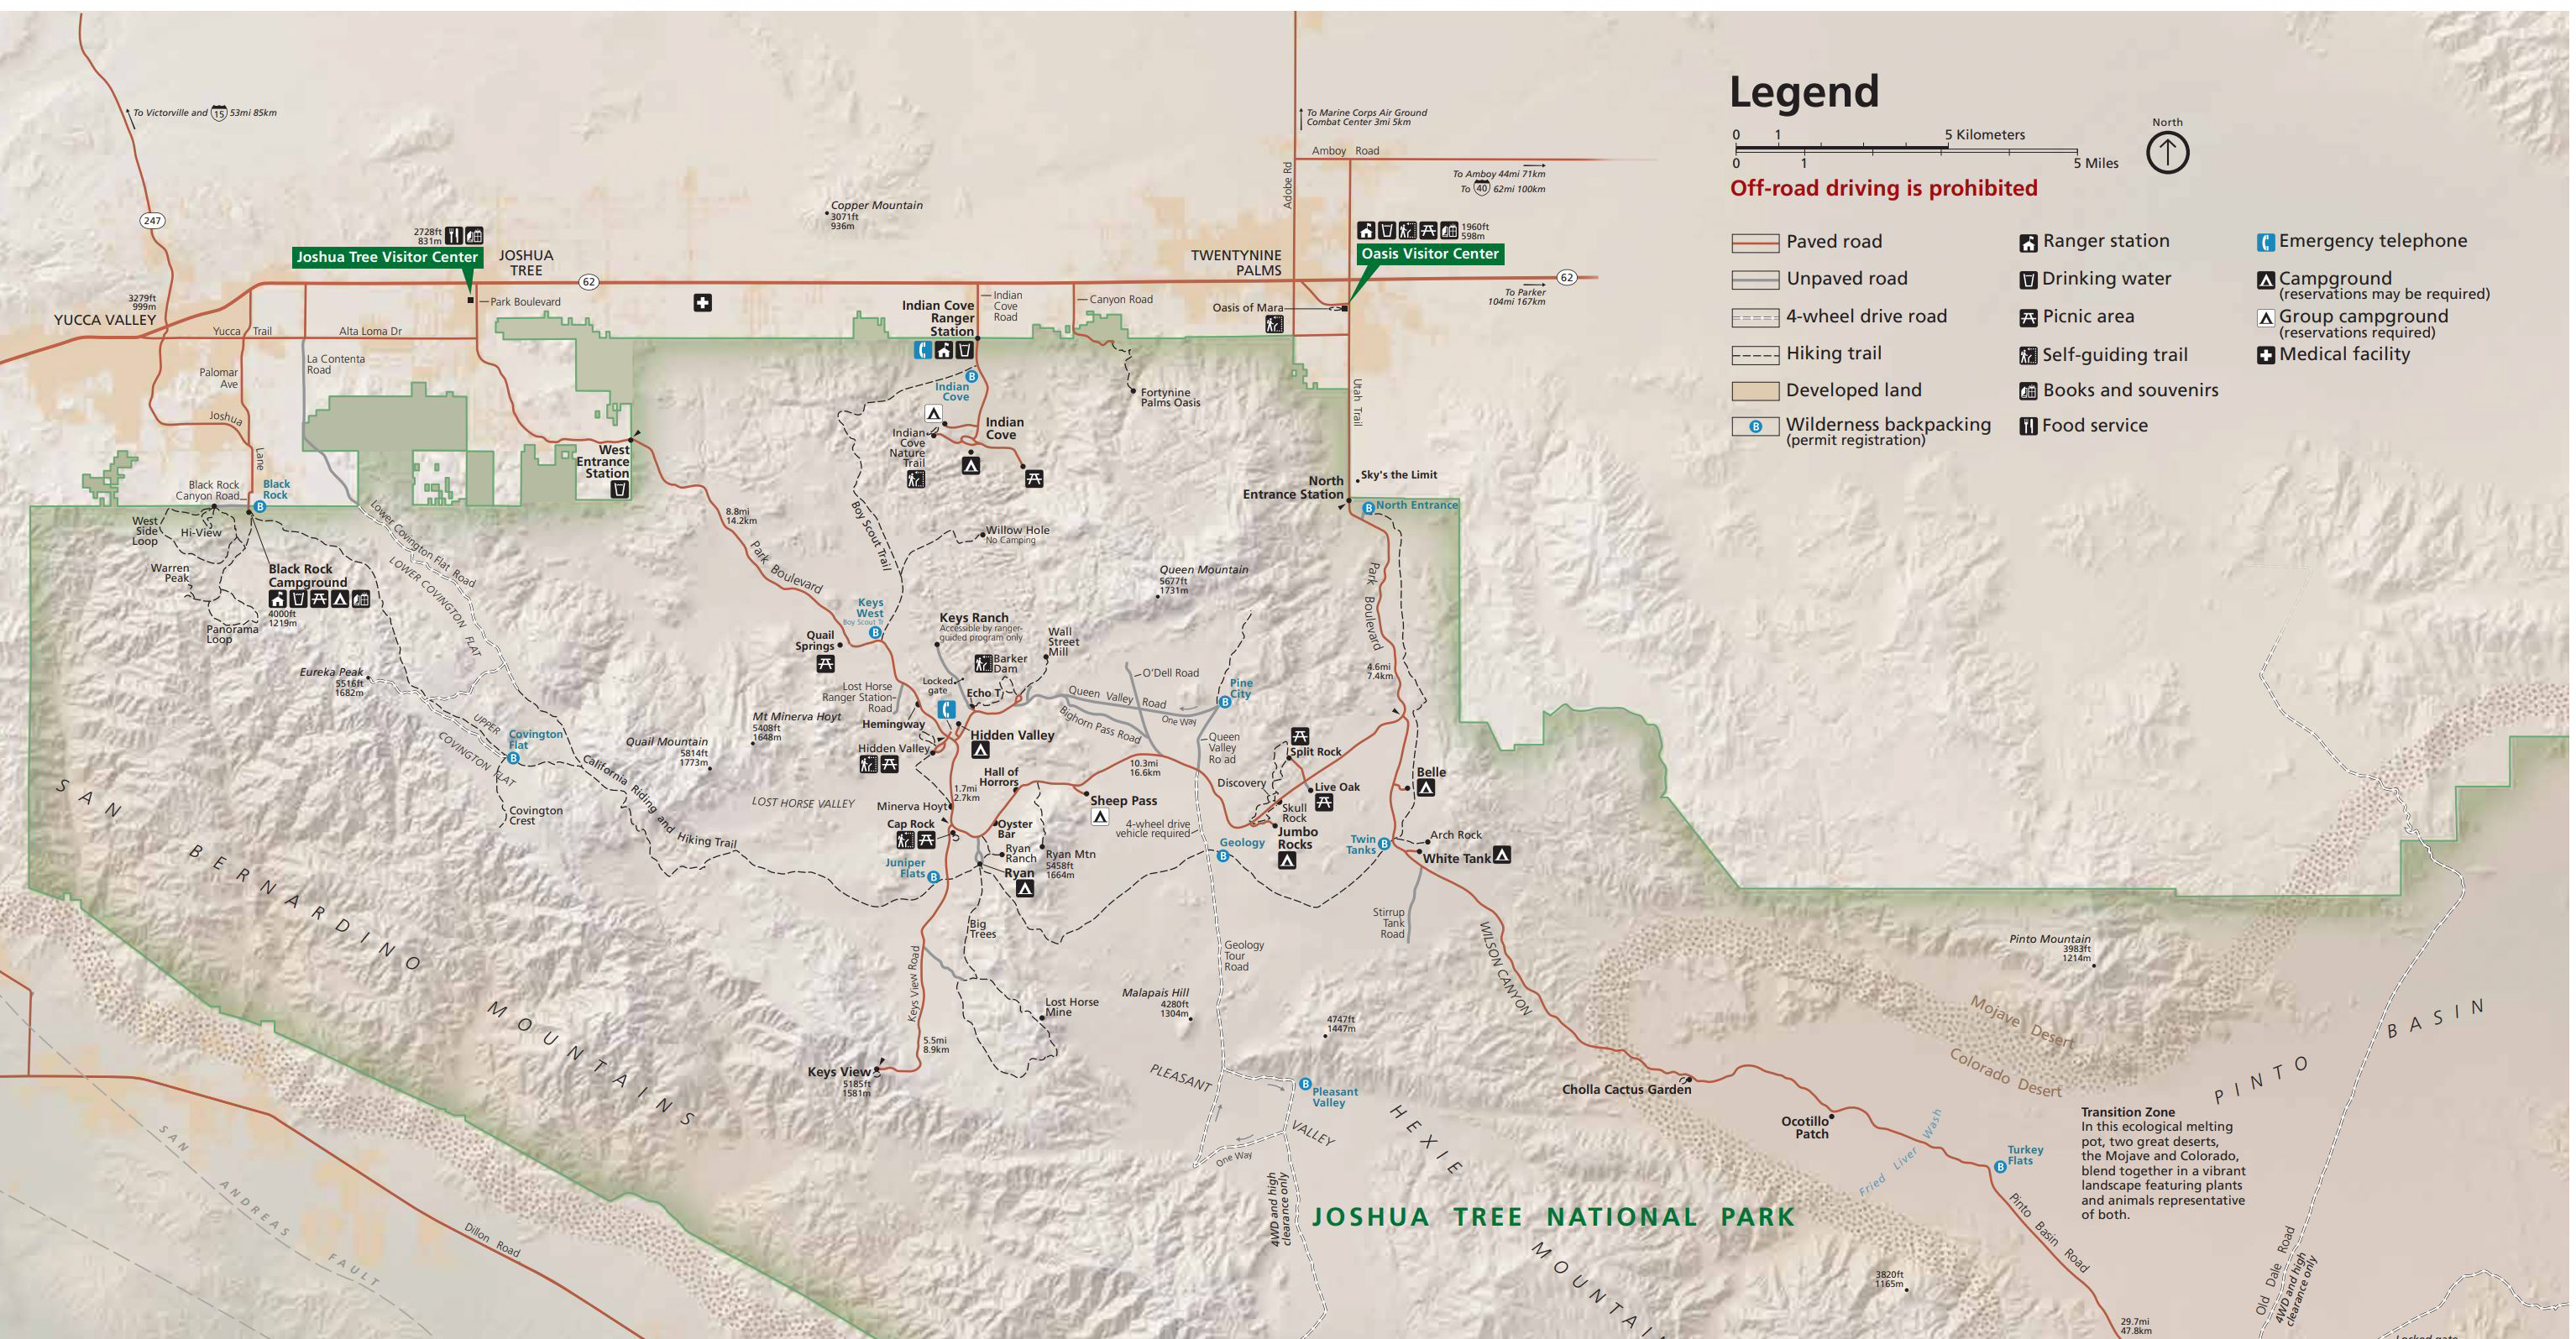
Map showing most of Joshua Tree National Park (except for the Southern Entrance). The Wilderness Backpacking registration boards are marked with blue circles.
You can download a high-resolution version of the entire map from the National Park Service here: Joshua Tree Map.
Water Caching Locations and Places of Interest
There are limited places along the trail where hikers can leave water caches. Here are the most obvious ones along with their distance from the Black Rock Trailhead, as well as other points of interest along the trail:
- Black Rock Canyon Trailhead – 0 miles
- Water, garbage cans, and vault toilets are available.
- Upper Covington Flat Trailhead – 8 miles
- Typically used for water caches. Located on a rough backcountry road.
- Juniper Flats Trailhead – 19.4 miles
- Typically used for water caches. Located on a paved road.
- Ryan Mountain Campground – 20.1 miles
- Garbage cans and vault toilets are available.
- Geology Tour Road – 25.9 miles
- Typically used for water caches. Located on a rough backcountry road.
- Twin Tanks Trailhead – 30.2 miles
- Typically used for water caches. Located on a paved road only half a mile from Arch Rock.
- Belle Campground – 31.4 miles
- Garbage cans and vault toilets are available.
- North Entrance Trailhead – 37.6 miles
- Located on a paved road.
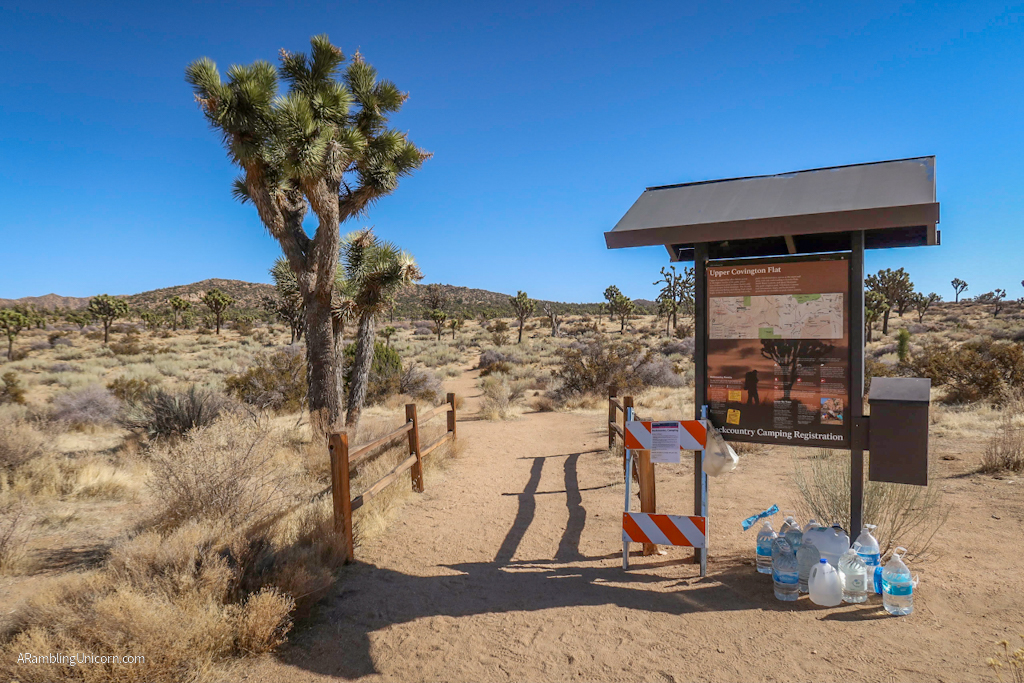
Water cache at the Upper Covington Flats Trailhead
My Initial Trip Plan (which changed later!)
Most hikers take from 2-4 days to complete the entire trail, depending on their inclination and ability. How far you choose to hike in a single day largely depends on how much water you want to carry and/or have cached in advance.
I decided to take it slow and hike the trail over 4 days because I was worried about re-injuring my foot. Although, as you will see, the trail had other plans in store for me. It’s important to stay flexible when backpacking in the wilderness because you never know what curveballs mother nature will throw at you!
Here was my initial hiking plan before setting out:
(although as mentioned above, my plans changed midway and so I ended up not following this plan)
- Day 1: Black Rock Canyon Campground to a half-mile past Upper Covington Flats
- Distance: 8.5 miles
- Elevation Gain: 1178 feet
- Water Planning: Pick up water cache at Upper Covington Flats
- Day 2: Half-mile past Upper Covington Flats to one mile before Juniper Flats
- Distance: 9.9 miles
- Elevation Gain: 990 feet
- Water Planning: Pack extra water from Covington Flats cache and dry camp
- Day 3: One mile before Juniper Flats to one mile before Twin Tanks
- Distance: 10.8 miles
- Elevation Gain: 350 feet
- Water Planning: Pick up water cache at Juniper Flats first thing in the morning and dry camp
- Day 4: One mile before Twin Tanks to North Entrance
- Distance: 7.2 miles
- Elevation Gain: None
- Water Planning: Pick up water cache at Twin Tanks first thing in the morning and hike out
The Great Water Caching Adventure & Eureka Peak
One of my biggest challenges before hiking the California Riding and Hiking Trail was figuring out how to place all of my water caches. I did NOT want to attempt a 20-mile day at the beginning of my hike just so I could pick up a water cache at Juniper Flats. That seemed like a bad idea given my recent foot injury.
The only caching option prior to that point is at Upper Covington Flats… which is located on a rough dirt road in the backcountry. Daniel and I drive a low-clearance high-maintenance VW Rialta Motorhome which has trouble managing some paved roads, let alone most dirt roads. Any time we drive over a bump we worry about how much money that is going to cost us later.
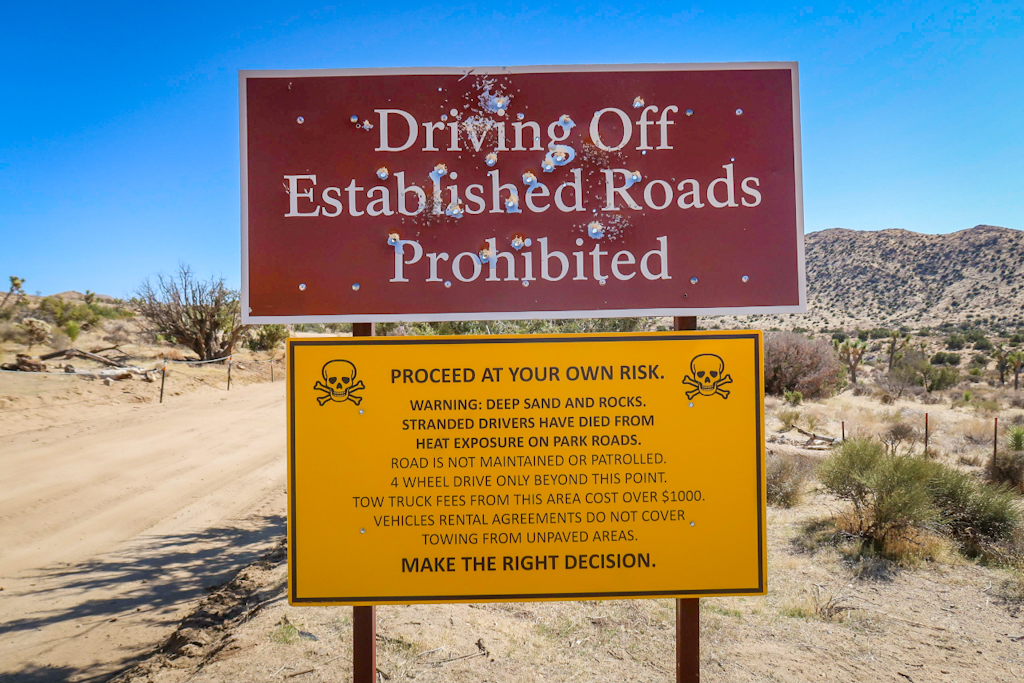
The National Park Service would like to remind you that driving on backcountry roads is at your own risk…
So we decided to rent a car. Daniel and I had to take our RV into the shop anyways, so it seemed like a good opportunity to try driving another vehicle for a couple of days.
While I love our Rialta, it was was an absolute delight driving around the backcountry in a zippy SUV. Daniel and I spent a lovely afternoon driving out to Upper Covington Flats to place my water cache and also exploring Eureka Peak. You can drive all the way to the top of Eureka Peak which is great for people who can’t hike long distances but still want to experience fabulous views.
The next morning, I placed water caches at Juniper Flats and at the Twin Tanks trailhead as well. I had initially planned to do them all on the same afternoon but the drive to Upper Covington Flats took a lot longer than expected.
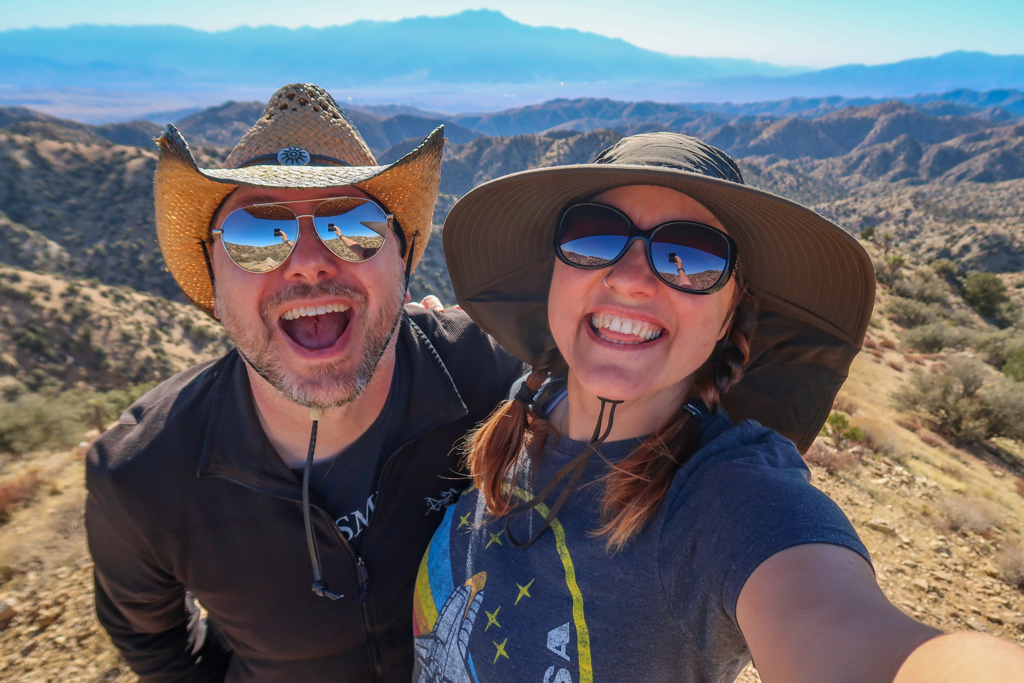
Selfie with Daniel on Eureka Peak!
My Experience Backpacking the California Riding and Hiking Trail
After completing all of my planning and preparations, I was finally ready to begin hiking! Check out the following trail journals to read about the adventures I encountered each day:
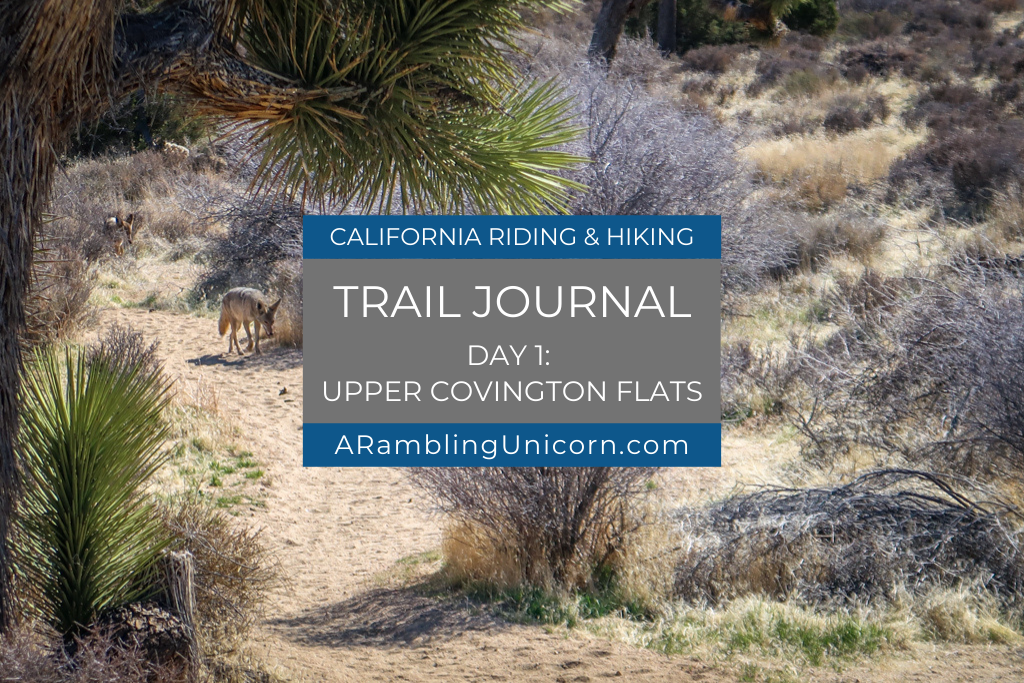
Day 1
I stopped with my foot midway to the ground and froze. It was the first day of my multi-day day backpacking trip on the California Riding and Hiking Trail and I hadn’t even made it a mile yet. I had hoped to camp somewhere near Upper Covington Flats this evening, but now I wasn’t so sure. A coyote stood on the trail right in front of me, blocking my path.
And he wasn’t moving…
The story continues here >>Â Day 1: Upper Covington Flats
Day 2
My breath formed into puffy clouds as I groggily unzipped the door to my tent. It was too cold to even think about getting out of my sleeping quilt, so I set up the camping stove just outside the door. I reached for my water bottle, only to find that the water had partially frozen. The contents were the consistency of a frozen slushy and barely managed to ooze into my cooking pot. The rest of my water supply was frozen solid.
Wow. No wonder I was so cold the previous night. Clearly I did not have the right gear with me to handle these cold temperatures. But I still had 3 more days of my backpacking trip on the California Riding and Hiking Trail. What was I going to do?
The story continues here >>Â Day 2: Juniper Flats

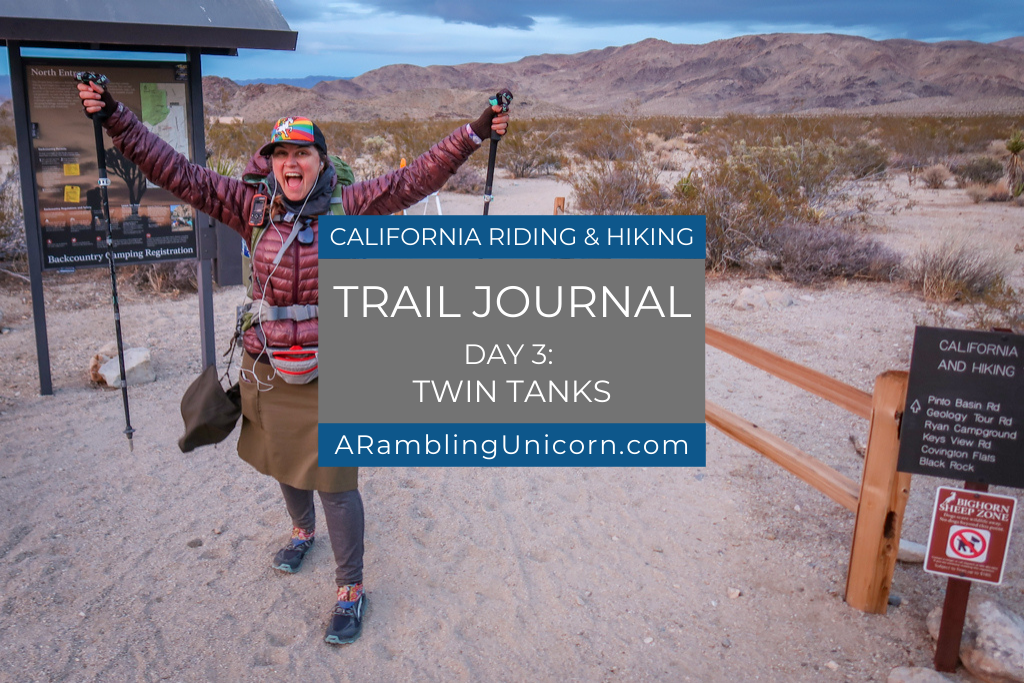
Day 3
I glanced over my shoulder to find angry clouds gathering on the horizon behind me. It was my third day on the California Riding and Hiking Trail and up to this point all I’d seen was sunshine. Ahead of me, blue skies beckoned as I hiked east towards the Twin Tanks area of Joshua Tree National Park.
But not for long. Soon, dark clouds obstructed the entire horizon. The temperature plummeted and I realized that hiking alone wasn’t going to keep me warm. Shivering, I stopped to put on my puffy jacket and gloves.
And that’s when the snow started.
The story continues here >> Day 3: Twin Tanks
Joshua Tree National Park Fee Information
While wilderness permits are free, there is a fee to enter Joshua Tree National Park. This is $30 per vehicle which is good for seven days. I recommend buying the America the Beautiful Interagency Pass, however, which costs $80. This allows entry to all National Parks for an entire year, as well as most federal lands (including National Forests, Bureau of Land Management and more). Buy your pass online before arriving at the park to shorten the wait in line.
Be sure to check the Joshua Tree National Park web site for current conditions before heading to the park.
While you’re in the area, don’t forget to explore outside of the national park as well. There are lots of fun fun and quirky things to do near Joshua Tree besides hiking and camping.
Additional Joshua Tree Resources
If you enjoyed this trail guide, be sure to check out my other articles about Joshua Tree National Park!
- Joshua Tree Day Trip: The Ultimate One-Day Itinerary
- Best Hikes in Joshua Tree: The Ultimate Hiking Guide
- Backpacking in Joshua Tree: Tips for Successful Wilderness Camping
- 10 Fun and Quirky Things to Do Near Joshua Tree
Like this article? Pin it!

Note: This post contains affiliate links, which means I may receive a commission if you click a link and purchase something. While clicking these links won’t cost you anything, they will help me to keep this site up and running!
What a great guide for some fabulous hiking in Joshua Tree NP. I’ve never thought of having to “cache water” & I loved your list of gear to take….very helpful. Thanks for sharing!
Thanks! I’m glad you found it useful. Caching water does take a little time up front but its a nice way to scope out the area before hiking through it.
Had we known about this hiking trail we would have packed differently for our trip to the USA. We only did a short hike in Joshua Tree NP when we visited in April but what a treat it was. I was sincerely blown away by the biodiversity that I did not expect to see there, all the cactus flowers and little animals that we came across. Well done on beating the cold at night, it is crazy how those temperatures can drop!
Joshua Tree is incredible, isn’t it? I was blown away on my first visit too and then we decided to spend two months there while we avoided other people during the pandemic. And there’s still areas I haven’t explored yet!
Wow what an adventure! So much planning and preparation, but you have a great story from the trail to tell for it. Injuries and snow will make it even more memorable I’m sure! Would love to have a go at this one day.
Thanks! It was an adventure that’s for sure 😃
What a cool hike! I don’t think I’d be able to do this type of hike though. I loved Joshua tree when I went but I can’t handle days in the dessert – such a beautiful area though!
Joshua tree is lovely isn’t it! I definitely couldn’t handle hiking during the summer months but when I visited in January-March it was great. In the 60s and 70s Fahrenheit every day. The nights were cold tho.
This is such a comprehensive guide! I’ve always heard of Joshua Tree but never really knew much about it. Can’t wait to visit! Thanks for sharing, definitely bookmarking this for later.
Thanks! Glad you enjoyed it!
What an adventure! You explained it all so engagingly too. Do people also ride on this trail, given its name? I have horses so the riding bit piqued my interest (not that I could bring them overseas with me to ride there, haha!).
Yes they do! I passed horses on the trail a couple of times.
I can’t believe I’ve never made it to Joshua Tree! Still on my list 🙂
It’s such a magical place. You’ll love it!
That’s so cool that you went from not being able to hiking a couple of miles to hiking the entire trail solo! I had a really bad ankle sprain and calf tear so I have struggled with getting back into hiking and re-injuring it as well. It’s inspirational to hear that you were able to work back up to such a long hike, while carrying your gear!
Thanks Elizabeth! This has happened to me several times – where I get sick or injured and lose my ability to hike long miles. The key is to start slow. Baby steps!!
I would love to go hiking here! Great info, thank you for sharing!
Thanks Shannon!
Thanks for this helpful post! I’m looking to do this hike in November, solo. As a solo female backpacker, did you ever feel uncomfortable or unsafe?
Hi Cathren! No I never felt uncomfortable or unsafe while hiking this trail. I have a lot of experience with backpacking solo though (including the PCT). I love being by myself – it feels so empowering! That being said I know some women who have had the occasional unsavory encounter when hiking solo (not this trail specifically, but in general). I think it happens less often in the wilderness than in the front country. Just trust your gut if something feels off and and keep hiking if you can. I always wear a wedding ring (even before I was married). I usually don’t tell male hikers that I’m alone or where I plan to set up my camp later. Have an amazing hike!